19
| | 19 20 20
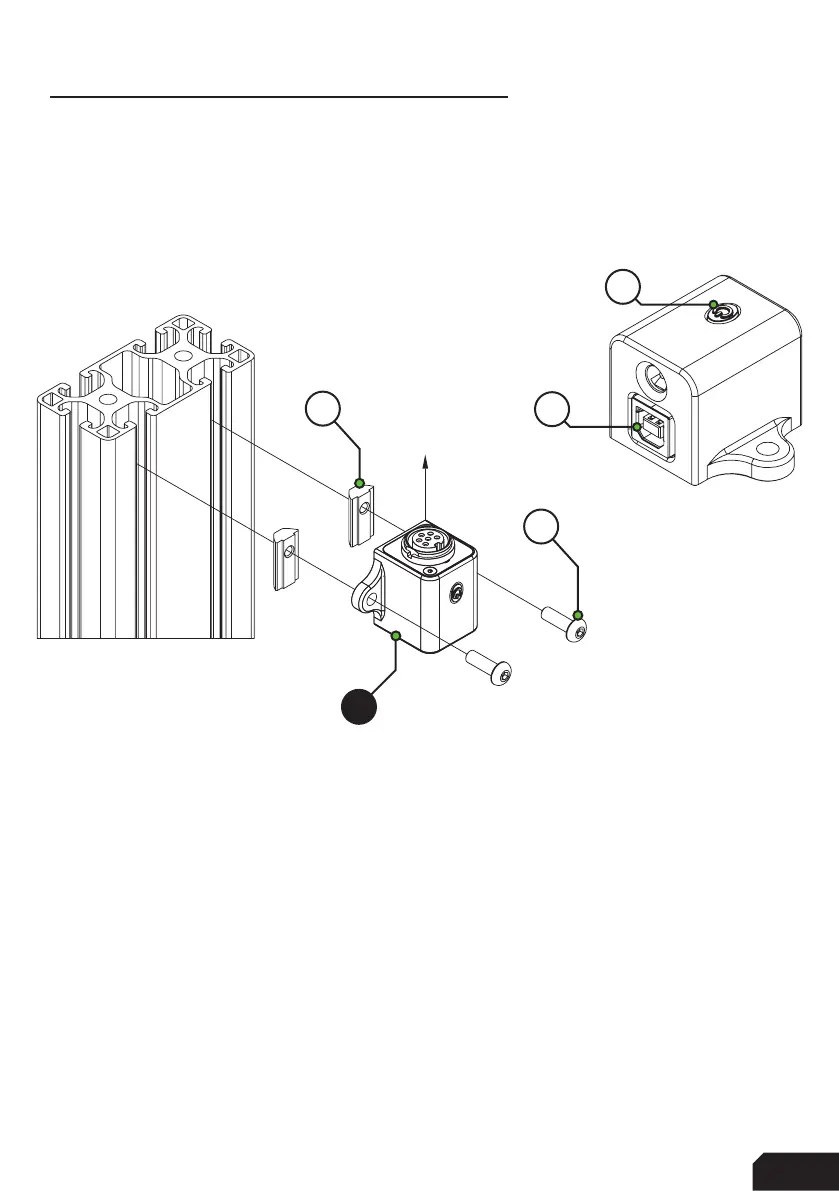
Power Injection Box installation
The connection between your new wheel and PC is handled through the Power
Injection Box (A2). This will transfer signals and power to the wheel.
Installation is very straightforward. We recommend to have the connector for the
coiled cable (A4) oriented upwards. The bottom of the PIB is where your DC power
adapter (A5) and USB-A cable (A3) are connected.
Connect all cables to and from the power injection box before plugging in the power
supply. This ensures there are no grounding issues when plugging in cables while
the device is powered. The current version of the power injection box has an on/off
power button (P), you might need to press this if your wheel isn’t recognized
immediately. Also this makes it easier for you to turn off power for the wheel, just
press the power button (P) once.
Secure all cables in such a way they can’t be tripped on or accidentally pulled from
their sockets.
When experiencing intermittent signal loss, we recommend using a powered USB
hub.
ONLY connect approved ‘GRID’ sim racing steering wheels or risk DAMAGE to
your steering wheel or PC!
USB
UPWARDS
A8
A2
A7
P