Manual EDM 180
Revision 1.0 29.03.2010 Page 34/61
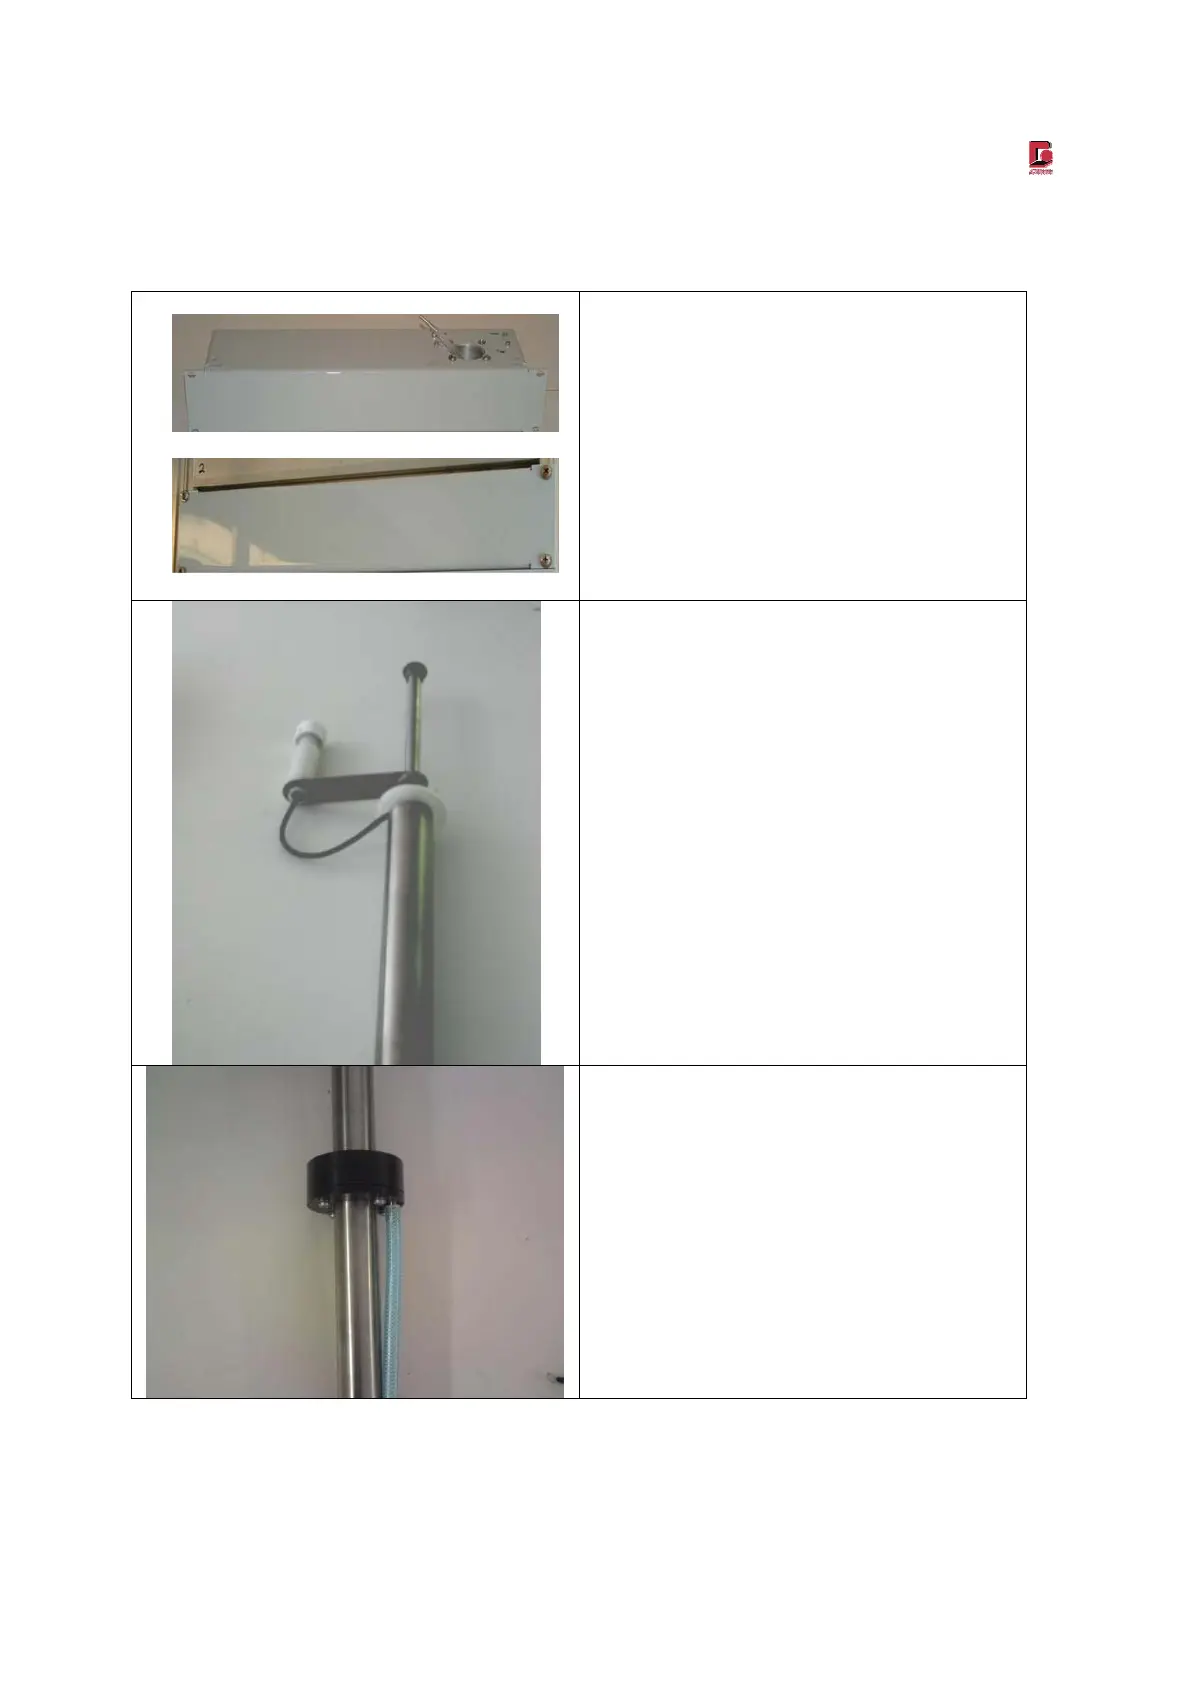
Installation sample pipe 182 and sample pipe 181
Install the sample pipe holder at the topmost
position of the 19” rack. Screws and further
mounting parts are not included in the scope
of delivery)
The temperature/ humidity sensor with carrier
(separate delivery) has to be built onto the
sample pipe and thread the connection cable
through the sample pipe. (The cable must not
be deviated so you always have to watch the
notch while insertion!).
Carefully insert the sample pipe through the
roof conduit. Before inserting the sample pipe
into the receptacle at the sample pipe holder
mind the position of the sample pipe holder.
The red dot at the bottom of the pipe and the
screw have to point to the front. First lead the
connection cable through the notch and
connect it to the analog socket. Then tighten
the sample pipe by dint of the stud screw
(located at the inner front of the sample pipes´
receptacle) in the sample pipe holder.
 Loading...