Coffee Urns Cecilware
®
9
Adjustments (continued)
Maintenance
The rest of this manual contains information to aid the
service technician who is maintaining this equipment.
This section has information on performing common
service tasks.
If you still need help after reading this section, call
Grindmaster-Cecilware Technical Service Department,
(502) 425-4776 or (800) 695-4500 (USA & Canada only)
(Monday through Friday 8 AM - 6 PM EST). Please have
the model and serial number ready so that accurate
information can be given.
Prior authorization must be obtained from
Grindmaster-Cecilware for all warranty claims.
Grindmaster-Cecilware provides the industry’s
BEST warranty. Visit our website at gmcw.com for
warranty terms and conditions.
To Move the Urn
The urn must be completely drained (jacket and liners)
and allowed to cool prior to moving this urn.
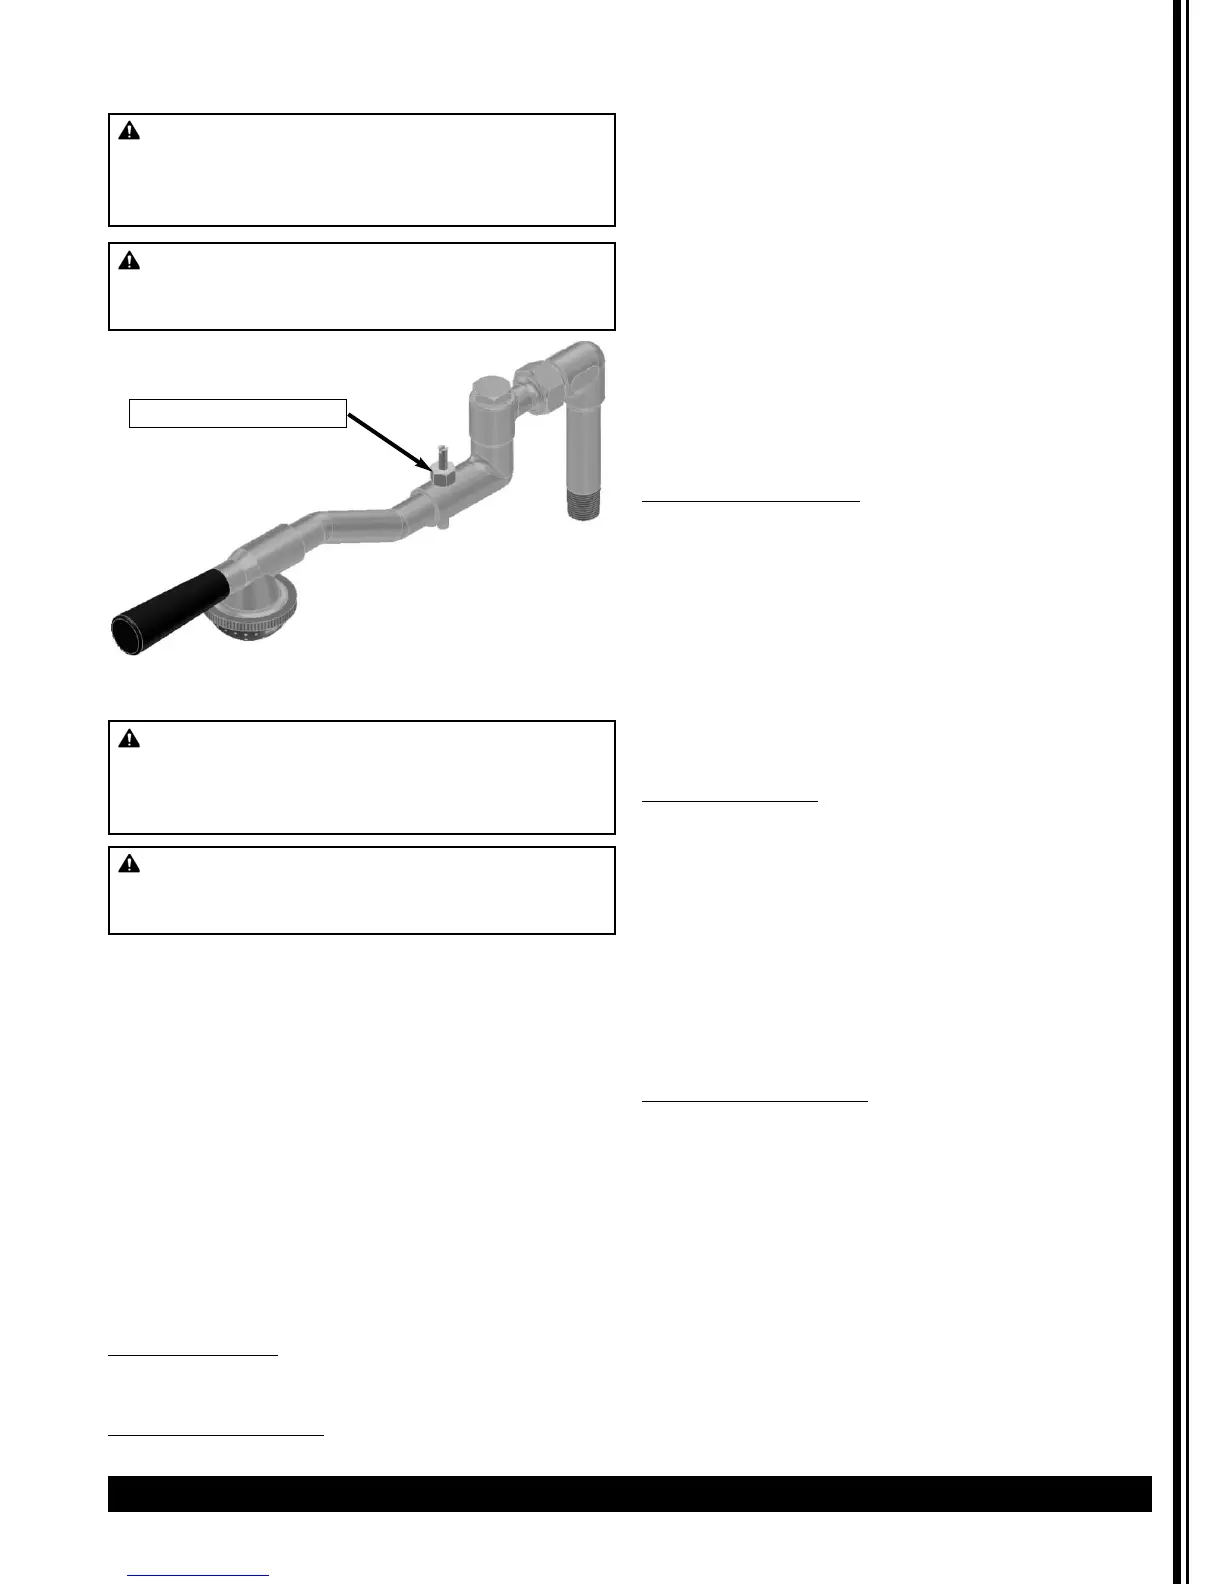
Spray Arm Assembly
The spray head system was designed to facilitate easier
cleaning and maintenance. The swivel valve has a large
flow opening and the spray head cap is equipped with
a stainless steel disc, used to control the flow of water.
When ordering replacement parts, be sure to order the
correct disc and spray cap for each urn, as shown in
Parts Diagram Illustration.
• To prevent lime buildup, especially in hard water
areas, remove and clean spray head cap and spray head
disc frequently.
• To clean swivel valve loosen nut and remove spray arm
assembly from urn.
• Remove sediment by inserting a pipe cleaner through
small hole in valve.
• If maximum setting of timer fails to deliver enough
water, check water pump.
If Water Fails To Heat
1. Check line fuse or circuit breaker. Replace or reset
if necessary.
2. Make sure thermostat is in ON position. If
thermostat pilot light does not come on, replace
thermostat. (Refer to instructions below.) If pilot
light is on, measure continuity between terminals l
and 2 of thermostat, and between terminals 3 and
4. If a resistance is measured, replace thermostat.
3. If thermostat is okay, check wiring and repair if
necessary: if wiring is okay, check heater resistance;
if high or infinite, replace as follows:
Replacing Heater
1. Shut off power and disconnect water supply at
elbow. Drain urn.
2. Remove one coffee gauge glass, faucet, shank, and
liner.
3. Tilt urn and disconnect wires to heater.
4. Remove socket head screw and heater flange and
lift heater out.
5. Install new heater and reassemble urn.
6. Repeat Priming instructions on page 6. NOTE: DO
NOT TURN ON THERMOSTAT UNTIL URN IS
PRIMED.
Replacing Thermostat
(All Models)
Thermostat is located in side box of urn. Lift off side box
door to gain access to thermostat; then follow
instructions below.
1. Shut off power, disconnect water supply, and drain
urn by opening hot water faucet. When faucet
stops running you are ready to remove the
thermostat bulb.
2. Remove thermostat knob and two screws holding
thermostat in place.
3. Disconnect wires from thermostat.
4. Pull out thermostat bulb.
5. Install new thermostat, push in the new thermostat
bulb. Tighten compression nut on thermostat fitting
to prevent leaking.
(continued next page)
WARNING: SHOCK AND BURN HAZARD
To prevent electric shock and burn hazard, all tasks
described in this section are to be performed by a
trained and qualified service technician.
WARNING: SHOCK HAZARD
Disconnect power before attempting any electrical
repairs.
Bypass Adjustment
WARNING: SHOCK AND BURN HAZARD
To prevent electric shock and burn hazard, all tasks
described in this section are to be performed by a
trained and qualified service technician.
WARNING: SHOCK HAZARD
Disconnect power before attempting any electrical
repairs.
 Loading...