81
GB
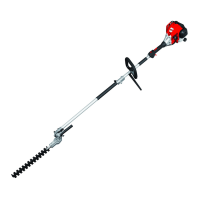
Changing the Reel
1. Switch o the engine.
2. Place the equipment on the
ground and ensure that no fuel
leaks and that the equipment is
safely supported.
3. Unscrew the xing screw (29) an-
ticlockwise and take o reel
capsule (19) with the thread reel
(20).
4. Place the new reel in the reel cap-
sule and push both ends of the
thread through the thread outlet
eye (30). Ensure that the spring
(31) is in the correct position.
5. Push the thread reel (20) into the
reel capsule (19) and retighten
the xing screw (29) clockwise
.
6. Trim the thread cord to approx.
13 cm in order to strain the en-
gine less in the start and warm-
up phase.
Cleaning the Air Filter
Never operate the equipment with-
out the air lter otherwise dust and
dirt enter the engine and result in
damage to the machine. Keep the
air lter clean.
1. Switch o the engine.
2. Undo the screw (32) on the air
lter cover (4) and take o the
air lter cover from the air lter
housing (33).
3. Remove the air lter (34) from
the lter cover (4).
4. Clean the lter with soap and
water and allow it to dry in the air
Never use petrol!
5. Reinstall the lter in reverse order.
Replace the air lter if it is worn, dam-
aged or heavily soiled.
Maintenance Intervals
Regularly carry out the maintenance work listed in the “maintenance intervals” table.
Regular maintenance prolongs the life of the equipment. It also gives optimum cutting
performance and avoids accidents.
Table “Maintenance Intervals”
Machine Part Action
Before
Each Use
Operating Hours
10 20
Screws, nuts, bolts Check, tighten
Air lter Clean or replace
Fuel lter Replace
Spark plug Clean/adjust/replace
Fuel hoses Check, replace if necessary
Complete machine Check, clean if necessary
Operating handle Check for function
Cutting head Check correct installation
 Loading...