OM-CC-E and C/2-E
10
Initial Start-Up
WARNING
ANY POTENTIAL USER OF THE EQUIPMENT SHOULD BE TRAINED IN SAFE AND CORRECT OPERATING
PROCEDURES.
After the Convection Combo™ has been installed,
test it to ensure that it is operating correctly.
1. Remove all literature and packing materials from
the interior and exterior of the unit.
2. Check that the cold water supply line is open and
that none of the fittings are leaking.
3. Turn on electrical service to the unit.
4. High Altitude Operation. At altitudes above
5,000 feet (1524m), the unit will not operate in the
Steamer or Combo Modes unless the altitude is
set. The Convection Combo™ is delivered with
the altitude set for 1000 feet as default. You can
program the altitude as follows:
b. If the unit is on, turn it off by pressing the ON
touch pad.
c. Press and hold the STEAM touch pad while
turning the unit on by pressing the ON touch
pad. The Time/Status display will show the
letters AL and a number representing the
altitude in thousands of feet. If the altitude
has not been set for your unit, the display will
be 1.
d. Enter an altitude value between 0 and 15,
using the numbered touch pads. For
example, if the unit will be operating at 7,000
feet, enter 7.
e. Press the START touch pad to accept the
change.
Altitude Metric Conversion
Altitude
Setting
Feet Meters
1000 305 1
2000 610 2
3000 914 3
4000 1219 4
5000 1524 5
6000 1830 6
7000 2133 7
8000 2438 8
9000 2745 9
10000 3048 10
11000 3353 11
12000 3658 12
13000 3962 13
14000 4267 14
15000 4572 15
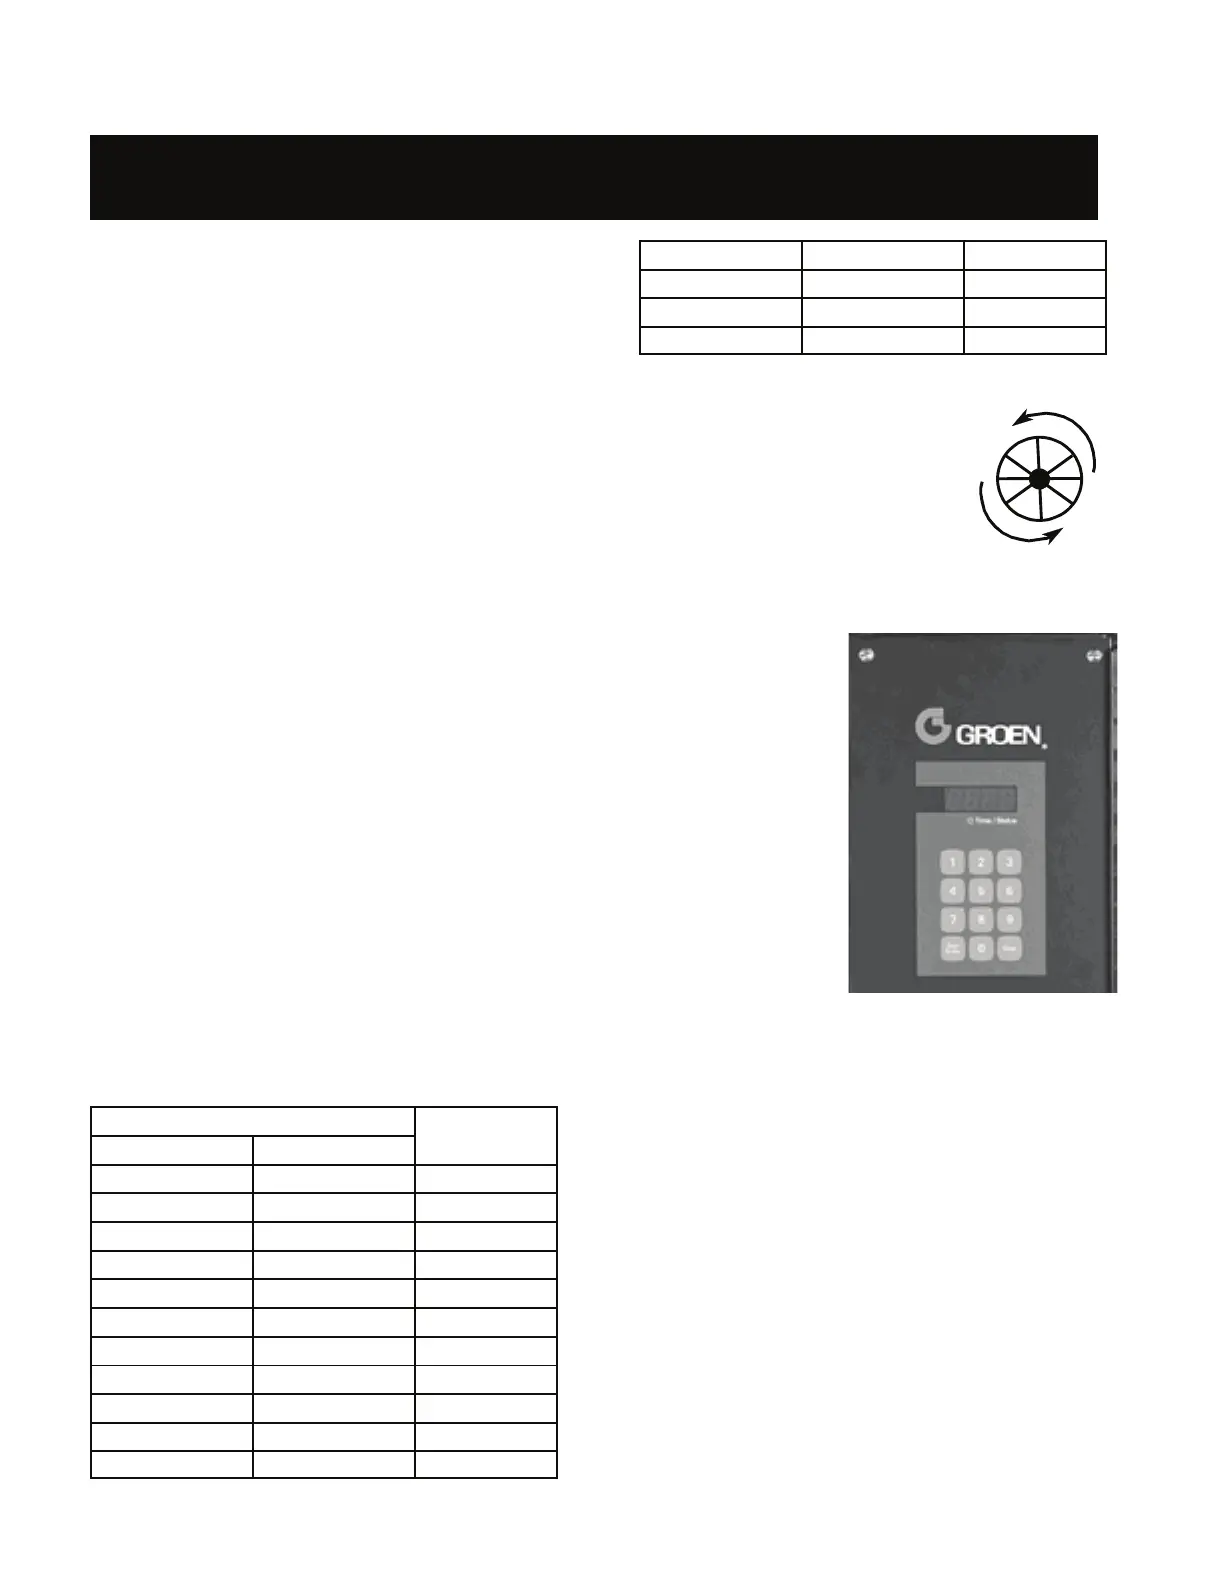
5. For C/2-20E only: Check Fan Rotation —
IMPORTANT! As seen from
inside the oven cavity, the fan
should be turning in a
counterclockwise direction.
If the fan is running backwards
(clockwise), have a qualified
electrician turn off the main
power and switch any two
incoming power leads on the
distribution block. An incorrectly turning fan will
eventually shut the oven down.
6. Select Farenheit
or Celsius
Temperatures.
The Convection
Combo™ is
delivered with
the Farenheit
scale as default.
To change the
current
temperature
scale, holding
the 5 key in,
press ON. The
Time/Status
display will
either show
dEG°F or dEG°C. Press the 5 key again to
change from one to the other. Press START to
accept the change.
7. To Test Steamer Mode Operation, turn on the
unit. (For details of operating procedure, see the
Operation section of this manual.) Clear time
from the time display. Press the STEAM touch
pad. (If the HOT light is on, see the Fast Cool
instructions in the Operation section.)
The WAIT light will stay on while the steam
generator fills with and heats the water. The
WAIT light should turn off within three minutes,
and the READY light should come on. This
indicates that the water is at its standby
temperature. The timer only controls operations
in the Steamer Mode. Enter a time and press
START. (“Time” is set in minutes and hours only.
Seconds are not displayed). See example.
 Loading...