24
6 Press »R«.
– The day of the week indicator flashes.
7 Set the day of the week by pressing »P+ «or»P– «.
8 Press »
R«.
– The month indicator flashes.
9 Set the month by pressing »P+ «or»P– «.
10 Press »
R«.
– The year indicator flashes.
11 Set the year by pressing »P+«or»P–«.
12 Confirm entries with »TIME/MEMO«.
– The current day of the week appears in the display.
Note:
If no button is pressed within 20 seconds, the device cancels the setting.
Start again at step 2.
Setting the time zone
1 Switch off device by pressing »
ON/OFF
«.
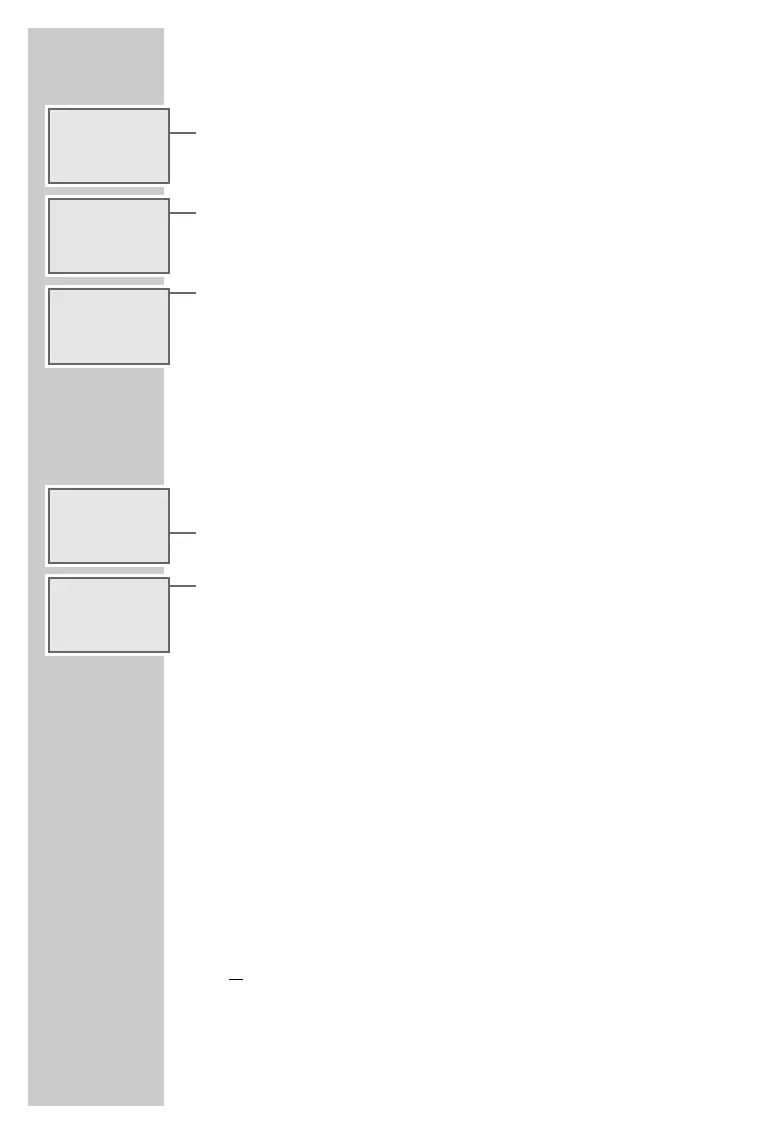
2 To call up the setting, press »TIME/MEMO« until »DCF +
-
0HR« appe-
ars in the display.
3 Select the time zone with »P+ «or»P– « (scale: »+2«, »+1«, »0«, »-1«
and »-2«).
– Display: for example, »DCF +2HR«.
4 Press »TIME/MEMO« twice to confirm the setting.
Note:
If the device is disconnected from the power supply for longer than three
minutes, e.g. in the case of a power failure, the time zone setting returns
to »0«. Please note that in such a case you may be awoken by the alarm
at the wrong time.
Adjusting the brightness of the display (in stand-by
mode)
1 Use »DISPLAY/
v
« to switch permanently between the two brightness
levels.
Note:
The Auto Dimmer (sensor) on the front of the device adjusts the bright-
ness of the display to the given external lighting conditions;
or
in stand-by mode, use »SNOOZE« or »1 ... 10« to switch the display
to the higher brightness level for ca. 10 seconds.
SETTINGS
__________________________________________________
k 01.01.2001
Ǽ 15:41
ALARM
-:--
k 12.01.2001
Ǽ 15:41
ALARM
-:--
k 12.06.2001
Ǽ 15:41
ALARM
-:--
g DCF +
-
0HR
Ǽ 12:20
ALARM
-:--
g DCF +2HR
Ǽ 14:20
ALARM
-:--