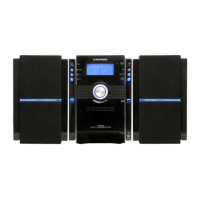
1 - 14 GRUNDIG Service
Allgemeiner Teil / General Section UMS 1 / UMS 2
Programming in PLAY mode
You can also enter a programme while a CD is playing.
• Press MEMORY.
– The number of the current track flashes and the display
shows the time which will be the total time of your
programme when you store the selected track.
• If you wish to add this track to your programme, press
MEMORY again.
– The track number stops blinking.
• If you wish to add a track to your programme other than the
one currently being played, press the S or T button.
• Save your selection by pressing MEMORY.
• You can leave the programme mode by pressing the 9
button.
Programme playback
• To play the programme you have created, press B (PLAY).
– All functions of the playback mode continue to function.
Changing the programme
It is possible to change the programme you have created; you
can add additional tracks or delete tracks from your
programme.
• If you wish to add an additional track, press MEMORY and
select the desired track by pressing STon the
keypad of your remote control. The corresponding track
number blinks.
• Use MEMORY to add the track to your programme.
• If you wish to delete a track you can do so by selecting the
track and then pressing CANCEL.
– The playing time display is continuously updated.
Deleting the programme
• To delete the entire programme, press CANCEL while in the
STOP mode.
•
Opening the compartment (?) or shutting off the unit also deletes
the programme.
Copying from a CD to cassette (CD-COPY)
Your system enables you to carry out the CD-COPY function
by pressing just one button.
In addition, you can also optimally record individual CD tracks
or programmes on both sides of the cassette so that no tracks
are cut off in the middle, or so that there is not an excessive
amount of blank tape on one side of the cassette.
• First there must be a cassette in the cassette compartment
and a CD in the CD compartment.
• Prepare the cassette tape by winding to the desired tape
position, select the desired tracks on the CD player and, if
necessary, the cassette playing time
(C46/60/90/100/110/120) with the EDIT function.
• Now press CD COPY to start the copying procedure.
The indication CD COPY lights up on the display
– The cassette deck starts first in order to take up approx. 6
seconds of tape leader. The CD player then starts
automatically.
– During the recording procedure you can only use the 9/?
button. All other functions are deactivated.
– If the CD is the first to stop playback, it automatically sends
a corresponding command to the cassette and recording is
stopped.
– If the respective side of the tape reaches the end first, the
CD is switched to PAUSE.
• If you selected reverse mode, your unit switches to the other
side of the cassette and continues recording
– The tape leader is taken up, and the CD starts at the
beginning of the track just played.
TAPE EDIT function
This function notifies the CD player as to the playing time of a
cassette tape.
• Select the source CD by pressing the CD button.
• Press EDIT button to call up the entries C46, C60, C90,
C100, C110, C120 one after another.
• Select the corresponding playing time of the cassette.
– After a brief pause the unit will show you the total playing
time and which tracks will be recorded onto the first side of
the cassette.
• By pressing the
Ǻ button you can change the display so that
is shows you the tracks to be recorded onto the next side of
the tape.
• Start the CD COPY function.
– It starts to record on one side of the cassette. When it is
finished, the display shows the tracks that will be recorded
onto the other side of the cassette.
• This function can also be used to record a programme that
you have saved.
CD
General information
Copyright: Making recordings from a prerecorded sound
track is only permissible insofar as the Copyright or the rights
of third parties are not infringed upon.
There is a short leader on each end of the cassette´s tape. This
is why it is not possible to record on the tape for the first 6
seconds.
We recommend IEC I or IEC II cassettes for recordings.
The unit automatically adjust to the type of tape you insert.
In addition, the unit automatically adjusts the volume to the
correct level, regardless of the VOLUME controller setting.
Before making a recording, take up the tape slack by inserting
a pencil in one of the cassette sprockets. Too much tape slack
can result in the tape breaking during rewinding, or loose tape
could become jammed in the cassette player´s drive
mechanism.
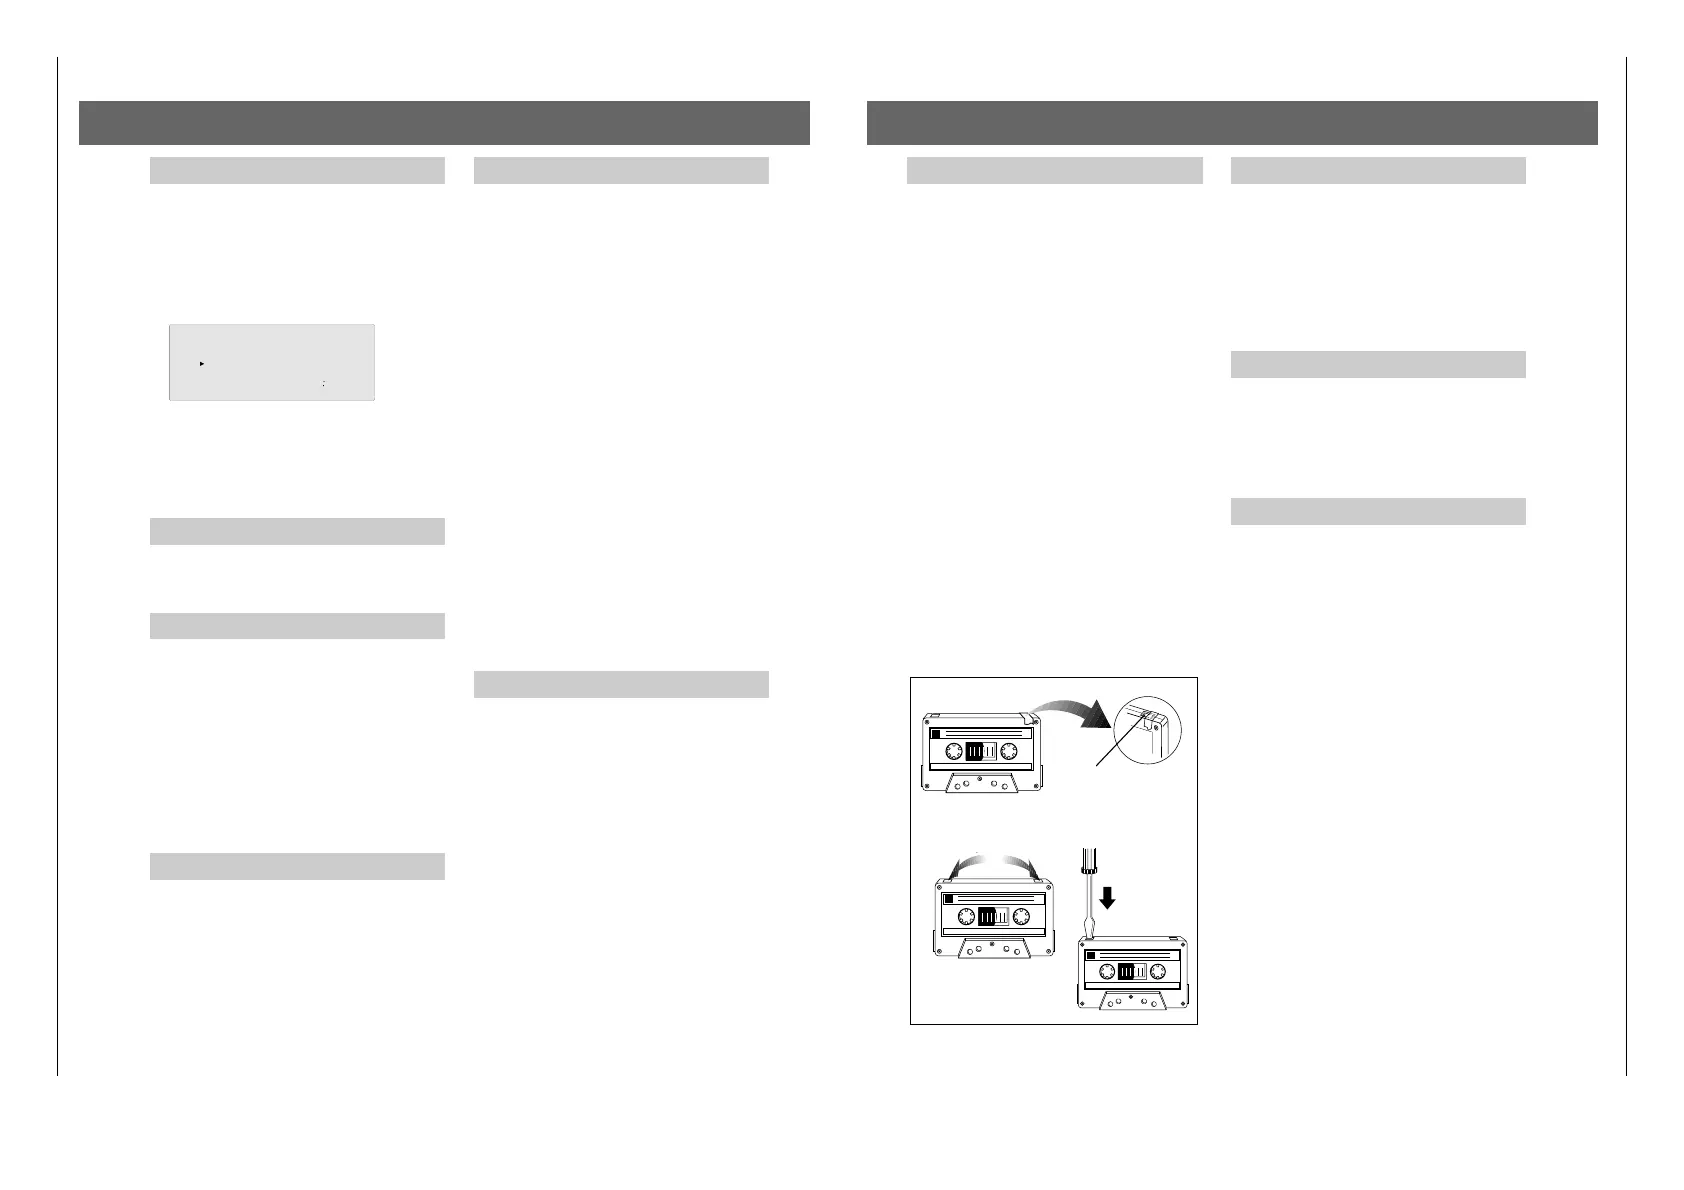
In order to avoid unintentioally recording over a tape, care-fully
remove the small plastic tab in the upper left corner of the
closed side of the cassette. If now you attempt to record over
the previous recording, 'NO CASS' appears in the display. If
you wish to record over a protected cassette, place a small
strip of tape over the upper left hole; make sure that the CrO2
tape recognition opening remains unobstructed.
The tape of a C-120 cassette is extremely thin and can be easi-
ly damaged. C-120 cassettes are not recommended for this unit.
Store your cassettes at room temperature, and keep them away
from magnets and transformers or objects that contain them,
such as TV sets and speakers.
DOLBY NR noise reduction system
Dolby noise reduction is manufactured under license from
Dolby Laboratories Licensing Corporation.
"DOLBY" and the double-D d symbol are trademarks of
Dolby Laboratories Licensing Corporation.
• Switch Dolby on and off with the DOLBY button.
Recordings made with the Dolby NR noise reduction system
must also be played with the Dolby function active. If you
do not switch on the DOLBY system, the level of the high
tones will be different.
Inserting a cassette
• Press / EJECT on the cassette compartment
– This opens the cassette compartment.
• Insert a cassette with the tape side pointing down.
• Close the cassette compartment.
Note: The correct tape type is selected automatically.
Playback
Playing a cassette
• Select the cassette deck by pressing the TAPE button on
the unit or on the remote control.
– TAPE appears in the display for 2 seconds.
• Press / EJECT to open the cassette compartment.
• Insert a cassette in the cassette compartment.
• Press the TAPE REV. MODE button to select the desired
reverse mode.
– If the cassette was recorded with Dolby, switch on Dolby
noise reduction with the DOLBY button; the d BNR
symbol appears in the display.
• Press the A or B button to start playback in the desired
direction (B = normal, A = reverse).
– When the end of the tape is reached it either stops automa-
tically, or switches to reverse (see reverse mode).
• If you want to stop the tape before it reaches the end, simply
press the 9 STOP button.
Cassette Deck
 Loading...