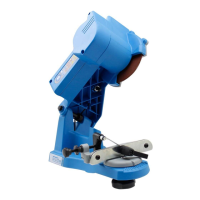
The saw-chain grinding machine is delivered pre-assembled.
One part consists of the base, on which the chain guide is
located. The other part is a bearing arm with the motor and
handgrip.
The assembly shall be performed with the machine
unplugged!
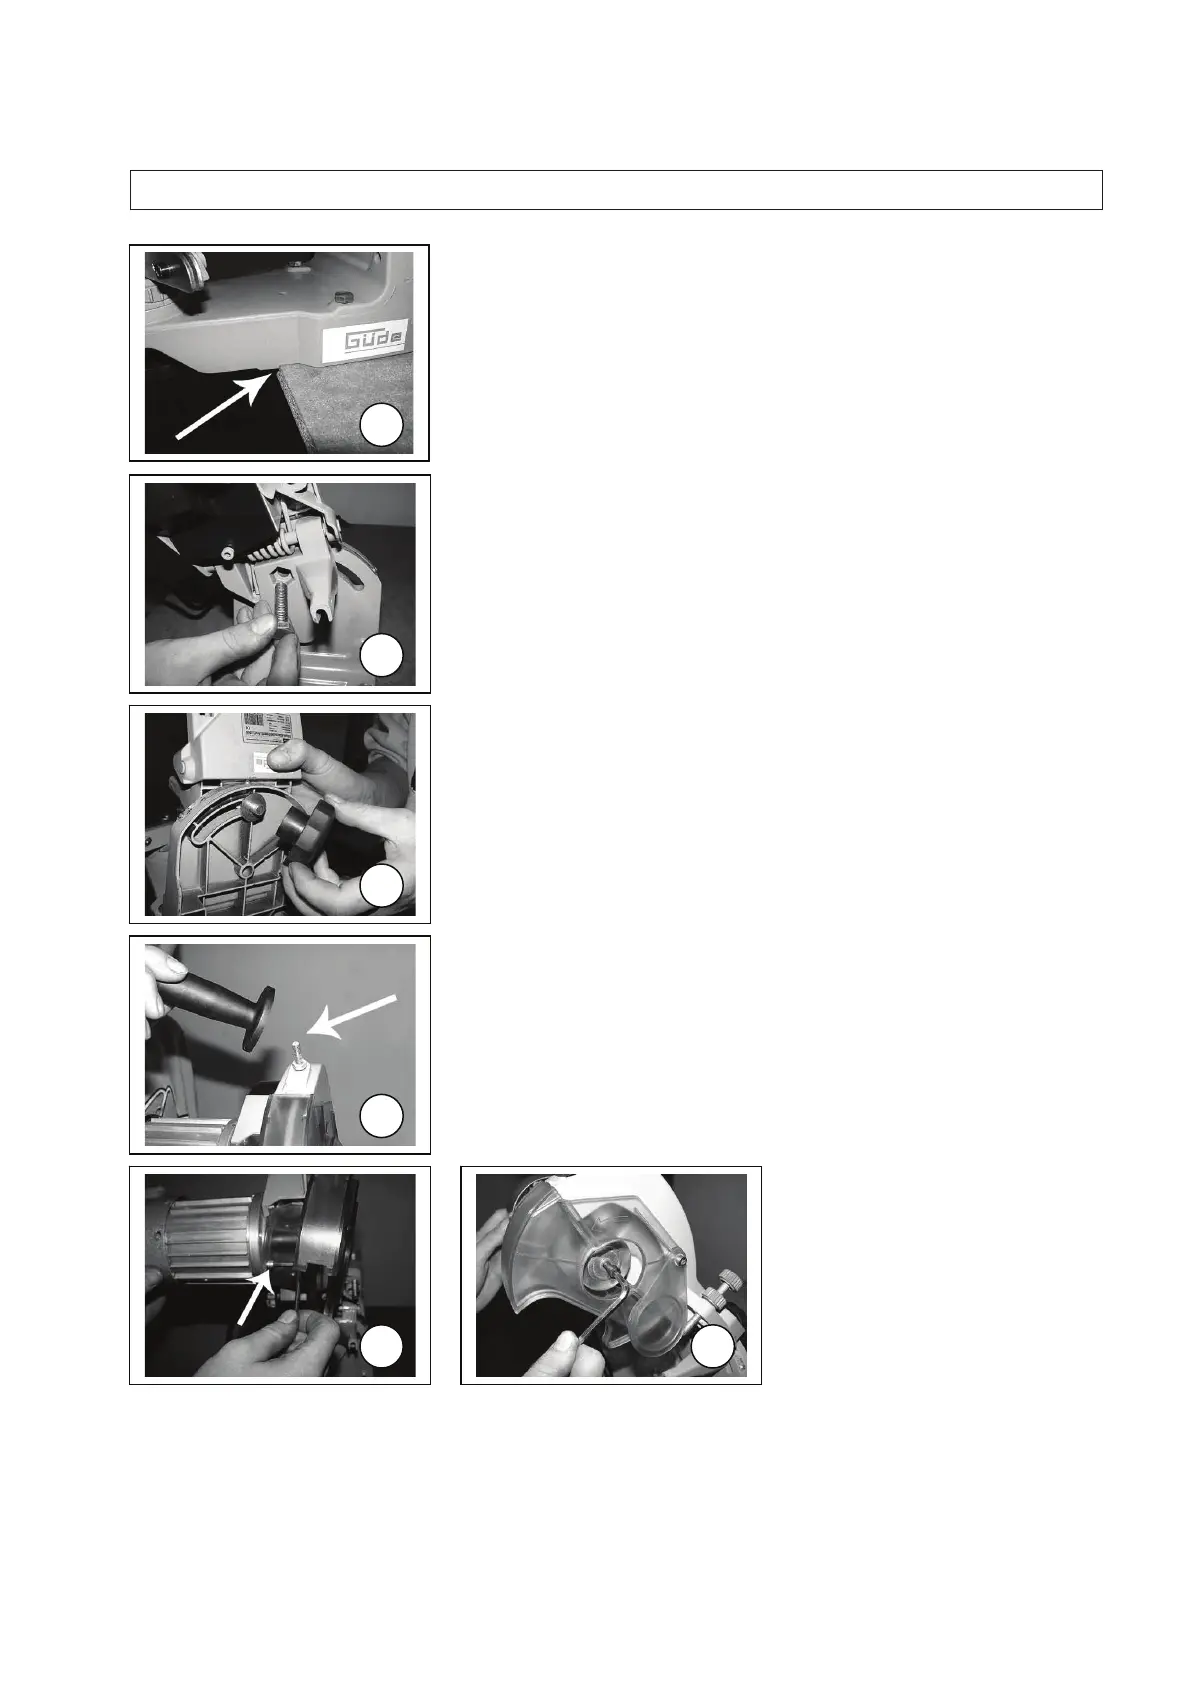
The machine design provides either for a desk installation or wall
mounting. When installing it on the desk, put the machine on the
edge of the desk to the stop (Fig. 1) and screw it to the desk
using the holes in the base.
When mounting on the wall, use the respective holes in the
vertical part of the base (here, a distance from the wall should be
kept or spacers should be used for the access to the rear set
screw to be preserved).
After the desk top installation, fit the arm in the base inserting the
pilot pin and securing it with a hexagonal screw (Fig.2)
Now, it is possible to fit a washer on the rear side screw and
screw the setting and screw the setting wheel on. (Fig. 3).
Screw the supporting arm control holder on the screw in the
grinding disk body (Fig.4)
Fit the grinding disk enclosure on using the supplied screws and
a respective wrench (Fig. 5).
Tip:
When mounting on the wall, take care to mount the machine
at a height of 120 – 130 cm from the floor to avoid working
at eye height!
To be able to install the disk, it is necessary to unscrew the
auxiliary flange (Fig. 6).
1
2
3
4
5 6