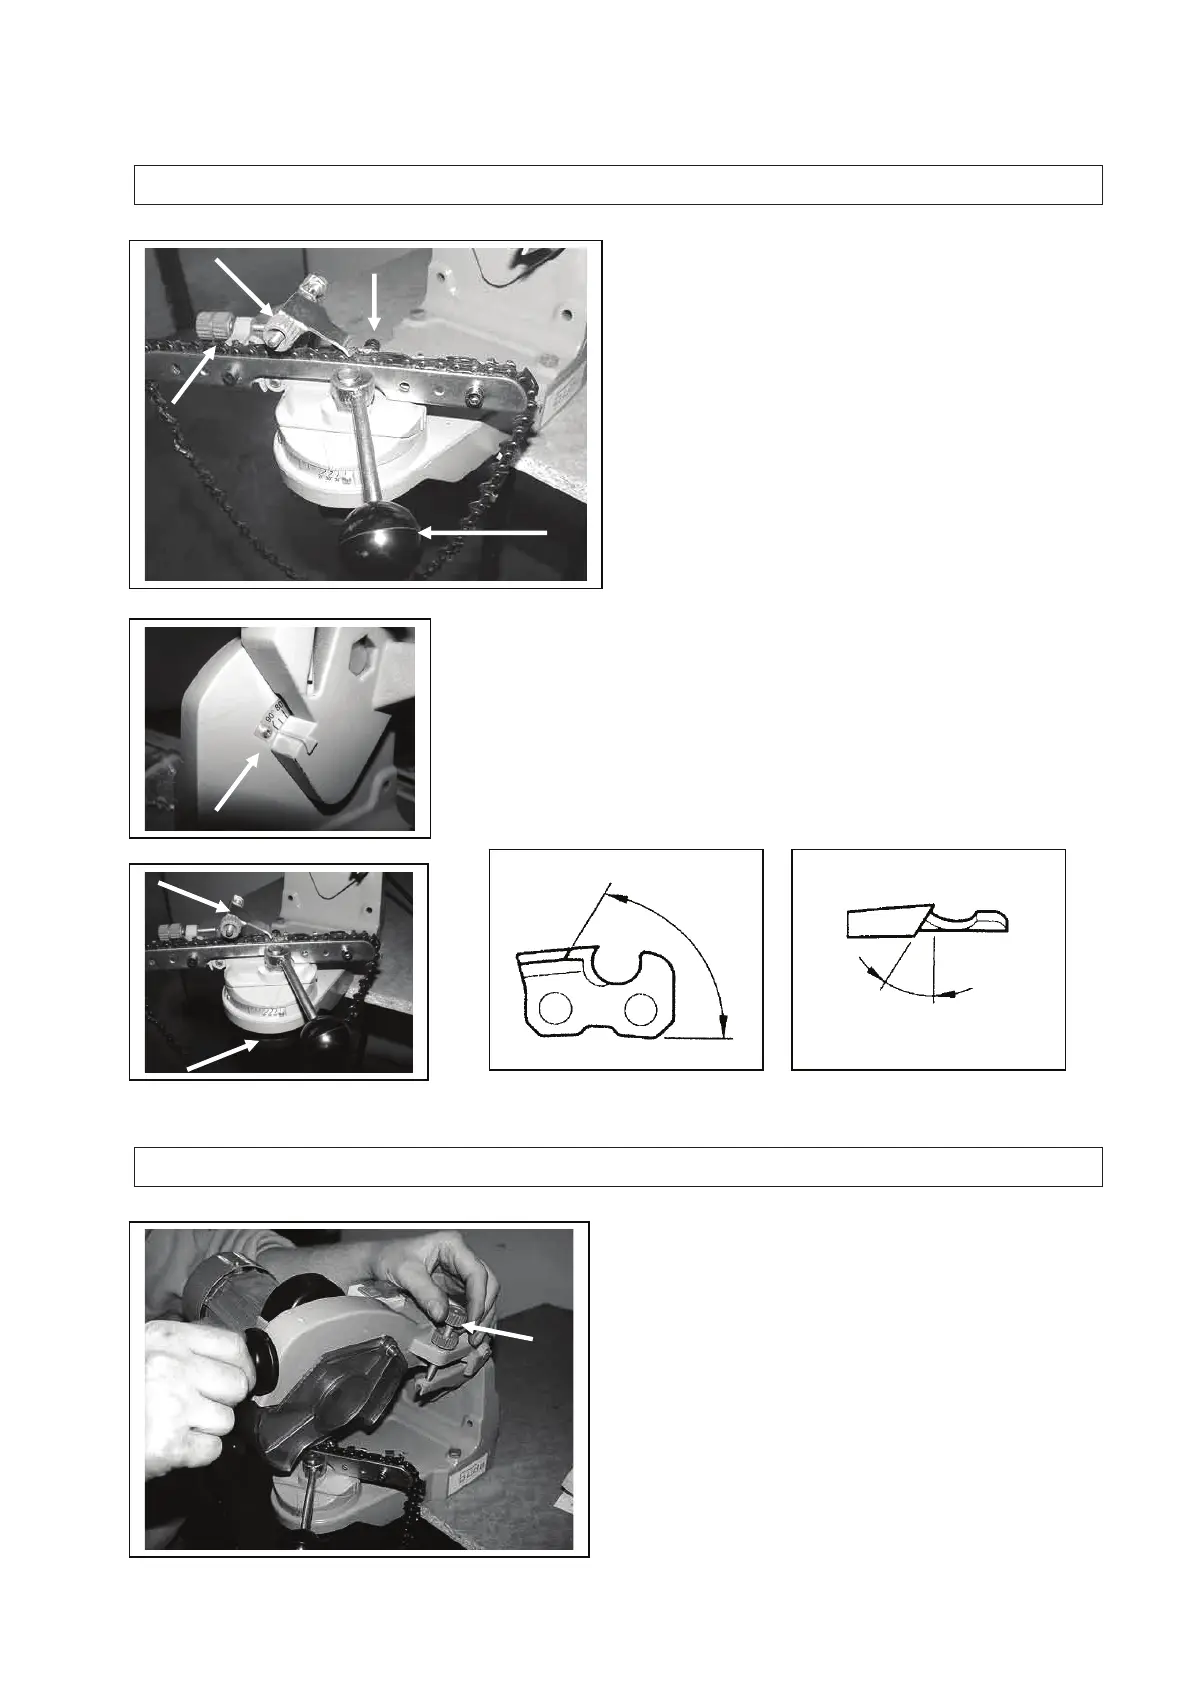
Before the start of grinding, the chain should be
conducted between both the attachment guides
Now, the tooth to be sharpened first should be
taken against the stop. Watch out for the
sharpening angle to correspond to the guides
position. The type of the chain to be sharpened
should be determined using the sharpening
block provided or the table p.9. There, you can
find out the cutting thickness, angles and
dimensions.
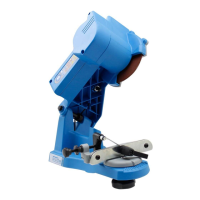
Set the guides to the chain width using the set
screw u(A) so that it is firmly fixed in the
clamping screw by clamping lever control (B).
Set the feed by set screw (E).
On severely worn chains, the lateral position of
the chain guide should be secured with a set
screw (D).
Set the top plate angle by means of the set
screw (p.3, p. 5) and it may be also read on the
scale (F). The vice angle should be set up by set
screw (G).
G
B
A
D
E
F
Vrcholový !ezný úhel
(Top Plate Angle)
Úhel ost!í
(Vice Angle)
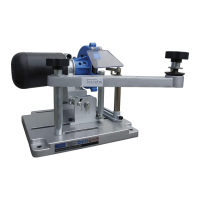
With the clamping screw adjusted and the vice
angle set up (Notice: RH and LH teeth to be
differentiated) and preset the top plate angle, lead
the grinding disk down to the tooth by soft pushing
the supporting strut. The grind depth may be set
by set screw (K).
With clamping lever loosen (B), the set screw is
being screwed or unscrewed (E) until the grinding
disk to sharpen will touch the tooth. During the
procedure, pull the chain to the guide (L) carefully.
(Notice. Wear gloves when performing the job!)
K
L