5
NOTE: If you wish to change the security code for your light, skip to the section titled:
Changing the Security Code – OPTIONAL Then return here for re-assembly
instructions.
(6) Make sure membrane and top cover is re- assembled correctly with buttons
protruding fully.
(7) Carefully snap top cover / membrane on to lower assembly. It should only take
light pressure to snap in place.
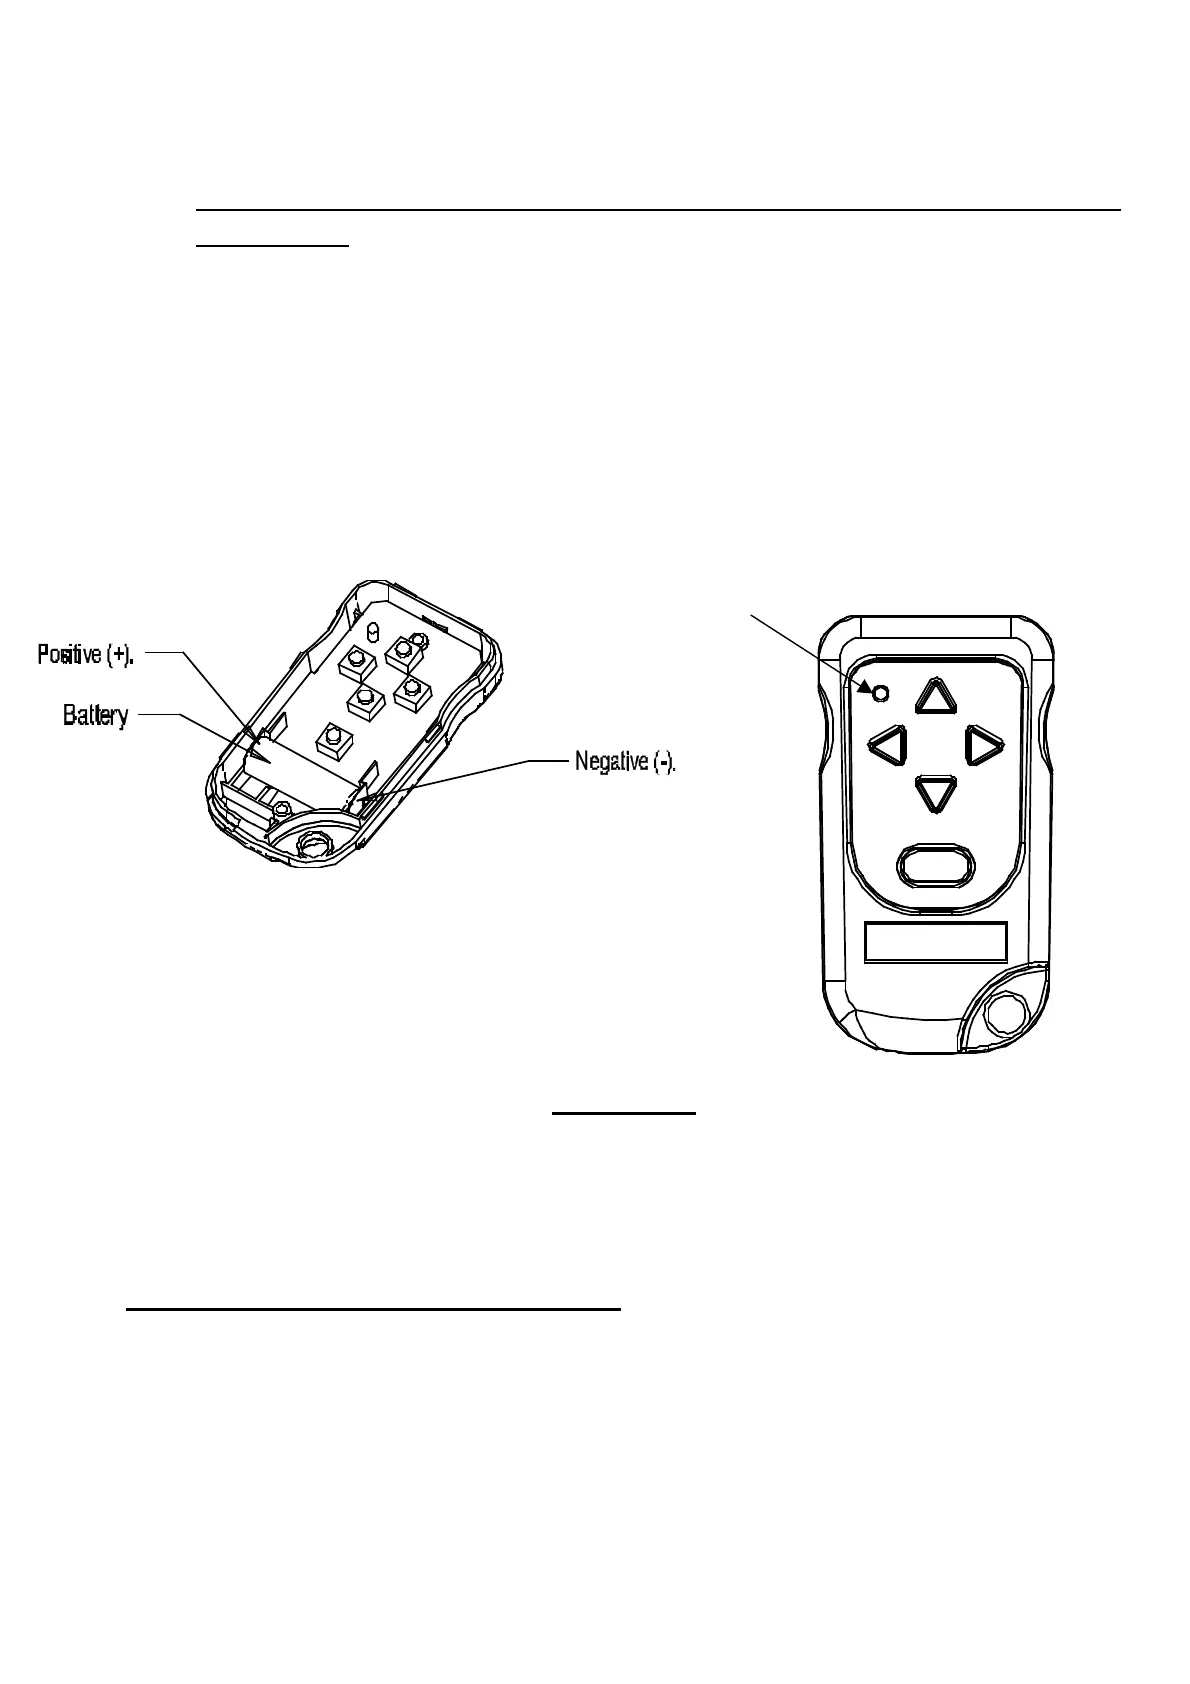
(8) Test battery connection by pressing any of the buttons. When doing so, the red
LED indicator should turn on in the upper left hand corner. If the LED does not
illuminate, separate the covers and check the battery polarity, if correct
replace with another battery. SEE FIGURE 1 BELOW.
FIGURE 1
(9) Re-install the 2 screws on the back cover and tighten them
Changing the Security Code - OPTIONAL
There are 64 codes available in the system. They are selected by means of an 8-
position code switch. There is a code switch in the wireless remote (RF Transmitter).