OBTAINING STANDARD ABI/TBI (cont...)
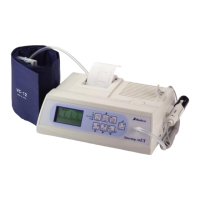
(3) Hook up colour coded tubing between cuff and inflation port on the XT6 for each site being used. Be sure to match colour coded tub-
ing with the same colour inflation port for each site. Left & Right tubing and inflation ports are also colour coded with blue rubber secured
on the end of each “Right” tube, while a blue strip on the device identifies all “Right” inflation ports (see pictured at end of manual).
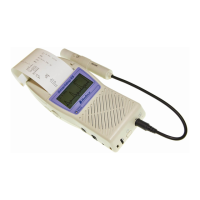
(4) Connect 2 PPG probes to the Smartdop XT6 and secure each PPG transducer with the clear side against the pad of each great toe.
You can use either the Toe Clips provided or Micropore tape to secure the probes.
(5) Once all cuffs and probes are secured in place, click
“Auto Start”. The Smartdop XT6 will start on both sides simultaneously, going
through each selected site individually. Once complete,
the message shown on right will appear. Click OK to close it and
ABI and TBI will be calculated automatically during the tests.
Please Note: If for some medical reason one arm site cannot be tested (i.e. dialy-
sis), simply leave the cuff off the site and complete auto testing. An error message
will appear, click ignore and the results will appear.
(6) If a site fails, the message shown on right will appear,
explaining which site has failed. Simply adjust the cuff, ensure all
tubing is tightly secured and click “Yes” to retry or “Ignore” to skip
the site and carry on with procedure.
Once complete, click “Return to Main Screen”.
7