7
Outdoor unit installation
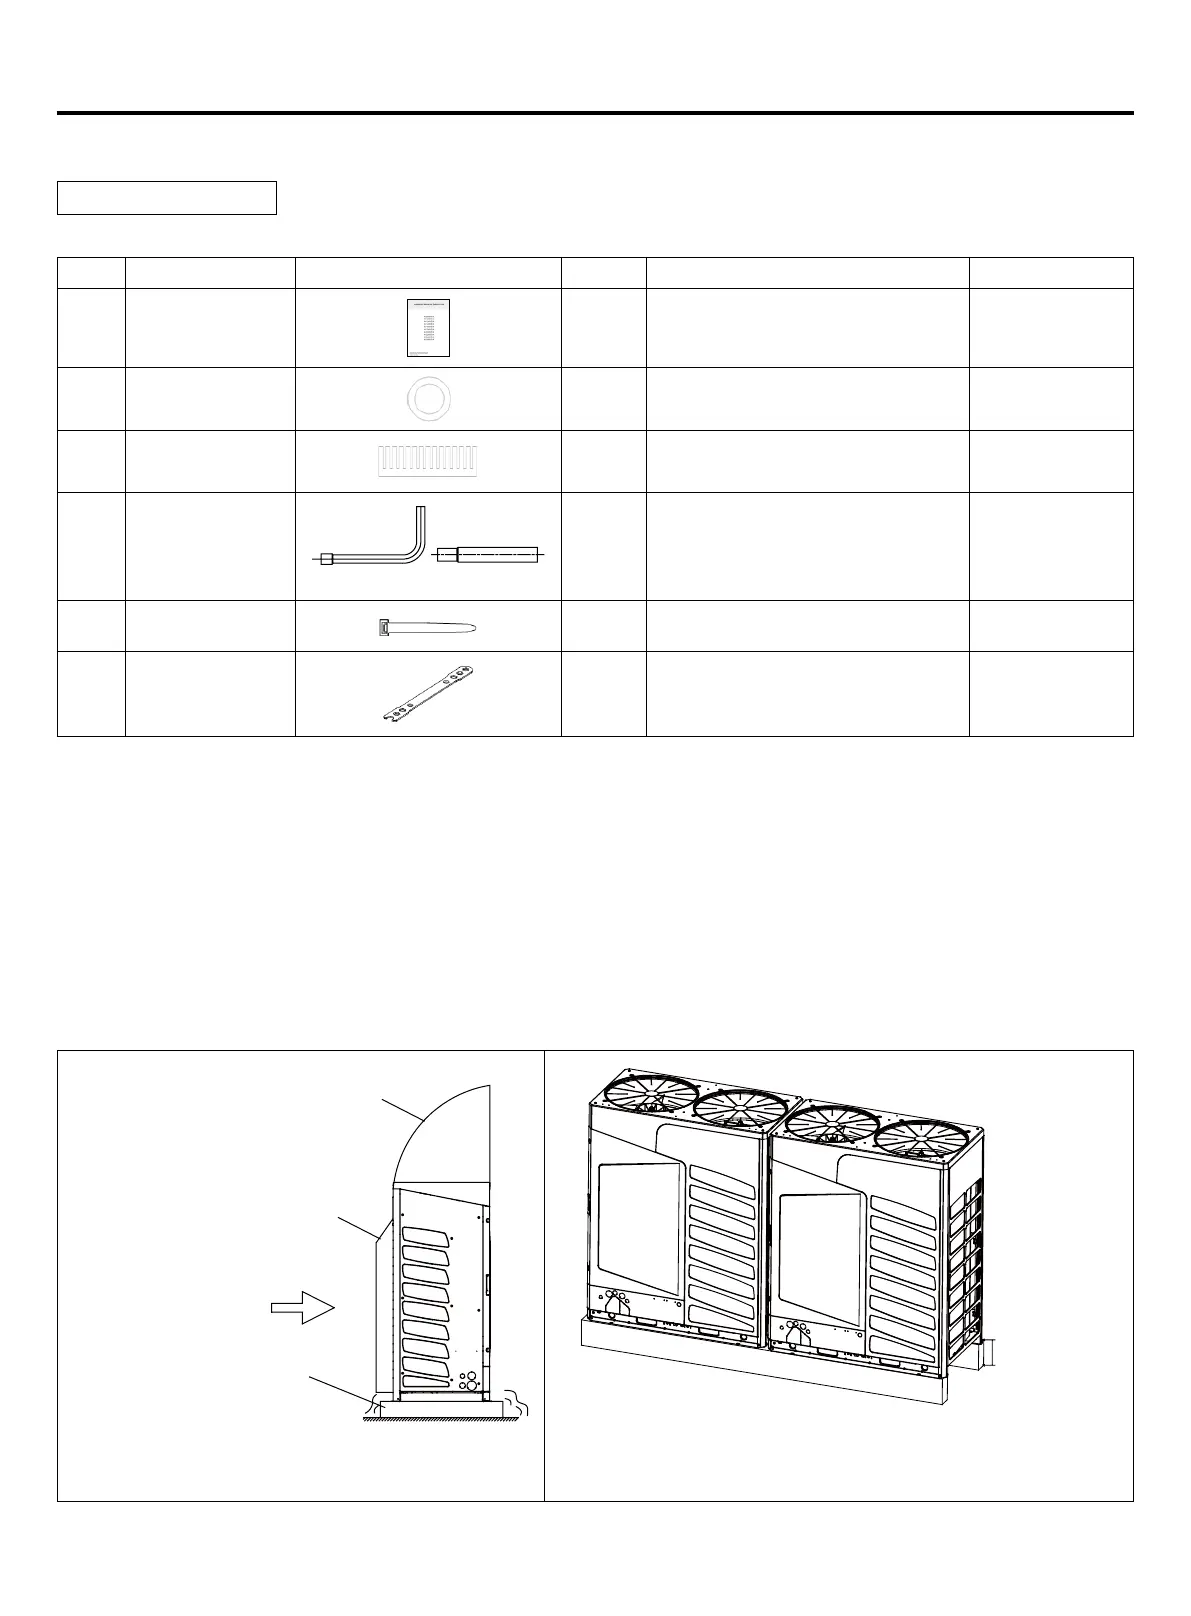
Standard accessories
Please check the attachment is complete, please be sure to use.
No. denition Graphic Quantity Remarks Place position
1
Installation
instruction
1 Accessory bag
4 Rubber plug
1 Signal line protection Accessory bag
5 sheath
1 Power line protection Accessory bag
6 Reducing pipe
(10/12HP)
(14HP)
1 Reducing pipe Accessory bag
7 wiring harness
4 Gas liquid pipe insulation binding Accessory bag
8 Wrench
1 Remove service panel
The outdoor
machine foot
beam
1. Choose a place that can carry the weight of the unit to install and x, so that the unit will not shake or fall. The unit shall
be installed in a at area (below 1/100).
2. Do not install the unit in the areas where there may be ammable, explosive, corrosive gas leakage.
3. Indoor and outdoor machines should be close to each other as much as possible to reduce the length of the refrigerant
pipeline and the number of bends.
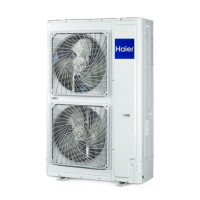
4. The installation should be to ensure that units from the sun and rain, dust, typhoon, earthquake proof place. In the area
of snow, the machine should be installed in the frame or under the snow cover, so as to avoid the machine snow. See
Figure 1
5. Make sure that there is enough room for maintenance
6. Measures should be taken to avoid contact with children
7. The refrigerant pipe by the unit below should be used when the overhead, overhead part height 200mm above. See
Figure 2
Snow cover (customer buy)
Wind shield (customer buy)
Seasonal wind
The base height should be
considered the maximum
snowfall locally, Prevent snow
height cxceeds the unit angle.
Please use M12 xed ancher bolts, each machine 4, and use
shock absorbers or shock absorbers to reduce noise
Aerial part
height above
200mm
Figure 2Figure 1
Installation instruction