9
STEP 2 - CONNECT AND SECURE THE DRAIN HOSE
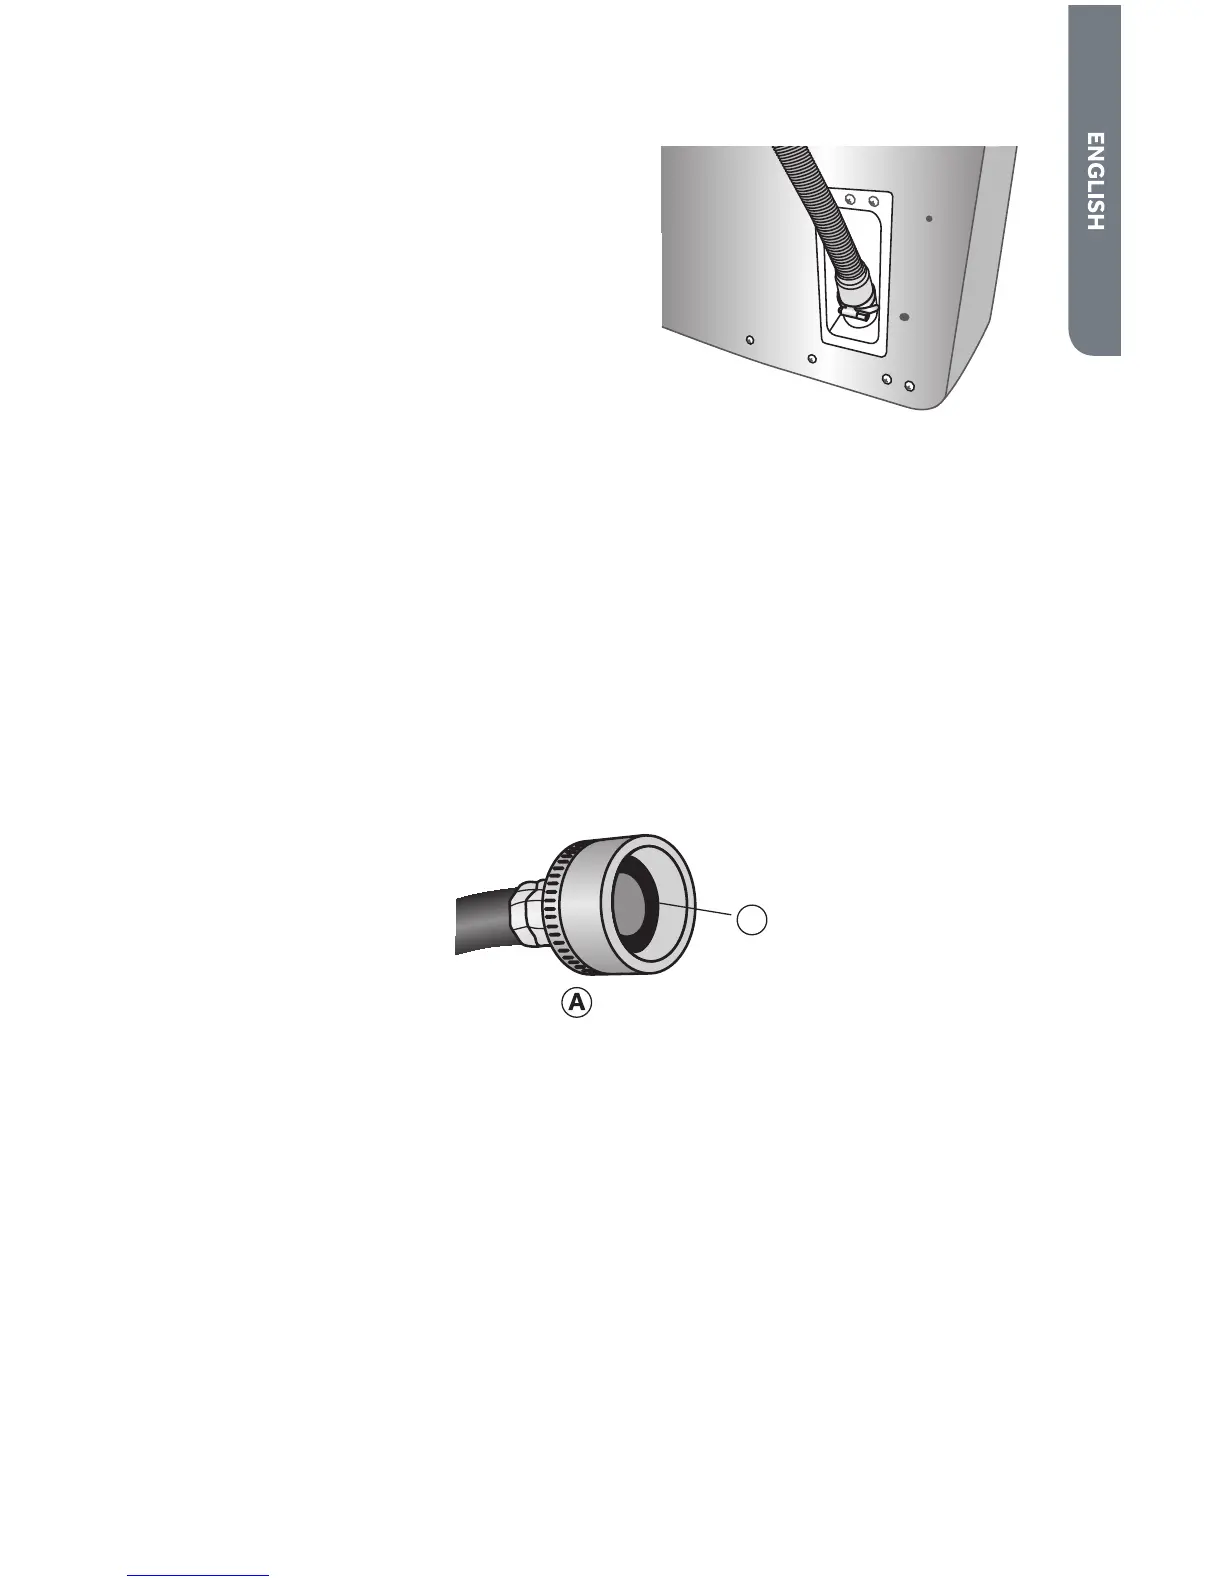
1.# #N++/%!#&'%#") 1!#'+/%#.$ -;#(1&'# #* &?
blade screwdriver. Slide the clamp up the
") 1!#'+/%9#+=#&'%#'+/%#)288%)#%!"3
2. Fit the drain hose rubber end over the
plastic drain port on the washer.
3. Slide the drain hose clamp over the drain
hose rubber end and drain port.
4. Tighten the drain hose clamp to secure the
connection.
5. Put the drain hose hook end in a drain pipe
or laundry tub.
6. Secure the drain hose in place by fastening it to a water hose, the standpipe, or a
leg on the laundry tub. See “Drain System Requirements” for illustrations.
STEP 3 - CONNECT THE WATER HOSES
IMPORTANT: Only use new hoses when installing the washer.
NOTE: Periodically inspect hoses for cracks, cuts, leaks or wear. Replace with new
hoses every 5 years.
NOTE: Hot water needs to be set at a temperature of at least 120ºF - 140ºF. (49ºC-
60ºC) for the soap to dissolve and to avoid soap residue remaining on clothes.
1. O'%.:#&' &# #* &#( /'%)#1/#;)%/%!&# !"#@)-$5#1!#;$ .%#1!#% .'#%!"#+,#&'%#( &%)#
inlet hoses. Flat washers are pre-installed at the factory.
A
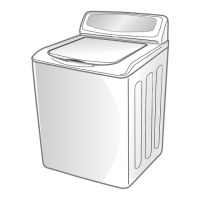
Washer
 Loading...