Open
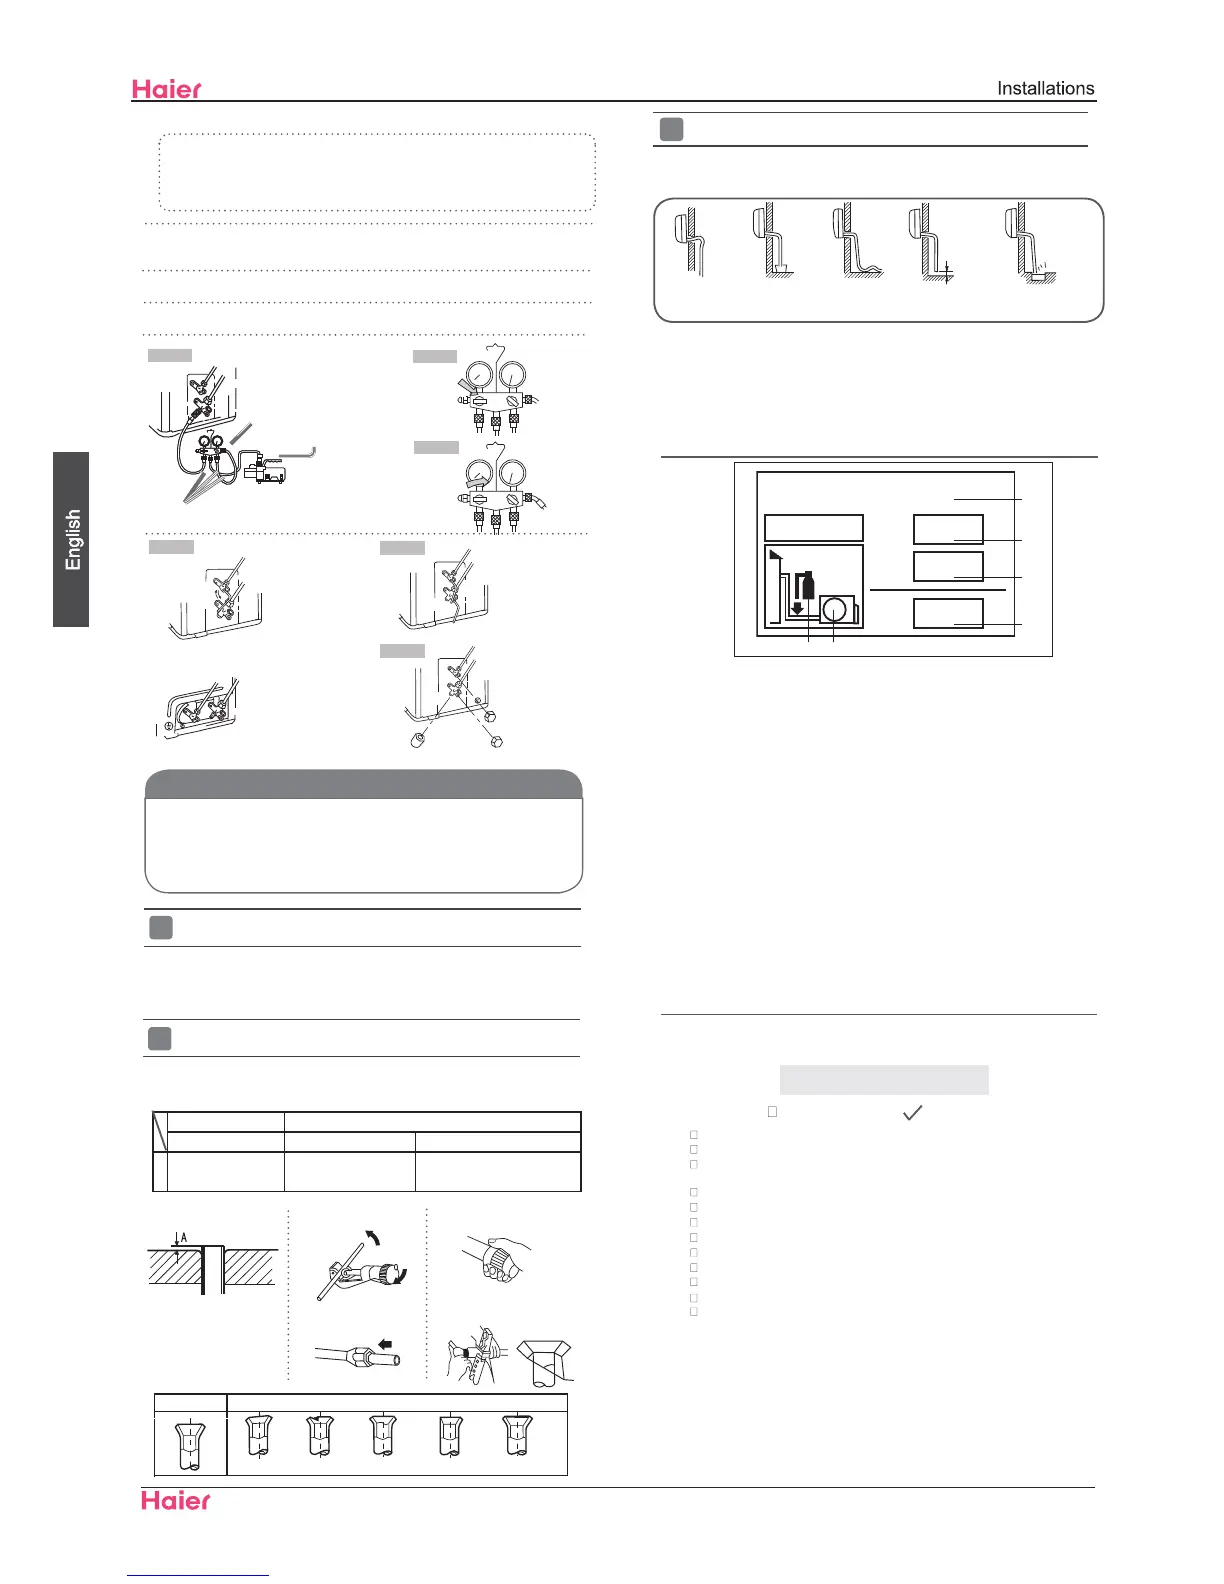
No gas leakage?5.
Detach the charge hose6.
from the service port, open 2-way valve and 3-way. Turn
In case of gas leakage, tighten parts of pipe connection. If
leakage stops,
then proceed
Anti countercurrent joint
Gaugemanifold(for
R410A)
2-way valve Liquid Side
3-wayvalveGasSide
Vacuum pump(for R410A)
Tube(for R410A)
Close
2-way valve
3-way valve
Open 90
O
2-way valve
3-way valve
2-way valve
3-way valve
2-way valve
3-way valve
Valve rod cap
Valve rod cap
Service port cap
To prevent the gas
leakage,
After attaching each cap, check for gas leakage around the caps.
7
.
8.
Step 1.
Step 2.
Step 3.
Step 7.
Step 6.
Step 4.
The power source must be exclusively used for air
●
conditioner. (Over I0A)
In the case of installing an air conditioner in a moist place,
●
please install an ea-
For installation in other places, use a circuit breaker as far
●
as possible.
Pipecuttingiscarriedoutwith a pipecutterandbursmust
●
be removed.
After inserting the flare nut, flaring work is carried out.
●
Iftherefrigerant of theairconditionerleaks,itisnecessarytodischargeallthe
●
refrigerant. Vacuum first, then
charge the liquid re
frigerant into air conditioner
according to the amount marked on the name plate.
Please do not let other cooling medium, except specified one (R410A), or air
●
enterintothecoolingcirculationsystem.Otherwise,therewillbeabnormal
high pressure in the system casuing damage and possibly personal injuries.
1
Power Source Installation
2
CuttingandFlaringWorkofPiping
Flare tooling die
1.Cut pipe
2.Remove burs
3.Inserttheflarenut
CAUTION
FlaretoolforR410A Conventionalflaretool
Clutch-type clutch-type(Rigid-type) Wing-nut type (Imperial-type)
A
0~0.5mm
1.0~1.5mm
1.5~2.0mm
rth leakage breaker (GFCI).
4.Flare pipe
Lean
Damage of flare Crack Partial Too outside
Correct Incorrect
3
On Drainage
It becomes
high midway.
The gap with the
ground is too small.
Thereisthebad
smell from a ditch
It waves.
The end is imm-
ersed in water.
Pleaseinstallthedrainhosesoastobedownwardslopewithoutfail.
Please don’t do the drainage as shown below.
●
●
Please pour water in the drain pan of the indoor unit, and
●
is carried out surely to outdoor.
In case that the attached drain hose is in a room, please
●
apply heat insulation to
Less than
5cm
confirm that drainage
it without fail.
Check Items for Test Run
Put check mark
in boxes
Gas leak from
pipeconnecting
?
Heat insulation of
Are the connecting wirings of indoor and outdoor firmly
Is the connecting wiring of indoor and outdoor firmly fixed?
Is drainage securely carried out?
Is the ground wire securely connected?
Istheindoorunitsecurelyfixed?
Ispowersourcevoltageabidedbythecode?
Is there any noise?
Isthelampnormallylighting?
Arecoolingandheating(wheninheatpump)performednormally?
Is the operation of room temperature regulator normal?
Please kindly explain to our customers how to operate
throughtheinstructionmanual.
Check for Installation and Test Run
■
inserted to the terminal block?
■
1
1+2=
kg
R410A
2
kg
2=
1=
B
C
D
FE
kg
A
This product contains fluorinated greenhouse gases covered by
the Kyoto Protocol. Do not vent into the atmosphere.
Refrigerant type:R410A
GWP* value:1975
GWP=global warming potential
Please fill in with indelible ink,
• 1 the factory refrigerant charge of the product
• 2 the additional refrigerant amount charged in the field and
• 1+2 the total refrigerant charge
on the refrigerant charge label supplied with the product.
The filled out label must be adhered in the proximity of the product
charging port (e.g. onto the inside of the stop valve cover).
A contains fluorinated greenhouse gases covered by the Kyoto
Protocol
B factory refrigerant charge of the product: see unit name plate
C additional refrigerant amount charged in the field
D total refrigerant charge
E outdoor unit
F refrigerant cylinder and manifold for charging
Contains fluorinated greenhouse gases
covered by the Kyoto Protocol
Refrigerant charge label■
the valve stem counterclockwise.
step 6. If leak continues, remove the refrigerant used for the
leakage check and flare tubes again. Repeat vacuum and leak and if no
leakage, proceed to step 6.
replace the service port and valve stem caps securely.
pipeconnecting
?
0~1/51 inch
3/76 ~1/17 inch
1/17 ~1/8 inch
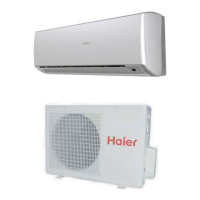
Domestic air conditioner
39
HSU09/12XCK-SM
 Loading...