Do you have a question about the Haier RWT360BW and is the answer not in the manual?
Safety guidelines for installing the appliance.
General safety advice for using the appliance.
List of tools required for the installation process.
List of parts that must be purchased separately.
List of parts that come with the washer.
Conditions for choosing a suitable installation site.
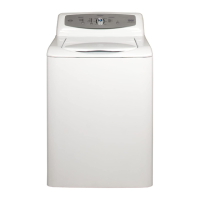
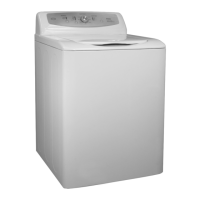
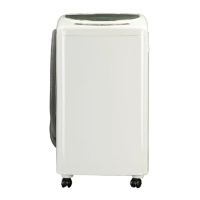
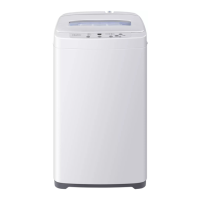
Physical size specifications of the washing machine.
Guidelines for setting up the washer's drain system.
Requirements for the laundry tub used for draining.
Specifications for the power supply and electrical connections.
General guidance before starting installation steps.
Instructions for removing packaging and inspecting the washer.
Procedure for connecting the drain hose securely.
Instructions for connecting the hot and cold water hoses.
How to adjust leveling feet for stability and reduce vibration.
Final checks and initial operation of the washer.
Overview of the control panel layout and buttons.
Function of the temperature selection button.
Function of the load size selection button.
How to select wash cycles and available options.
How to start, pause, and resume cycles.
Understanding the lights indicating cycle stage.
Function of the extra rinse option.
How to add detergent, bleach, and softener to the machine.
Instructions for loading clothes into the wash basket.
How to start a wash cycle and make adjustments.
How to prepare and sort clothes before washing.
Procedures for cleaning the washer and its components.
Steps to take before leaving the appliance unattended.
Instructions for preparing the washer for moving or storage.
Solutions for when the washer fails to start.
Addresses issues related to water flow, temperature, and leaks.
Solutions for common noises like thumping or rattling.
Addresses issues like wrinkling, residue, and garment damage.
Details of the warranty service provided at home.
Coverage for parts and labor during the first year.
Coverage details after the first year of purchase.
Warranty for outer tub assembly parts.
Warranty for inner stainless steel wash basket.
Information on how to obtain warranty service.
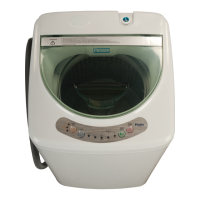
| Loading Type | Top Load |
|---|---|
| Color | White |
| Energy Star Certified | No |
| Number of Wash Cycles | 8 |
| Voltage | 120V |