● Preset ID (Setting of each preset name)
1.
Move the cursor to select “Preset ID”. After selecting, press <ENT>.
2.
Move up and down the cursor with the control buttons.
After selecting, press <ENT>.
3. Press the <↑> or <↓> to set the desired figure.
You will proceed to the next digit if the <ENT> button is pressed.
4. To exit from setting screen, scroll the screen, select <EXIT>, and press the
<ENT> button.
CAUTION
As a preset ID, 1 to 8 characters can be used.
Usable characters are “A - Z”, “0 - 9”, and space (“ ”). Entering a space makes your
entry terminated. Any character(s) that follows the space is deleted.
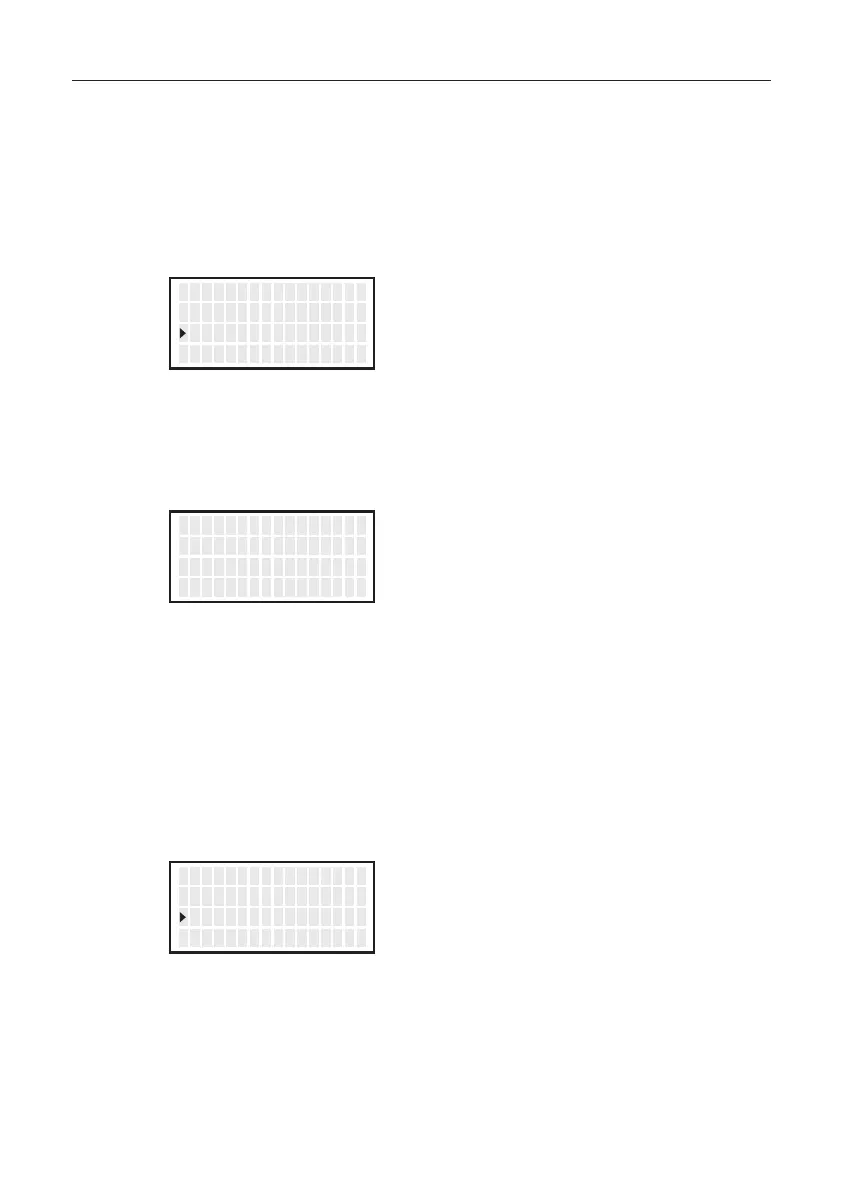
<↑> <↓> <ENT>
V acuum Check
P r ese t T emp
P r ese t I D
<↑> <↓> <ENT>
P1 I D SET
RESET1
<↑> <↓> <ENT>
P1 I D PRESET1
P2 I D PRESET2
P3 I D PRESET3
<↑> <↓> <ENT>
P2 I D PRESET2
P3 I D PRESET3
<EXIT>
11
5. OPERATION (continued)
● LCD Contrast (Contrast adjustment of display screen)
1.
Move the cursor to select “
LCD Contrast
”. After selecting, press <ENT>.
To make the screen display easy to see, adjust contrast.
2. Press the <↑> or <↓> to set the
adjust contrast
.
(Selection range is 1 to 25.)
3. After selecting the value, press <ENT> to return to the selection screen.
To exit from each setting screen, scroll the screen, select <EXIT>, and press
the <ENT> button.
<↑> <↓> <ENT>
P r ese t T emp
P r ese t I D
LCD Con tra s t
<↑> <↓> <ENT>
LCD Con tra s t
A d jus t me n t
10
<↑> <↓> <ENT>
P r ese t I D
LCD Con tra s t
<EXIT>
12