5
HEAT I NG...
PLEASE
W
A I T
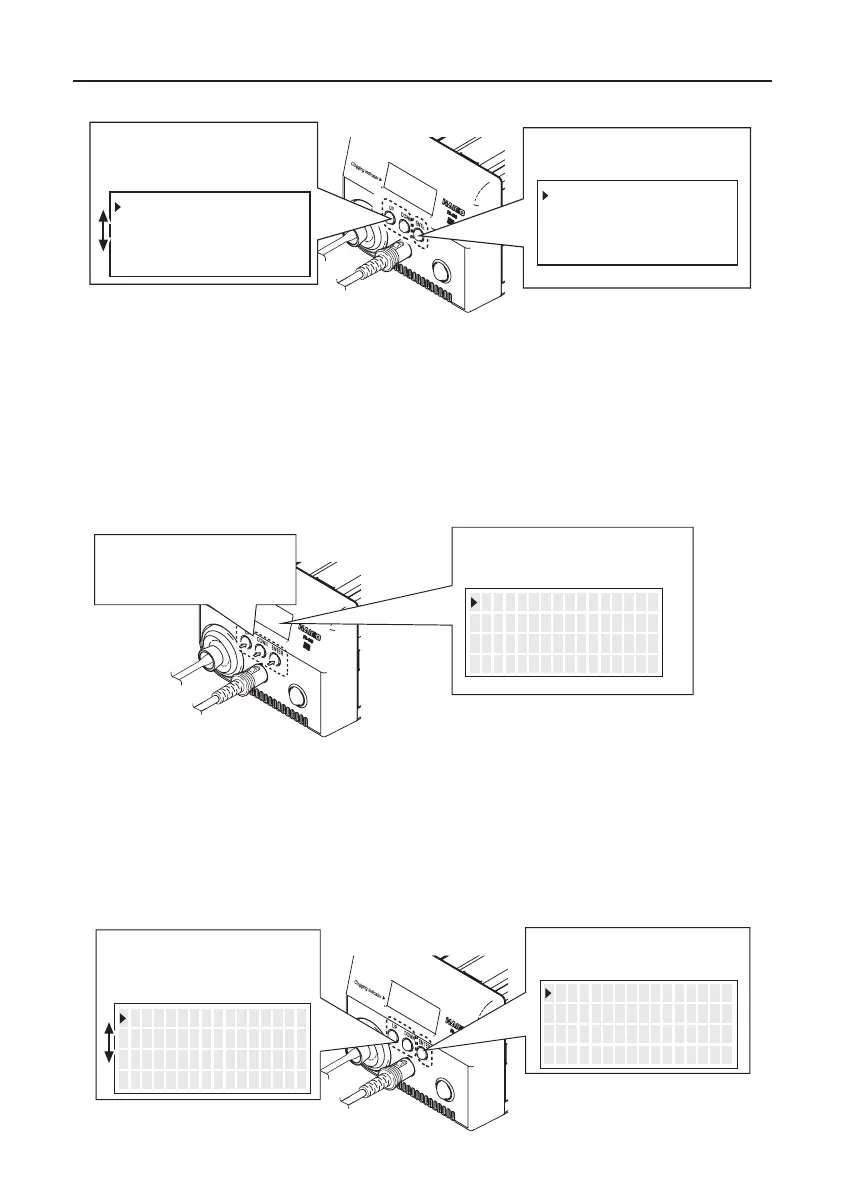
B.Making Changes to Settings
●
Selecting the preset number
If changing temperatures, there is a preset function
that selects arbitrarily set temperatures.
<↑> <↓> <ENT>
PRESET1
PRESET2
PRESET3
350℃
400℃
450℃
2. The preset selection screen
appears.
1. Press any of the
three control buttons.
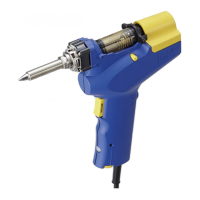
Nozzle
Board
Solder
Lead
1. Place the nozzle over the lead wire of the part to be
desoldered and begin heating.
Be careful to heat the lead wire and the solder, not the land.
Placing the nozzle directly in contact with the land may
cause the land to peel off. You may apply a small amount of
solder to form a heat bridge to help the heating process.
2. Check to make sure all of the solder on the joint has melted.
With the nozzle still in place over the lead wire, slowly move
the lead wire, being careful not to apply too much force. If
the lead wire moves easily, all of the solder has melted.
3. Pull the trigger to remove the melted solder.
4. If the solder was not removed, re-solder the part using new
solder and then repeat the desoldering process.
A. Desoldering
If the pump does not operate, immediately clean
the nozzle & heating element and replace the filter
if necessary.
CAUTION
●
When triggering before the heater reaches set temperature
When triggering before the heater reaches set
temperature, the display screen shows “HEATING...
PLEASE WAIT” and the vacuum does not work.
Please wait for the heater to reach the set temperature.
Make sure that a filter has been inserted in the desoldering
tool. Desoldering without a filter may damage the pump.
CAUTION
5. OPERATION (continued)
6
<↓> <ENT><↑>
<↓> <ENT>
350℃
400℃
450℃
<↑>
PRESET1
PRESET2
PRESET3
350℃
400℃
450℃
PRESET1
PRESET2
PRESET3
3. Move the cursor UP or
DOWN by pressing
the corresponding buttons.
4. Press the <ENT> button to
finalize your selection.
If you wish to exit the PRESET SELECTION screen...
Scroll the cursor to the bottom, select <EXIT>, and press the <ENT> button.
You will return to the normal display without making changes.
Or, if the device is left alone without performing any operations for 10 seconds,
you will be returned to the normal display.
When changing the current set temperature or the preset temperature, follow the
operation of “
●
Changing various setting (other than preset selections)”.
1.
Press and hold any one
of the three control buttons
for at least 2 seconds.
● Changing various settings (other than preset selections)
2. The setting selection screen
appears.
The following settings can be changed from this screen:
Set Temp
Offset Temp
Vacuum Check
Preset Temp
Preset ID
LCD Contrast
<EXIT>
(Nozzle temperature setting)
(Nozzle temperature offset setting)
(Check of nozzle clogging and suction force)
(Setting of each preset temperature)
(Setting of each preset name)
(Contrast adjustment of display screen)
(Return to the normal display)
3. Move the cursor UP or
DOWN by pressing the
corresponding buttons.
4. Press the <ENT> button to
finalize your selection.
<↑> <↓> <ENT>
S e t T emp
O f f s e t T emp
V acuum Check
350゚ C
00゚ C
<↑> <↓> <ENT>
S e t T emp
O f f s e t T emp
V acuum Check
350゚ C
00゚ C
<↑> <↓> <ENT>
S e t T emp
O f f s e t T emp
V acuum Check
350゚ C
00゚ C