Do you have a question about the HAMPTON BAY 10318 and is the answer not in the manual?
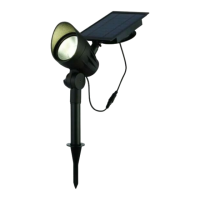
Explains how solar lights convert sunlight into electricity for recharging. Operating time varies by location.
Connects the post (C) to the ground stake (D) and inserts into the ground. Use water for hard ground.
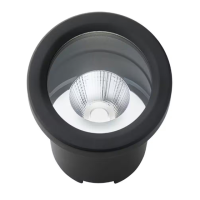
Removes the pull tab from the battery compartment on the solar top housing (A) before first use.
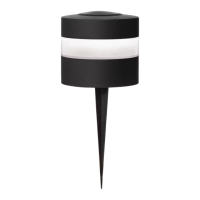
Attaches the solar top housing (A) on top of the glass lens (B) using a clockwise twisting motion.
Inserts the solar light assembly (A) on top of the post (C). Avoid pressing the top to prevent damage.
Clean the solar panel with a damp cloth. Keep it free of snow and debris for proper charging.
Instructions for removing the solar top housing, accessing the battery, and replacing it.
Addresses issues where the light stops functioning after initial operation, possibly due to charging or battery.
Explains why the light may only operate for a short time, often related to sunlight or battery condition.
Details what defects are covered by the manufacturer's two-year warranty and proof of purchase requirements.
Lists what is not covered by the warranty, including bulbs, batteries, misuse, and consequential damages.
| Brand | Hampton Bay |
|---|---|
| Model | 10318 |
| Category | Outdoor Light |
| Light Bulb Type | LED |
| Power Source | Hardwired |
| Number of Bulbs | 1 |
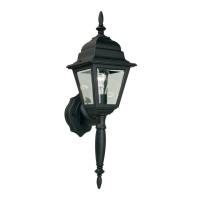
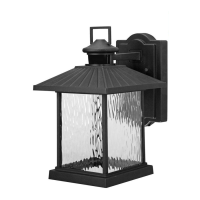
| Type | Wall Lantern |
| Finish | Black |
| Voltage | 120 Volts |