Step
Step
Step
Step 3
3
3
3
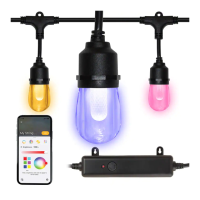
Locate two l o ck i ng ta b s on the top
hous i ng ( 3 ). On ei t her s i de, p u sh
the plast i c wall w i th appr o pr i ate
force to rel e ase l e ns ( 4 ) from the
l o ck i ng tab s . (FIG.3)
Ste
Ste
Ste
Ste p
p
p
p 4
4
4
4
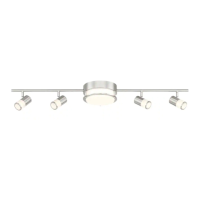
On the un d erside of top h o usi n g
( 3 ), pull off isolation strip. (FIG.4)
Step
Step
Step
Step 5
5
5
5
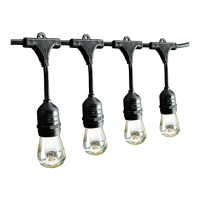
Replace lens ( 4 ) to top ho u sing
( 3 ). (FI G .5)
Step
Step
Step
Step 6
6
6
6
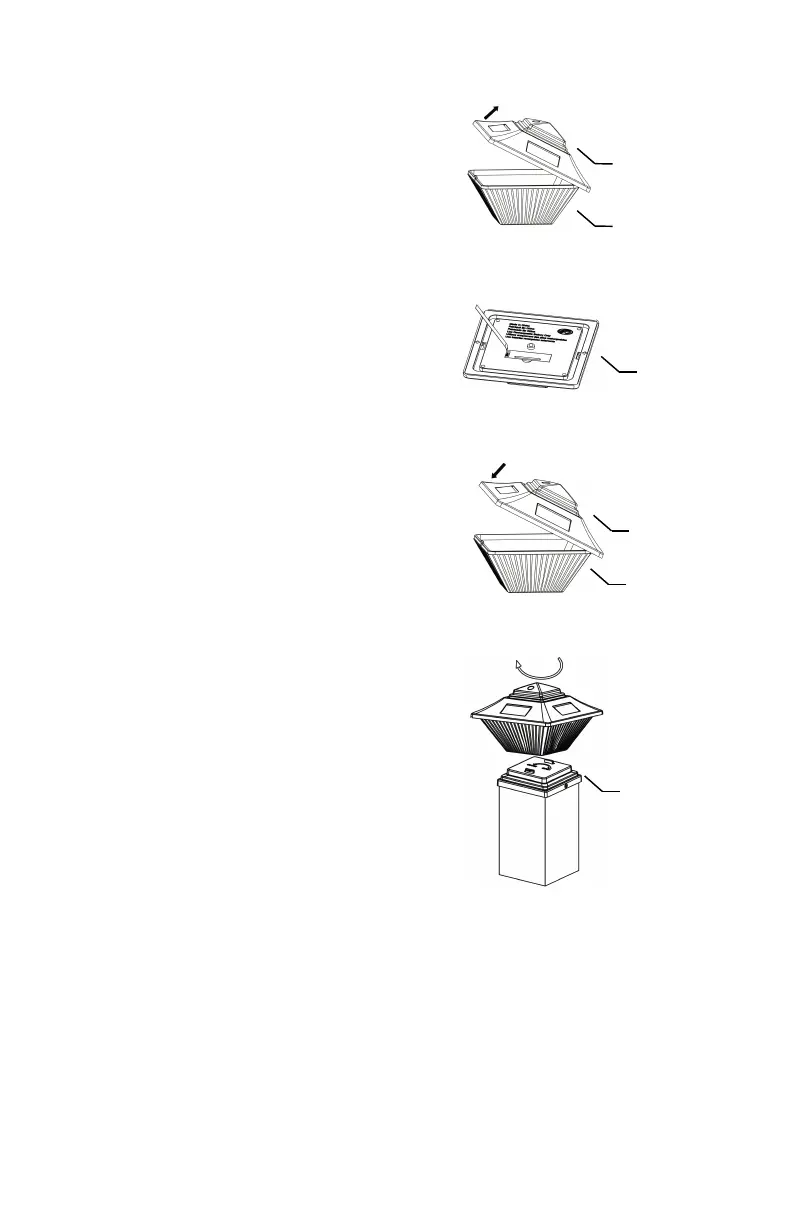
Install the lig h t on base ( 1 ) by
inserti n g three l o cking t abs into
three slots. Twist the light
count e rc l ockwise to loc k .
(FIG.6)
Charging
Charging
Charging
Charging the
the
the
the battery:
battery:
battery:
battery:
For optimum performance , it is best to install the solar lights in
full sunlight and charge for 10-12 hours. Allow the light to run at
least 8-12 entire charging and discharging cycles to reach
battery ’ s maximum capacity.
 Loading...