
E
ewilliamsAug 4, 2025
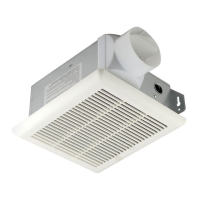
What to do if my HAMPTON BAY BPT12-13E is not clearing the room?
- RRobert CastroAug 4, 2025
If your HAMPTON BAY Fan isn't clearing the room effectively, it might be due to insufficient airflow intake. Ensure a door or window is slightly open to allow airflow, as the fan needs adequate air to draw from. Also, check that the fan's CFM rating matches the room size requirements. If the fan clears steam from the room within approximately 15 minutes after you shower, it is operating properly.