
A
Alexis GomezJul 26, 2025
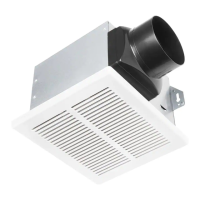
Why is my HAMPTON BAY BPT13-14HD so loud?
- MmccartykellyJul 26, 2025
Several factors can cause your HAMPTON BAY Fan to be louder than expected. First, ensure the CFM rating matches your room's square footage. Check the damper to make sure it opens and closes correctly; if damaged, contact Customer Service. Ensure there are no sharp duct bends closer than 18 inches to the fan discharge. Use the recommended ducting size to minimize noise, and confirm the fan is securely attached to the ceiling joists.