Do you have a question about the HAMPTON BAY Bay Island and is the answer not in the manual?
Important safety precautions and warnings for fan installation and use. Avoid bending blades or inserting objects.
Ensure fan is mounted to an outlet box marked acceptable for fan support using provided screws.
Warning against installing a fan with damaged or missing parts. Contact support if issues are found.
Instructions for mounting the fan, including securing the outlet box and support structure.
Critical safety warning to mount fan only to approved outlet boxes and use provided screws.
Step-by-step guide for connecting the fan's wiring to your household electrical supply.
Ensure all electrical connections are tight, including ground, and no bare wire is visible except ground.
Electrical diagrams are for reference only; optional light kits must be UL listed and suitable for use with the fan.
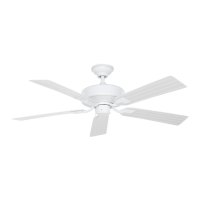
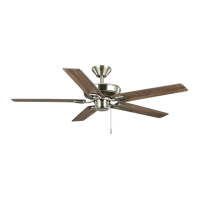
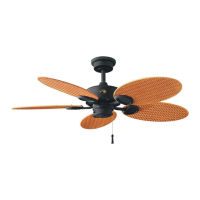
Instructions for attaching fan blades to blade holders and securing them to the motor assembly.
Warning against bending blade holders during installation, balancing, or cleaning, and inserting objects into blades.
Procedure to correct fan wobble by checking blade security and alignment, using a balancing kit if needed.
Procedure for attaching the mounting plate to the mounting ring using screws.
Caution to disconnect power before installing the light kit to prevent electric shock. Warning about wattage limits.
Notes on pull chain clearance, bulb warranty, and purchasing bulbs.
Instructions for fans that do not include a light kit, covering switch housing attachment.
Caution to wait for the fan to stop before reversing the direction of blade rotation.
Explanation of the 3-speed pull chain operation: High, Medium, Low, and Off.
Controls the light kit operation, switching it ON or OFF.
Controls the fan's direction of rotation: forward (left) or reverse (right).
Counter-clockwise rotation creates downward airflow for cooling, allowing higher AC settings.
Clockwise rotation creates upward airflow to circulate warm air for heating efficiency.
Check support connections, brackets, and blade attachments twice a year for security.
Clean with a soft brush or lint-free cloth; avoid water to prevent damage and electric shock.
Troubleshooting steps for a fan that fails to start, checking fuses, breakers, and wiring connections.
Troubleshooting steps for a noisy fan, checking screws, wire nuts, glassware, and ceiling clearance.
Critical safety warning to ensure power is off at the electrical panel before attempting any repairs.
Technical specifications including size, speed, voltage, amperage, wattage, RPM, CFM, and weight.
Note that specifications are approximate and do not include amps/wattage used by the light kit.
Details about the distributor, Home Depot U.S.A., Inc., and their address.
Lifetime warranty on the fan motor against defects in workmanship and material.
One-year warranty on other fan parts (excluding glass/acrylic blades) against defects.
Proof of purchase (receipt) is required for warranty service; costs of removal/reinstallation are your responsibility.
Warranty does not cover damage from accident, misuse, improper installation, or accessories.
Warranty does not cover changes in brass finish due to climatic conditions like rusting or tarnishing.
Warranty is invalidated if servicing is performed by unauthorized persons.
Limits retailer liability for incidental, consequential, or special damages, subject to legal exceptions.
Customers are responsible for paying shipping costs for any product returns under a warranty claim.
Presenting a copy of the original purchase receipt is mandatory to obtain warranty service.
Contact information for the Ceiling Fan Parts & Service Department for warranty claims.
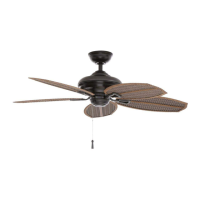
| Fan Diameter (in.) | 52 |
|---|---|
| Number of Blades | 5 |
| Light Type | Integrated LED |
| Motor Speed (RPM) | 130 |
| Bulb Type | LED |