Page 5For technical questions, please call 1-888-866-5797.Item 62858
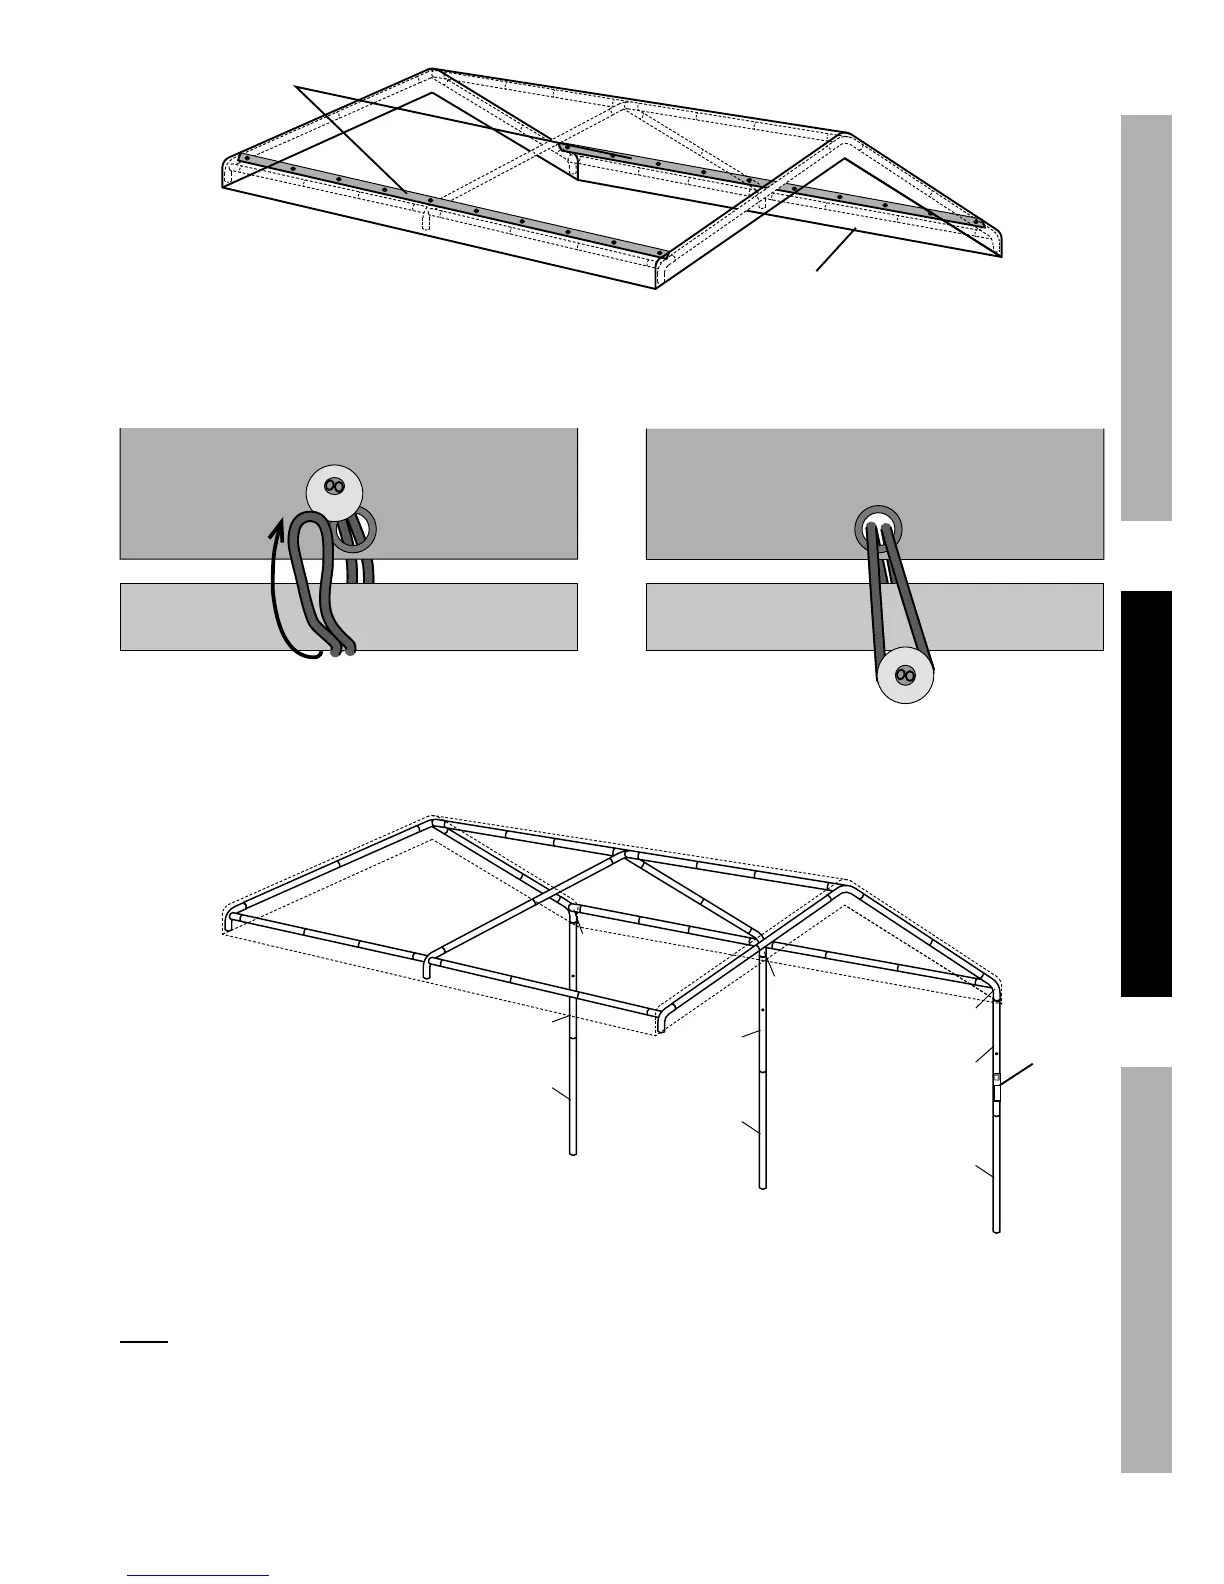
Figure 3: Roof Tarp (9)
9
eyelet
straps
3. Place the Roof Tarp (9) over the top of the roof assembly with its eyelet straps facing down, on the inside.
Figure 4: Connecting Ball Tie-downs (10)
4. Use the Ball Tie-downs (10) to attach the Roof Tarp to the tubes using the eyelets on the eyelet straps.
Figure 5: Leg Assembly - 1
1
2
1
2
1
2
5
6
5
WARNING
Remove
cover if harsh weather
or heavy rain threatens.
2. Do not allow sno
to accumulate or
pool on shelte
3. Anchor securely to flat,
level, solid surface able
to support shelter and
vehicle according to
manual instructions.
4. Inspect before assembly
and every use; do not
assemble or use if parts
loose or damaged.
5. W
gloves,
and hard hat during
assembly and service.
6. Read manual before
assembly and/or use.
Made in China.
69034
DO NOT REMOVE.
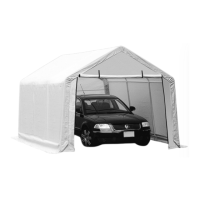
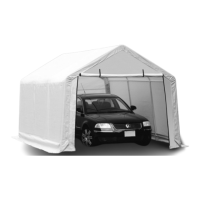
10 ft. x 20 ft.
Portable
Car Canopy
warning
label
5. Attach a Straight Tube (1) to each 3- and 4-Way Connector (5, 6) on one side of the assembly.
Note: The warning label is on one of the Straight Tubes (1).
Turn that Tube so that the Warning label can be read easily.
Attach a Swaged Tube (2) to the bottom of each Straight Tube.
SAFETYMAINTENANCE ASSEMBLY