=))6'L/28"'<.."81&C
>)*"3 Much of this product’s assembly is done using slip fit construction. Make sure all parts seat completely
and securely. A rubber mallet (sold separately) can be used to gently tap parts in place to ensure a tight fit.
<O
c
b
<a
IO
I
<
<O
IO
IO
IO
<a
<
I
c
c c
c
c
cc
c
b
b
b
b
b
bb
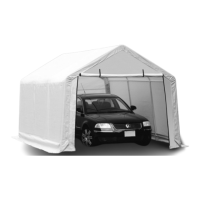
L$7+/"'<3''=))6'<.."81&C'JX"/X$"0
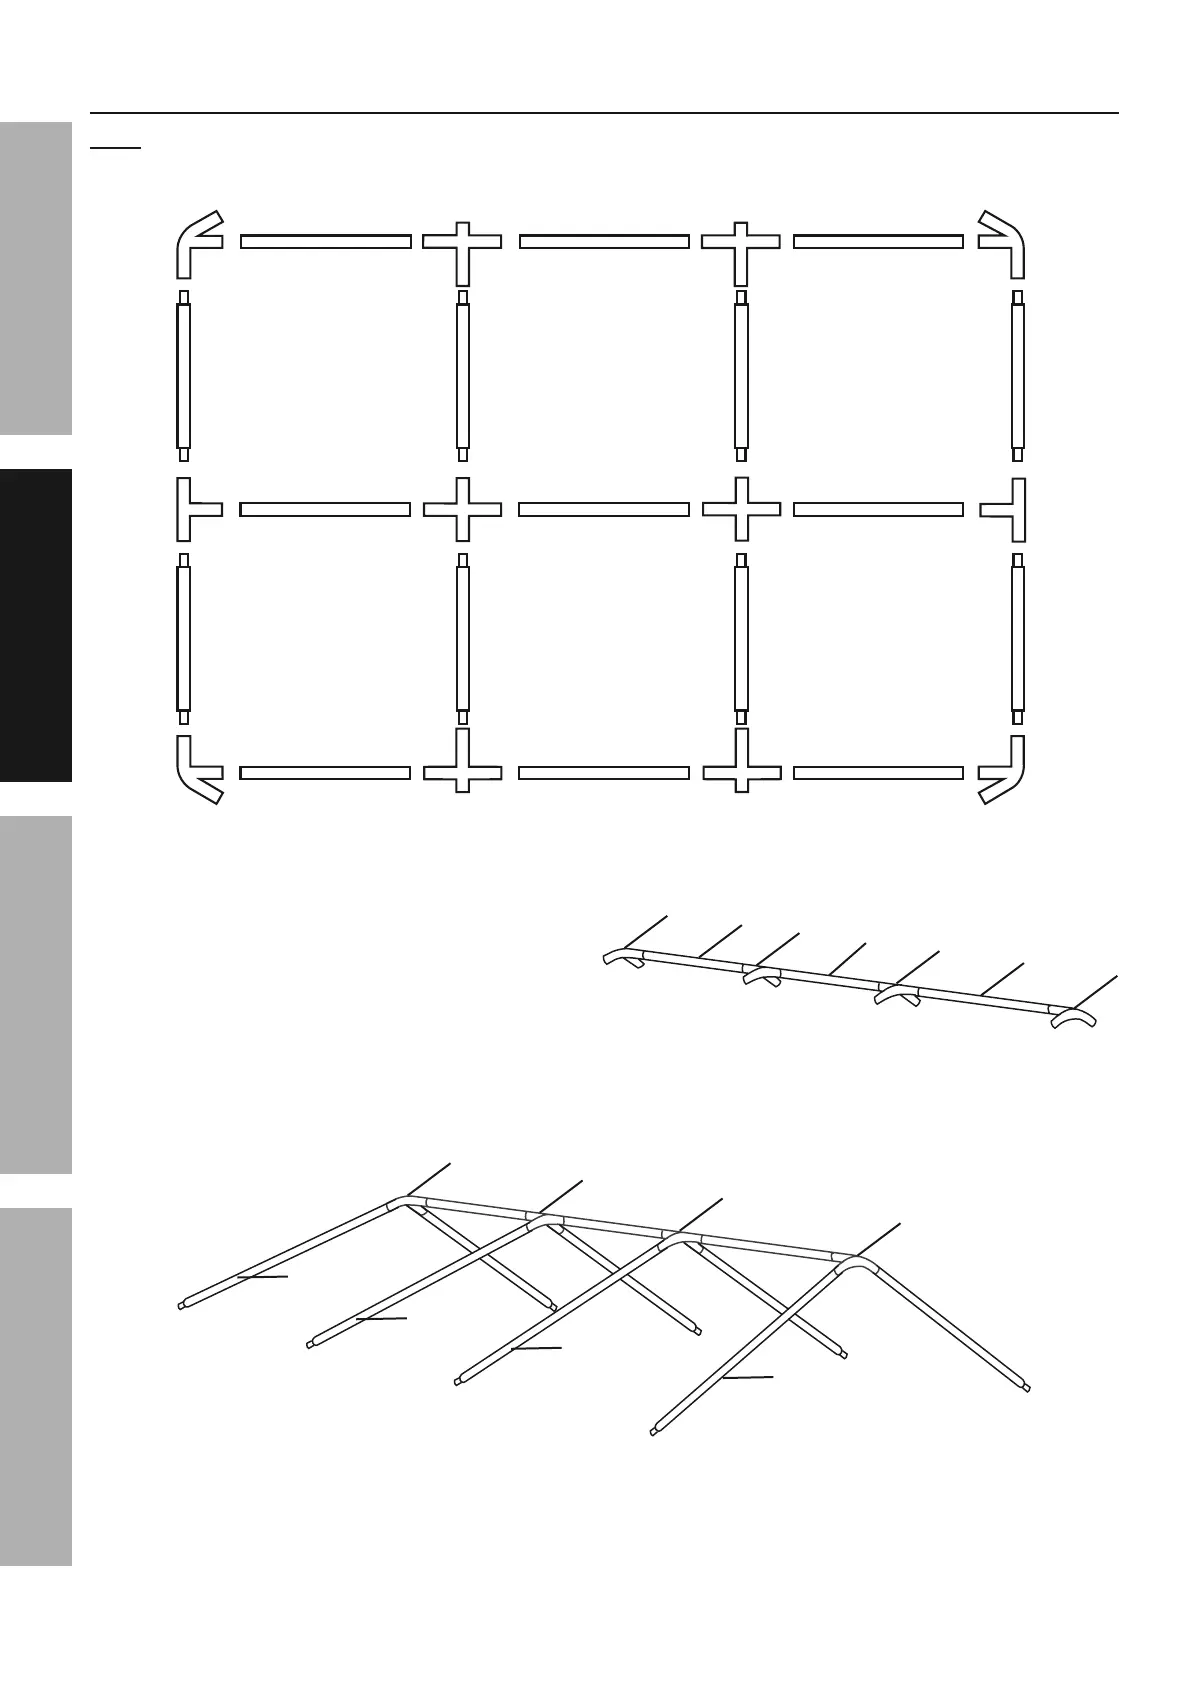
1. Assemble ridge using three Rails (4) with
4-Way Ridge Connectors (B) between them,
and a 3-Way Ridge Connector (A) on each
end. The Rails connect to the straight ends of
the Connectors and the curved, free ends of the
Connectors angle down, as shown in Figure B.
<
I
c
<
I
c
c
L$7+/"'I3''=$,7"'<.."81&C
2. Connect a Rafter (3) to each free end of every
Connector (A, B), as shown in Figure C.
<
I
<
I
b
b
b
b
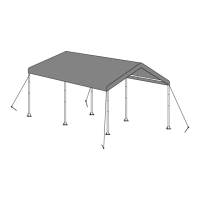
L$7+/"'F3''=26*"/'<.."81&C
Page 6 L)/'*"%#($%2&'M+".*$)(.N'4&"2."'%2&&'OPQQQPQRRPSTUT- Item 62859
D<L9EG JV9=<E?J> H<?>E9><>F9D9EWV