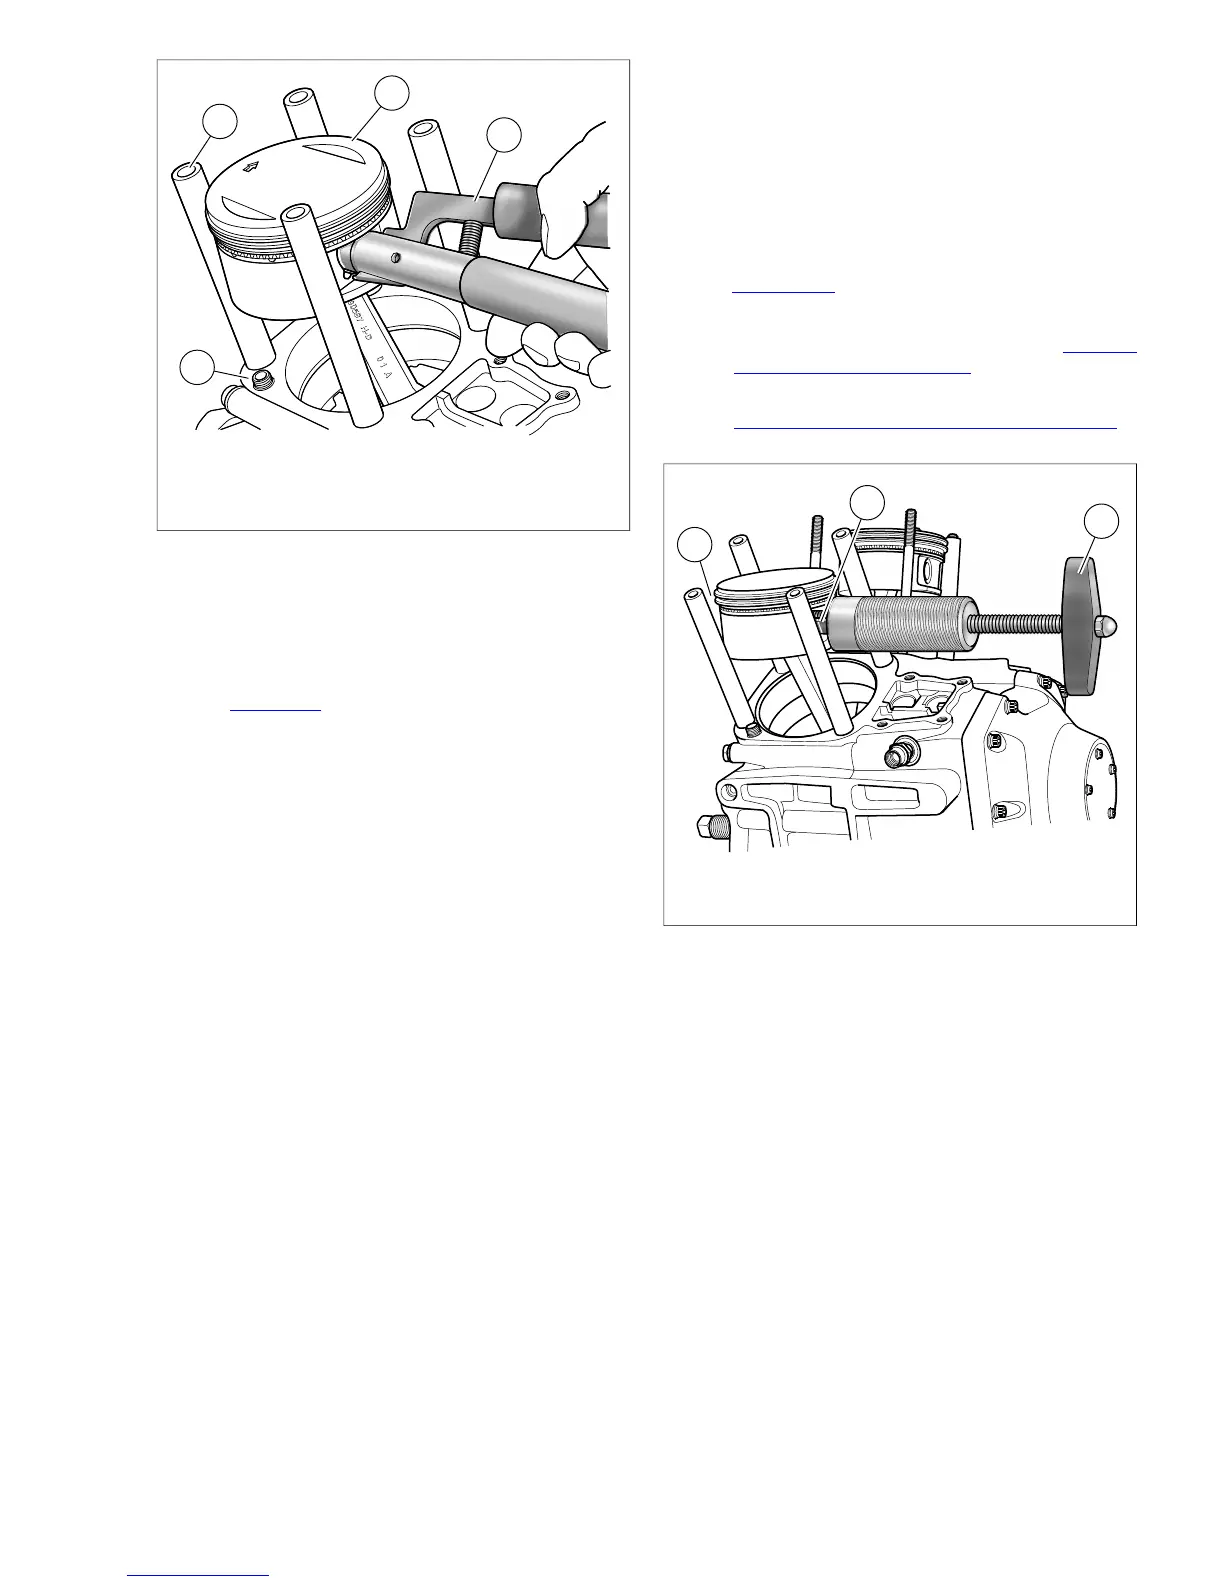
1. Piston pin circlip remover/installer
2. Piston
3. Protective material over cylinder studs
4. Cylinder deck dowel (O-ring not shown)
Figure 3-28. Piston Pin Circlip Removal (Part No. HD-42317)
NOTE
It is not necessary to remove both piston pin circlips during
piston removal. Leave the second circlip in the pin bore.
3. See Figure 3-29. Remove the piston pin. If piston pin is
difficult to remove, use PISTON PIN REMOVER (Part
No. HD-42320-A).
a. Remove acorn nut and spacer from rod end of tool.
b. Slide rod end through piston pin. Install spacer and
acorn nut (1) on end of rod.
c. Position rubber-coated tips (2) of tool on flat each
side of pin bore.
d. Turn handle (3) in a clockwise direction until piston
pin is pulled free of bore.
4. Remove the piston. Be sure to hold the connecting rod
shank upright to prevent it from striking the crankcase.
Place a 3.0 in. (76.2 mm) long piece of foam-type water
pipe insulation around each connecting rod. Use material
with an O.D. of 2.25 in. (57.1 mm) and an I.D. of 1.0
in. (25.4 mm) to prevent damage.
5. Turn the piston over. Mark the pin boss with the letters
F(ront) or R(ear) to identify location.
6. Service as needed. For inspection and repair information,
see 3.24 PISTON.
7. Complete engine work.
a. If performing a top end overhaul only, see 3.16 TOP
END OVERHAUL: ASSEMBLY.
b. If performing a complete engine overhaul, see
3.17 BOTTOM END OVERHAUL: DISASSEMBLY.



 To Next Page