CLEANING AND INSPECTION
1. Remove fuel pump. See 4.14 FUEL PUMP.
2. Remove fuel gauge sending unit. See 8.16 FUEL GAUGE
SENDER.
3. Clean the tank interior with commercial cleaning solvent
or a soap and water solution. Shake the tank to agitate
the cleaning agent.
4. Flush the tank thoroughly after cleaning and allow it to air
dry.
5. Inspect the interconnect lines, continuous venting system
vent line (if applicable) and fuel line for cuts, cracks or
holes. Replace lines as needed.
6. Inspect the tank for leaks and other damage. If a damaged
tank cannot be successfully repaired, replace it.
7. Install fuel gauge sending unit. See 8.16 FUEL GAUGE
SENDER.
8. Install fuel pump. See 4.14 FUEL PUMP.
INSTALLATION
TOOL NAMEPART NUMBER
HOSE CLAMP PLIERSHD-97087-65B
Excessive pressure can build in the fuel tank if vapor valve
is not mounted vertically with long fitting to top. Leaks
due to excessive pressure can cause a fire or explosion,
which could result in death or serious injury. (00265a)
1. See Figure 4-8. Install continuous venting system vent
line (9) to vapor valve (10).
2. Place a washer (3, 6) over each bolt (2, 5) and insert the
bolts through the tank mounting lugs and frame bracket
tubes.
3. Install acorn nuts (4, 7) and tighten to 15-20 ft-lbs (20.3-
27.1 Nm).
NOTE
In next step, be sure crimped end of clamp faces toward front
of vehicle.
4. Connect the crossover tube (1). Install new hose clamp
using HOSE CLAMP PLIERS (Part No. HD-97087-65B).
5. Connect the fuel feed line. Install new hose clamp using
HOSE CLAMP PLIERS.
6. Connect the fuel gauge connector located under left side
of fuel tank. See 8.15 FUEL GAUGE.
7. Install instrument panel.
a. For FXDWG/FXDC/FXDF models, see
8.17 INSTRUMENTS: FXDWG/FXDC/FXDF.
b. For FXDL, FXDB models, see 8.18 INSTRUMENTS:
FXDL/FXDB.
c. For FXD models, see 8.15 FUEL GAUGE.
8. Check for leaks.
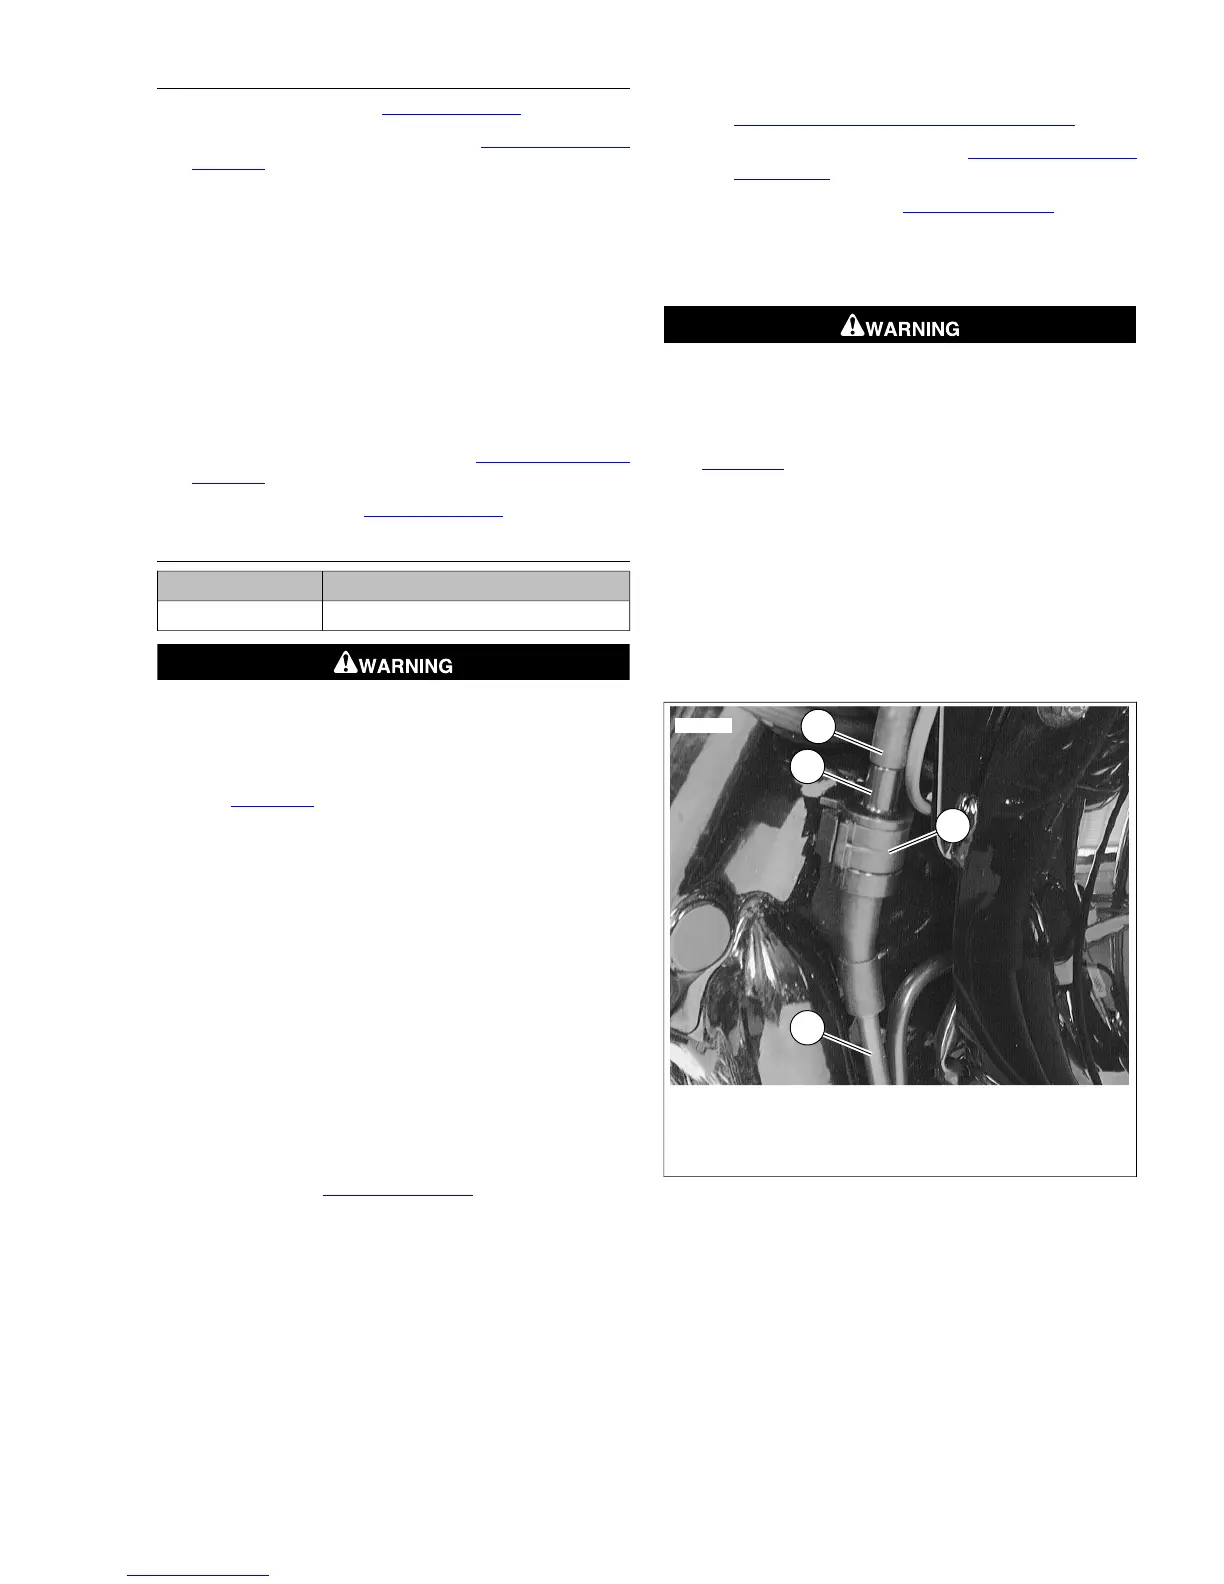
Vapor Valve
Keep vent and vapor valve lines away from exhaust and
engine. Gasoline is extremely flammable and highly
explosive, which could result in death or serious injury.
(00263a)
See Figure 4-8. The vapor valve (2) is clipped to the frame
member just ahead of the fuel tank. Mark the two hoses (1, 4)
connected to the upper and lower fittings of the vapor valve
before removing it from its clip (3). When installing the vapor
valve, place the valve back into the clip with the long necked
end at the top.
NOTE
On California models, the hose from the vapor valve bottom
fitting goes to the charcoal EVAP canister. On non-California
models, the bottom fitting hose is vented to the atmosphere.



 To Next Page