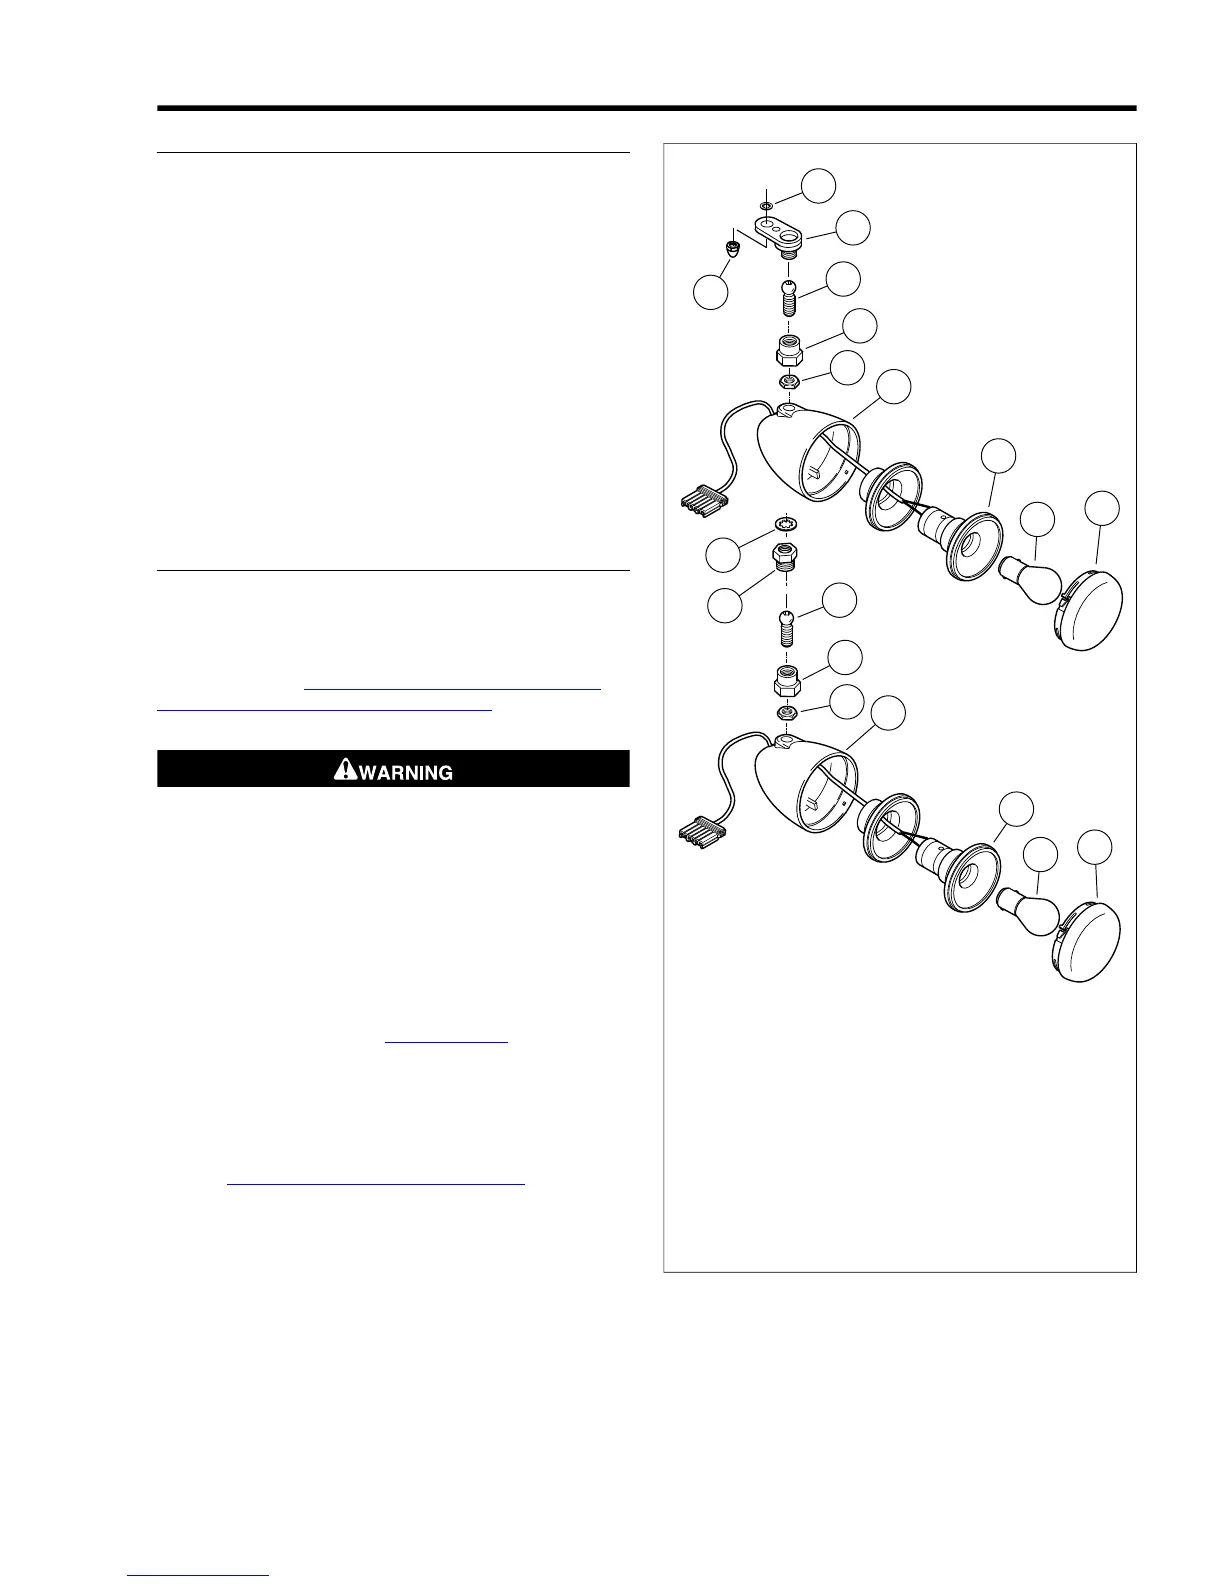
8.11TURN SIGNALS AND RUNNING LIGHTS
BULB REPLACEMENT: BULLET STYLE
1. Locate latch slot on circumference of turn signal lamp lens.
Press in with small screw driver or coin to remove lens.
2. Push bulb in and rotate 1/4 turn counterclockwise to
remove.
3. Inspect contacts in socket. If necessary, clean contacts
with a small wire brush and electrical contact cleaner.
4. Evenly apply dielectric grease to the contacts and bottom
of the new bulb.
5. Push and rotate new bulb into socket.
6. Snap-in and rotate lens to position latch slot on bottom.
NOTE
If after replacing a bulb, the turn signal or running lamp will not
light, check the wiring, the ground at the socket and/or the
switch.
FRONT LAMP HOUSING REPLACEMENT
NOTE
On FXDWG, FXDF and FXDB models, the turn signal wiring
is routed through the lower switch housings. On FXDWG and
FXDF models, the turn signal wires are routed through the
handlebars. See 2.26 HANDLEBARS: FXDWG/FXDF or
8.28 HANDLEBAR SWITCH ASSEMBLIES for more informa-
tion.
To prevent accidental vehicle start-up, which could cause
death or serious injury, disconnect negative (-) battery
cable before proceeding. (00048a)
1. Disconnect the negative battery cable.
NOTE
Before removing turn signal wires, carefully note wire routing.
In particular, pay close attention to the locations of cable straps
which must be replaced.
2. Remove fuel tank fasteners, vent, fuel supply fitting and
slide fuel tank back. See 4.5 FUEL TANK.
3. Unplug fuel gauge connector [117].
4. Disconnect turn signal connector and cut cable straps
around turn signal wire conduit.
5. Remove turn signal lamp wires from multilock connector.
See A.2 AMP MULTILOCK CONNECTORS for connector
information.
NOTE
To aid in installing new turn signal wires, attach thin wire to
terminals on old turn signal wires before pulling old wires out
of conduit or handlebars. This thin wire can then be used to
guide new wires back through conduit or handlebars.



 To Next Page