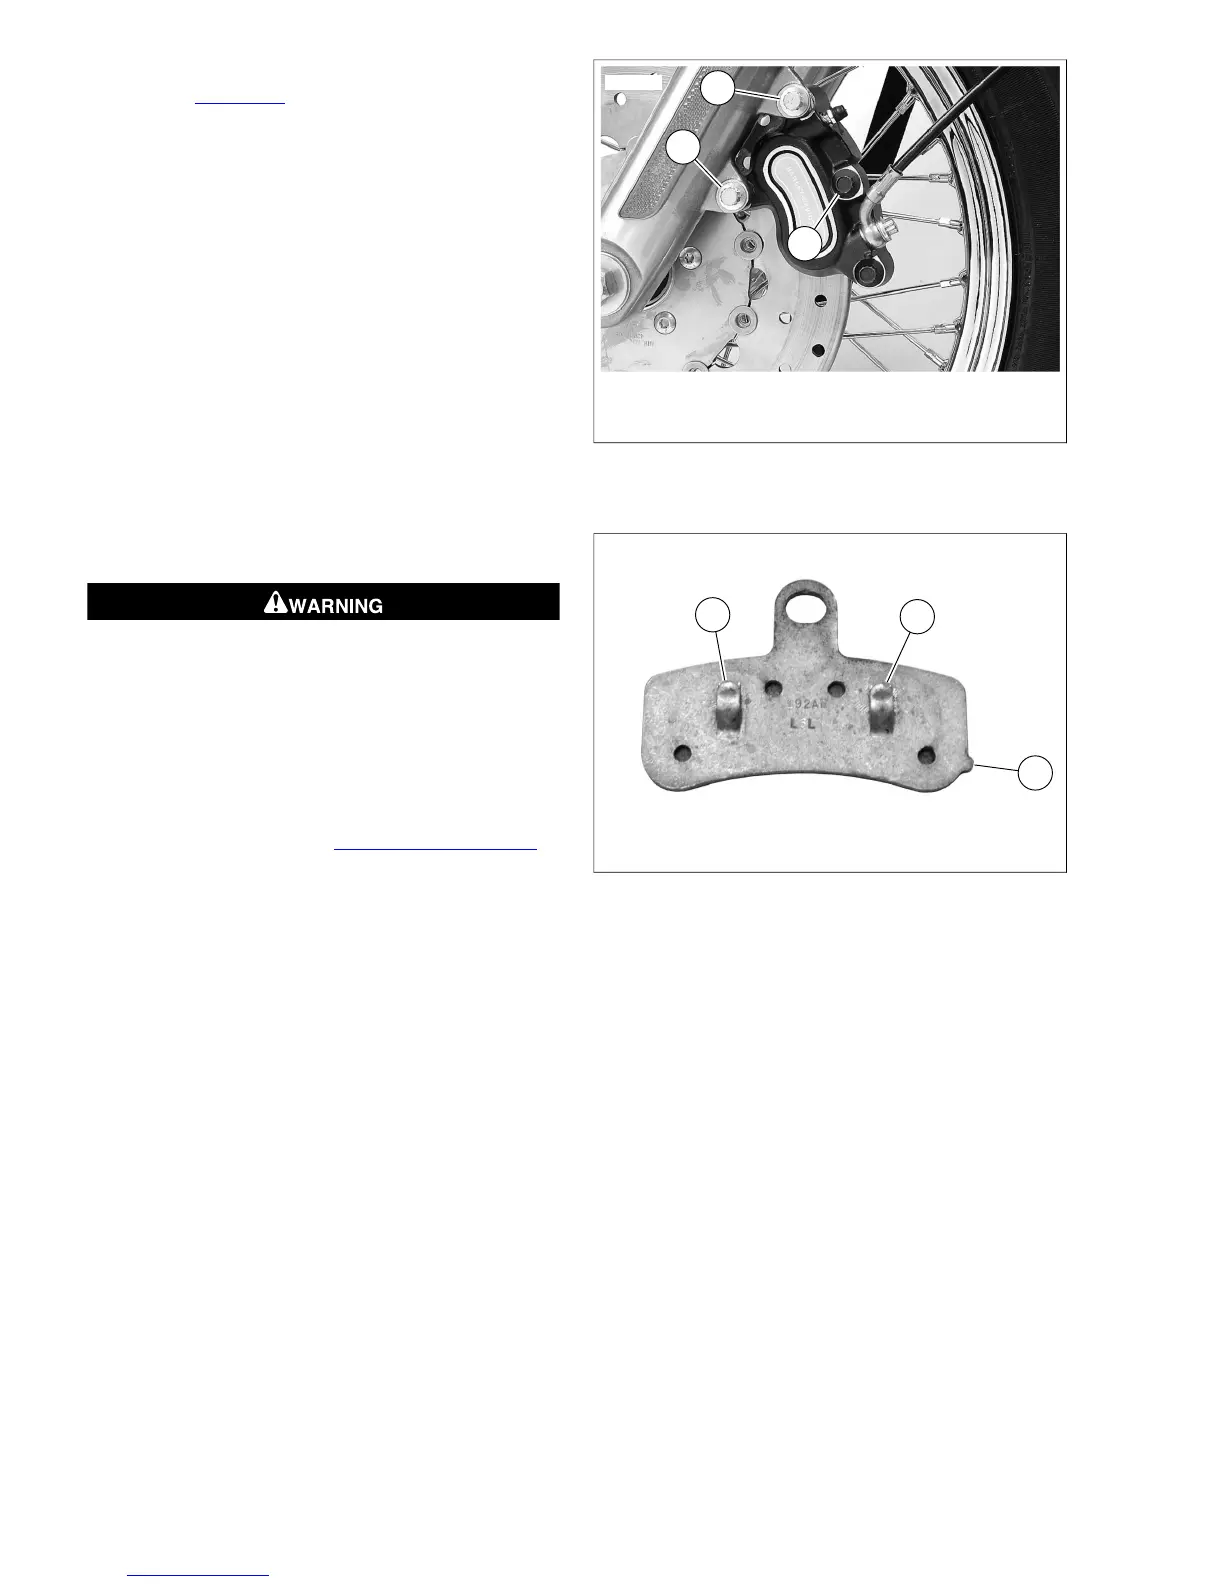
9. Attach caliper to front fork.
a. See Figure 1-35. Place caliper over brake disc with
bleeder valve facing upward.
b. Loosely install long mounting bolt (1) (metric) into
upper hole on fork leg.
c. Install short mounting bolt (2) (metric) into lower hole
on fork leg. Tighten bottom mounting bolt to 28-38 ft-
lbs (38.0-51.5 Nm).
d. Final tighten the top mounting bolt to 28-38 ft-
lbs (38.0-51.5 Nm).
e. Final tighten center bridge bolt/pad pin (3) to 15-16
ft-lbs (20.3-22.6 Nm).
10. Pump brake hand lever to move pistons out until they
contact both brake pads. Verify piston location against
pads. If the front wheel is off the ground, rotate wheel to
check for excessive brake pad drag.
11. Check brake fluid level in master cylinder. Fill to proper
level if necessary using D.O.T. 4 BRAKE FLUID. Install
master cylinder reservoir cap.Tighten reservoir cap screws
to 6-8 in-lbs (0.7-0.9 Nm).
After repairing the brake system, test brakes at low speed.
If brakes are not operating properly, testing at high speeds
can cause loss of control, which could result in death or
serious injury. (00289a)
12. Test brake system.
a. Turn ignition switch ON. Pump brake hand lever to
verify operation of the brake lamp.
b. Test ride the motorcycle. If the brakes feel spongy,
bleed the system. See 1.15 BLEEDING BRAKES.
NOTE
Avoid making hard stops for the first 100 miles (160 km).This
allows the new pads to become conditioned to the brake discs.



 To Next Page