1. Perform a voltmeter test to determine the state of charge.
See ELECTRICAL DIAGNOSTIC MANUAL. If battery
needs to be charged, proceed to the next step.
NOTE
The figures listed in the table assume that the battery is char-
ging at room temperature. If warmer than room temperature,
use a slightly shorter charging time. If colder, use a slightly
longer charging time.
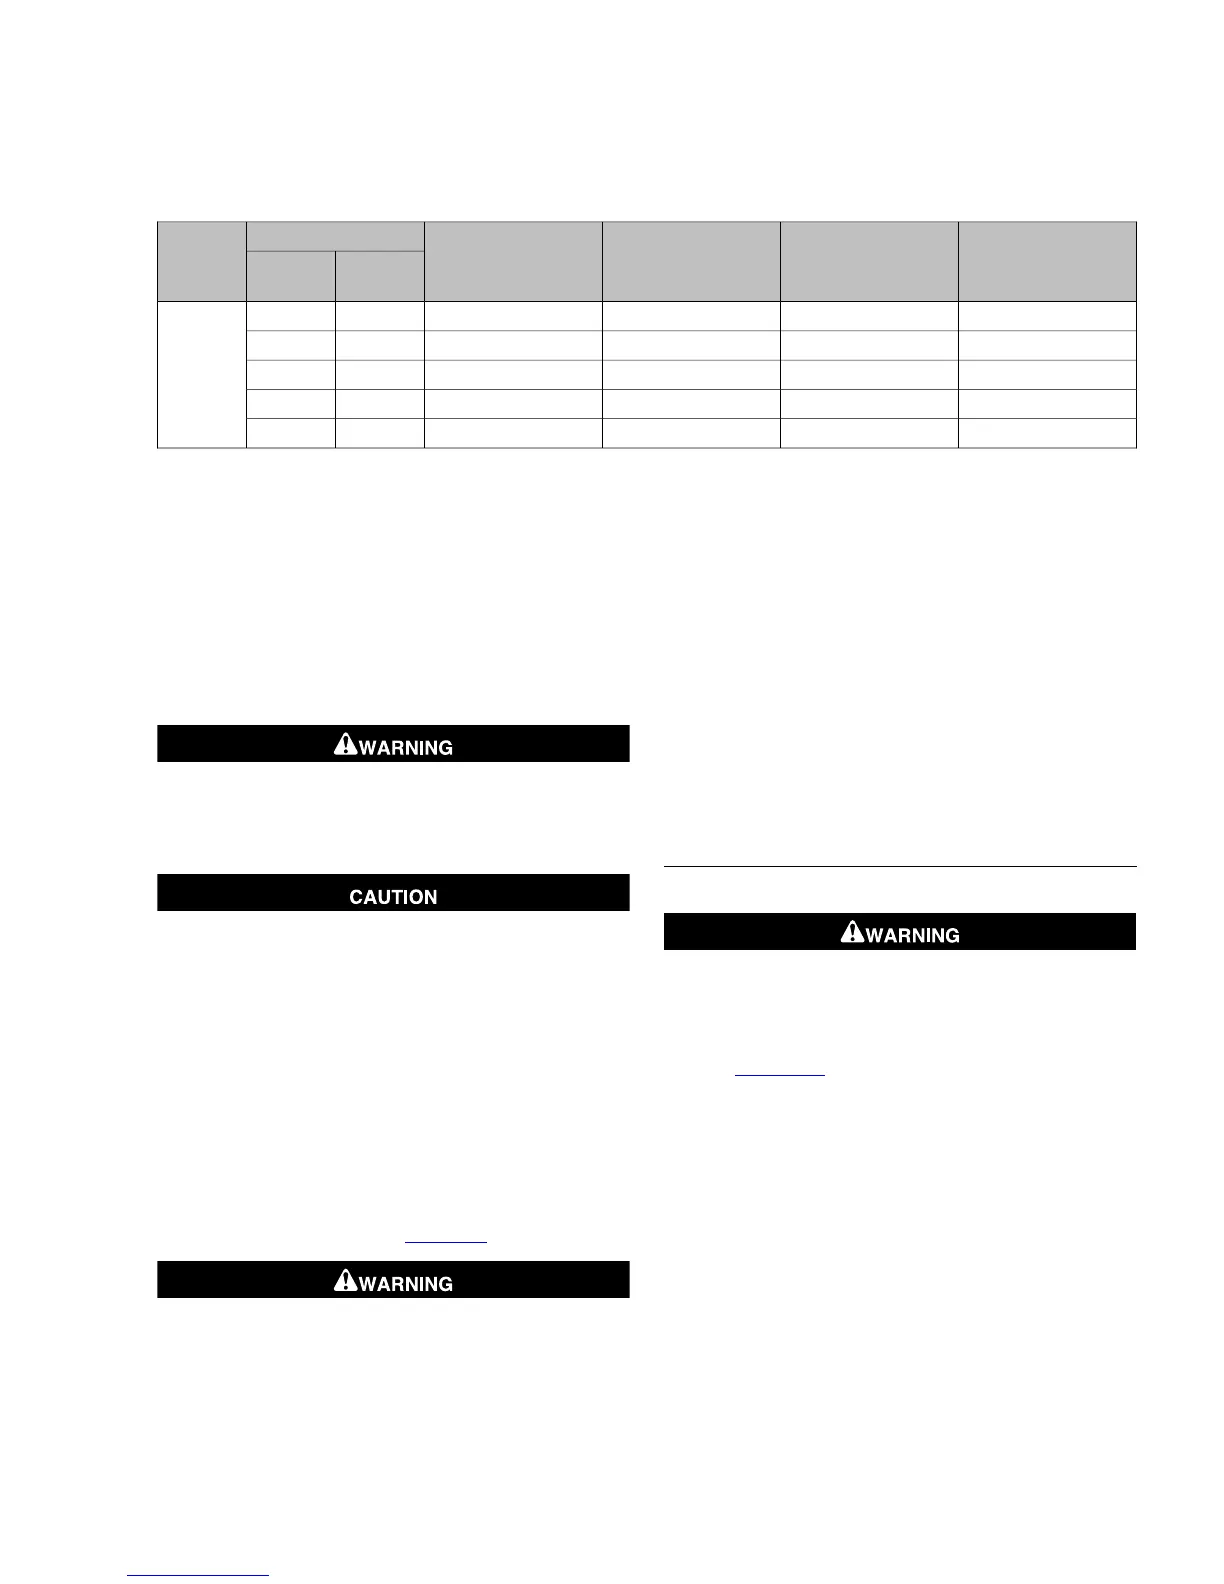
Table 1-14. Battery Charging Rates/Times (Approximate)
20 AMP CHARGER10 AMP CHARGER6 AMP CHARGER3 AMP CHARGERSTATE OF CHARGEBATTERY
AMP
HOUR
% OF
CHARGE
VOLTAGE
----100%12.719
15 minutes30 minutes50 minutes1.75 hours75%12.6
30 minutes1 hour1.75 hours3.5 hours50%12.3
45 minutes1.5 hours2.5 hours5 hours25%12.0
1 hour2 hours3 hours, 20 minutes6 hours, 40 minutes0%11.8
NOTE
The use of constant current chargers to charge sealed main-
tenance-free batteries is not recommended. Any overcharge
will cause dry-out and premature battery failure. If a constant
current charger is the only type available, do not exceed the
charge times listed above and do not continue charging the
battery if it gets hot.When charging, never exceed 15 volts for
more than 30 minutes.
Unplug or turn OFF battery charger before connecting
charger cables to battery. Connecting cables with charger
ON can cause a spark and battery explosion, which could
result in death or serious injury. (00066a)
Do not reverse the charger connections described in the
following steps or the charging system of the motorcycle
could be damaged. (00214a)
2. Connect red battery charger lead to the positive (+) ter-
minal of the battery.
3. Connect black battery charger lead to the negative (-)
terminal of the battery.
NOTE
If the battery is still in the vehicle, connect the negative lead
to the chassis ground. Be sure that the ignition and all electrical
accessories are turned off.
4. Step away from the battery and turn on the charger. See
the charging instructions in Table 1-14.
Unplug or turn OFF battery charger before disconnecting
charger cables from battery. Disconnecting clamps with
charger ON can cause a spark and battery explosion, which
could result in death or serious injury. (00067a)
5. After the battery is fully charged, disconnect the black
battery charger lead to the negative (-) terminal of the
battery.
6. Disconnect the red battery charger lead to the positive (+)
terminal of the battery.
7. Mark the charging date on the battery.
8. Perform either a conductance test or load test to determine
the condition of the battery. See ELECTRICAL DIA-
GNOSTIC MANUAL.
9. If charging battery because voltmeter test reading was
below 12.6 V, perform voltmeter test. See ELECTRICAL
DIAGNOSTIC MANUAL.
DISCONNECTION AND REMOVAL
1. Remove seat.
Disconnect negative (-) battery cable first. If positive (+)
cable should contact ground with negative (-) cable con-
nected, the resulting sparks can cause a battery explosion,
which could result in death or serious injury. (00049a)
2. See Figure 1-39. Remove lower fastener (1).
3. Pivot cover (2) outward and lift to disengage slots on cover
from projections on battery tray (3).
4. Unthread and remove battery negative cable from negative
battery terminal (4).
5. Unbolt and remove battery positive cable from positive (+)
battery terminal (5).
6. Remove battery strap (6).
7. Remove battery from tray.
2008 Dyna Service: Maintenance 1-35


 To Next Page
 Loading...