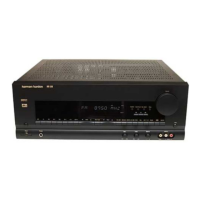
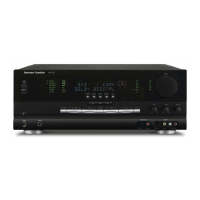
Do you have a question about the Harman Kardon 50 and is the answer not in the manual?
We warrant this receiver to be free from defects in material and workmanship under normal use and service.
This warranty does not include any obligation as to: a) repair or replacement of the accessory wooden enclosure...
To obtain service under the terms of this policy, it is necessary for you to retain your ORIGINAL BILL of SALE.
HARMAN/KARDON has a special customer service division to answer all questions pertinent to the installation and operation of your unit.
Although your new receiver rarely develops high heat, It is recommended that you leave the back of the cabinet open.
Connect the AC line cord to any outlet furnishing 117 volts, 60 Hz AC current.
A fuse is a safety device used to protect the receiver against possible damage due to overload or short circuits.
Placement of the back speakers will vary with your room size, seating arrangement and acoustics.
Use any type of wire to connect your speakers to your receiver. However, it should be pointed out that the heavier the wire, the lower the loss of power.
Connect one length of lamp cord to the LEFT FRONT speaker.
Connect one length of lamp cord to the LEFT FRONT speaker.
The speakers in a stereo or quadriphonic music system must all work in unison, pushing or pulling the air in the same direction.
After connecting your speakers, place the receiver in the MONO mode of operation and the BALANCE CONTROL to the exact center of its rotation.
After all speakers have been connected, place the 50+ in the MONO mode of operation. Set the FRONT VOLUME CONTROL to a normal level...
The 50+ receiver is shipped with the STEREO/4-CH switch in the 4-CH mode.
Connect both leads from your stereo record player to the LEFT and RIGHT PHONO input receptacles located on the rear panel.
Connect the two (LEFT and RIGHT FRONT) tape recorder output cables to either the LEFT and RIGHT FRONT DISCRETE PHONO/AUX receptacles...
Connect the two (LEFT and RIGHT) tape recorder output cables to either the LEFT and RIGHT FRONT DISCRETE PHONO/AUX receptacles...
Refer to Fig. 6 and the instructions in Operating Procedures section under Function Switch Phono Discrete/Aux position.
Due to the exceptionally high sensitivity of your receiver, a 48" wire is sufficient for all but the most difficult locations.
The AM loopstick fastened to the rear of your receiver comprises all the antenna usually required for normal signal areas.
The station tuning knob is located on the upper right hand section of the dial glass. This switch selects the desired program source...
The volume control is divided into two sections. The outer knob controls front volume. The inner knob controls the back volume.
These controls are employed to set the tonal balance of your stereo or 4-CH system.
SQ Matrix Switch, Tape Monitor Switch, Mode Switch, Speaker Switch, Power Switch.
Headphone receptacles, Tuning Meter, Stereo FM indicator, Dial Scale.
In any high fidelity installation, hum may be caused by the interconnection of a record player, tuner and amplifier...
If this instrument should not perform properly during the first two (2) years after date of purchase, contact the factory for instructions.
If it is necessary to clean the dial glass or plastic insert on your escutcheon, it is recommended that you use an anti-static cleaning fluid...
| Brand | Harman Kardon |
|---|---|
| Model | 50 |
| Category | Receiver |
| Language | English |


