d) HDMI 2 Source: Press and release the Input Selector once, then
quickly press the Input Selector again so that it turns green. Hold
it until the Program LED starts to flash, then release it. Next, press
the Input Selector that corresponds to the device type you want to
program into the HDMI 2 mode, i.e., DVD, VCR/PVR/DMC or
CBL/SAT. Then follow the directions in Step 4, below.
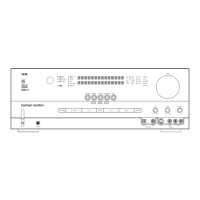
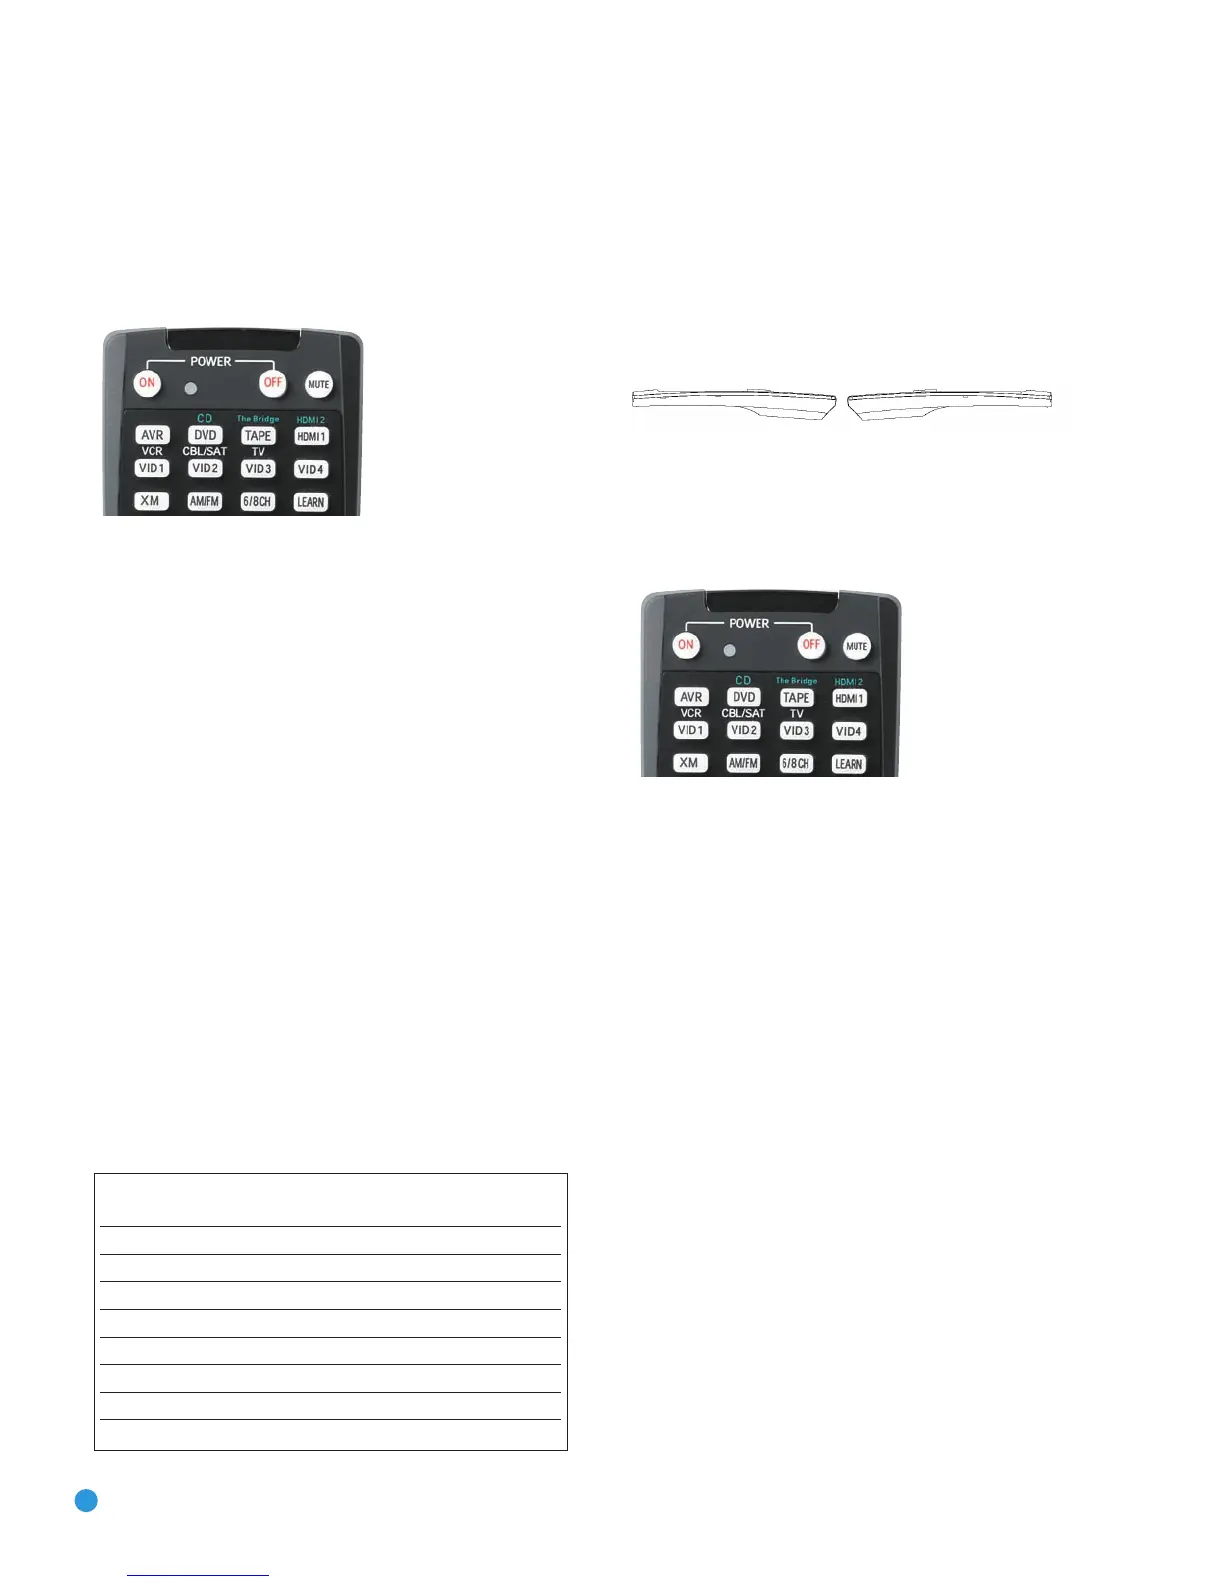
Figure 36 – Input Selectors
4. Enter a code from Step 1, above.
a) If the device turns off, then press the Input Selector again to accept
the code; it will flash. The remote will exit the Program mode.
b) If the device does not turn off, try entering another code. If you
run out of codes, you may search through all of the codes in the
remote’s library for that product type by pressing the
⁄
or
¤
Button repeatedly until the device turns off. When the device turns
off, enter the code by pressing the Input Selector, which will flash.
The remote then exits Program mode.
5. Once you have programmed a code, it’s a good idea to try using
some other functions to control the device. Sometimes, manufacturers
use the same Power code for several different models, while other
codes will vary. You may wish to repeat this process until you’ve
programmed a satisfactory code set that operates most of the
functions you frequently use.
6. You may find out which code number you have programmed by
pressing and holding the Input Selector to enter the Program mode.
Then press the Set Button, and the LED will flash in the code
sequence. One flash represents “1”, two flashes for “2”, and so forth.
A series of many fast flashes represents “0”. Record the codes
programmed for each device in Table 3.
Table 3 – Remote Control Codes
After you have programmed a code set to operate a device, test the
functions to see which ones may be missing or not operating correctly.
You may “learn” individual key codes if you have the device’s original
remote control by following this procedure:
a) Place the two remotes so that their IR transmitters face each other
end to end, separated by about one inch. See Figure 37. The
AVR 350 remote’s transmitter also serves as an IR receiver during
the learning process.
Figure 37 – AVR 350 and Original Remote Head-to-Head
b) Press the Input Selector for the device mode you wish to learn a
code into, and place the AVR 350 remote in Learning mode by
pressing and holding the Learn Button until the Program Indicator
flashes in amber, then release. See Figure 38.
Figure 38 – Learning Remote Commands
c) Press the button on the AVR 350 remote you wish to program with
the new code, and the Program Indicator will light steadily in amber.
d) Press and hold the button on the device’s original remote whose
code you wish to “learn” until the Program Indicator flashes in
green, then release it.
e) You may program additional buttons by repeating steps c) and d).
Press the Learn button once to exit Learning mode. If you prefer, you
may wait for the remote to “time out” and exit Learning mode on its
own, but this will take about 30 seconds.
If you are unable to locate a code set that correctly operates your
source device, it will not be possible to use the AVR remote to control
that device. However, you may still connect the source to the AVR 350
and operate it using the device’s original remote control.
Most of the button labels on the remote describe the button’s function
when used to control the AVR 350. However, the button may perform
a very different function when used to control another device. Refer to
the Remote Control Function List, Table A8 in the Appendix, for a list of
each button’s functions with the various product types.
You may program Macros, which are preprogrammed code sequences
that execute many code commands with a single button press. You may
also program “punch-through” codes, which allow the remote to operate
the volume, channel or transport controls of another device without
having to switch the remote’s device mode. See pages 60–61 for
instructions on these advanced programming functions.
Source Input Product Type Remote
(circle one) Control Code
Video 1 VCR, PVR, DMC
Video 2 Cable, Satellite
Video 3 TV
Video 4 TV
HDMI 1 DVD, PVR, CBL, SAT, DMC
HDMI 2 DVD, PVR, CBL, SAT, DMC
DVD DVD
CD CD, CDR
30
30
INSTALLATION
AVR350 om.qxd 8/29/07 9:59 AM Page 30
 Loading...