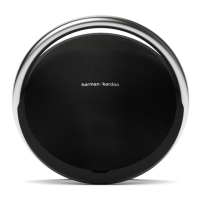
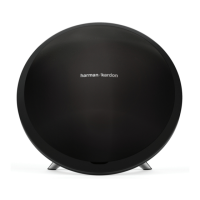
Harman Kardon Onyx Studio
Assembly procedure
17. 取 USB PCB 1PC,貼付 Gasket 2PCs
Assemble 2 gaskets on USB PCB shown in the
figure.
17-1 取 DC Jack 1PC,貼付 Gasket 2PCs
Assemble 2 gaskets on DC jack shown in the
figure.
18. 把 DC Jack 和 USB PCB 安裝至後殼對應位
置,把 DC Jack 線和 USB PCB 線卡入卡槽,如
圖
注意:DC Jack 線和 USB PCB 線需卡到底,排
線橡膠需卡入卡槽
Assemble DC Jack and USB PCB on the back
cover and put the cables into the gap shown in
the figure.
Note: Make sure the cables completely inside
the gap.
18-1 取 I/O Cover 裝在後殼對應位置,如圖
使用螺絲起子,依次鎖付 3PCs 螺絲
(3*10.2MM)
Place the I/O cover on the back cover shown in
the figure, and tightens 3 screws by using the
T10 screwdriver.
19. 取電池蓋蓋板裝入機台指定位置對準螺 20. 將後蓋 DC Jack 和 USB PCB 排線接口端折
I/O 蓋
 Loading...


