9
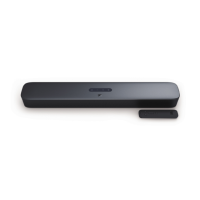
Dismantling of AMP&MAIN&REPEATER PCBA
1) Loosen 2 screws at the bracket as shown in gure 11,then pull out the PCBA ASS’Y.
2) Loosen 2 screws on the top of AMP PCB as shown in gure 12.
3) Loosen 3 screws on the top of MAIN PCB as shown in gure 13.
4) Loosen 3 screws on the top of REPEATER PCB as shown in fgure 14.
Figure 11
1)
Remove the 2 pcs rubber foot as shown in gure 15
2) Loosen 4 screws as shown in gure 16 to remove the Bottom cover .
1
2
1
2
Figure 12
1
2
3
Figure 13
Figure 14
2 PCS RUBBER
Figure 15
Figure 16
Dismantling of AMP&MAIN&REPEATER PCBA
1) Loosen 2 screws at the bracket as shown in gure 11,then pull out the PCBA ASS’Y.
2) Loosen 2 screws on the top of AMP PCB as shown in gure 12.
3) Loosen 3 screws on the top of MAIN PCB as shown in gure 13.
4) Loosen 3 screws on the top of REPEATER PCB as shown in fgure 14.
Figure 11
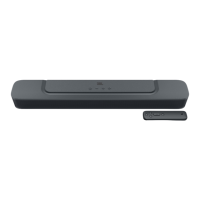
DISASSEMBLY INSTRUCTIONS (463341,)Dismantling of the Bottom cover
1) Remove the 2 pcs rubber foot as shown in gure 15
2) Loosen 4 screws as shown in gure 16 to remove the Bottom cover .
1
2
1
2
Figure 12
1
2
3
Figure 13
Figure 14
2 PCS RUBBER
Figure 15
Figure 16
Dismantling of the FRONT HOUSING
1) Loosen 2*2 pcs screws as shown in gure 19.
2) Loosen 4 screws as shown in gure 20 to remove the front housing.
Figure 21
Dismantling of the Metall Grill
1) Loosen 2 screws as shown in gure 17 to remove the END CAP RING & END CAP.
2) Loosen 2 screws as shown in gure 18 to remove the Metal Grill .
Figure 17
Figure 18
Figure 19
Figure 20
Dismantling of the LED PCBA
1) Loosen 1 pcs screw at the Rear Housing as shown in gure 21 to remove the LED PCBA.
1
 Loading...