Do you have a question about the Harman JBL BassPro and is the answer not in the manual?
Select a location that does not interfere with cargo or vehicle operation, likely a trunk corner.
Disconnect the vehicle's negative battery terminal before starting installation.
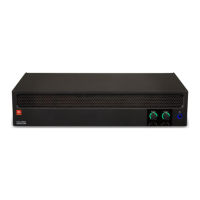
Reverses the phase of BassPro's output to optimize upper bass reproduction.
Adjusts input sensitivity for relative volume balance with other speakers.
Sets the amount of upper bass and midbass, ensuring smooth transition.
Corrects peaks or dips in response, typically around 40Hz.
Allows BassPro to turn on/off automatically with the audio system via speaker inputs.
Optimizes noise reduction for high-level inputs, especially with factory faders.
Compatible with the RBC remote volume control (sold separately).
Step-by-step guide for setting Level, Phase, Crossover, and Bass Boost controls.
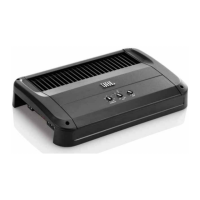
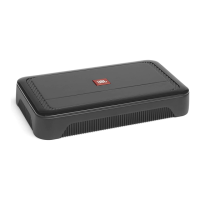
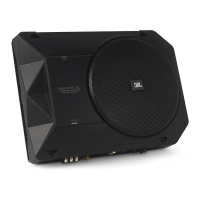
The JBL BassPro is a powered, 8" (200mm) car audio subwoofer system designed to provide powerful bass in a compact form factor, suitable for installation under a car seat. It aims to deliver high-performance low-frequency reproduction that traditionally required larger enclosures and amplifiers.
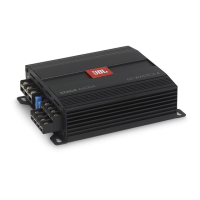
The BassPro is an all-in-one powered subwoofer system. It integrates an 8-inch woofer, a Class D amplifier, and various electronic controls within a compact enclosure. The system is designed to augment a car's existing audio system by adding deep bass frequencies. Its energy-efficient digital amplifier ensures powerful performance while maintaining a cool operating temperature.
The BassPro offers flexible installation and tuning options to integrate seamlessly with various car audio systems and acoustic environments.
The BassPro features several controls for fine-tuning its performance:
The BassPro employs custom circuitry to ensure protection and optimal performance across varying output levels without compromising clarity.