KIPW HEATER INSTALLATION MANUAL
|
PAGE 7
Next,feedthesensorwireoutofyoursaunainordertoconnecttothepowerunit.
Secure the wiring to the circuit board mini-terminal. Starting on the outside and moving in, the wires should connect in the
following order: blue - white - red - yellow.
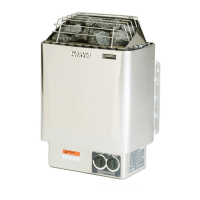
Touchpad
The touchpad should be mounted indoors in a dry location, preferably in your
home.Onceyou’vedeterminedthislocation,useaatheadscrewdrivertogently
pry the screen of the touchpad from the mounting bracket. Feed the data cable
through the hole in the mounting bracket, and mount the bracket to the location
you selected. Push the data cable connector into the port on the back of the screen
and snap the screen back into the bracket.
Next,connecttheothercabletotheportclosesttothepowerunit’smini-terminal
block that is connected to the temperature sensor. Replace the power unit’s cover
and turn the power switch to the on position.
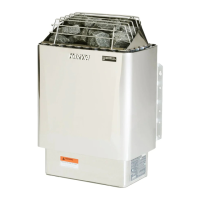
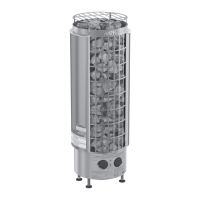
PLACING THE STONES
Rinse your sauna stones to prepare them for placement. Beginning between the back wall and back heating element, place the
smaller stones in between and around the three heating elements being sure that the heating elements stay in their original
vertical position and do not touch each other. The stones should touch the elements, but not bend them. Reserve the
larger stones for placement on top of the heating elements, covering them completely. Replace the stone guard you removed at
the beginning of the heater installation.
Note:Packingstonesintootightlywillrestrictairowandaecttheeciencyofyourheater.Looselypositionthestonesaround
and above the heating elements. It is common to have 5-10 stones left over.
Temperature Sensor
Touchpad data cable
 Loading...