EN FR
7
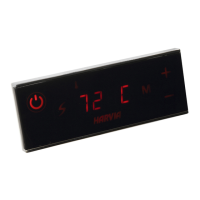
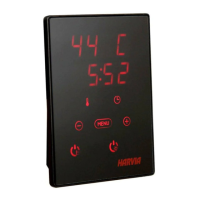
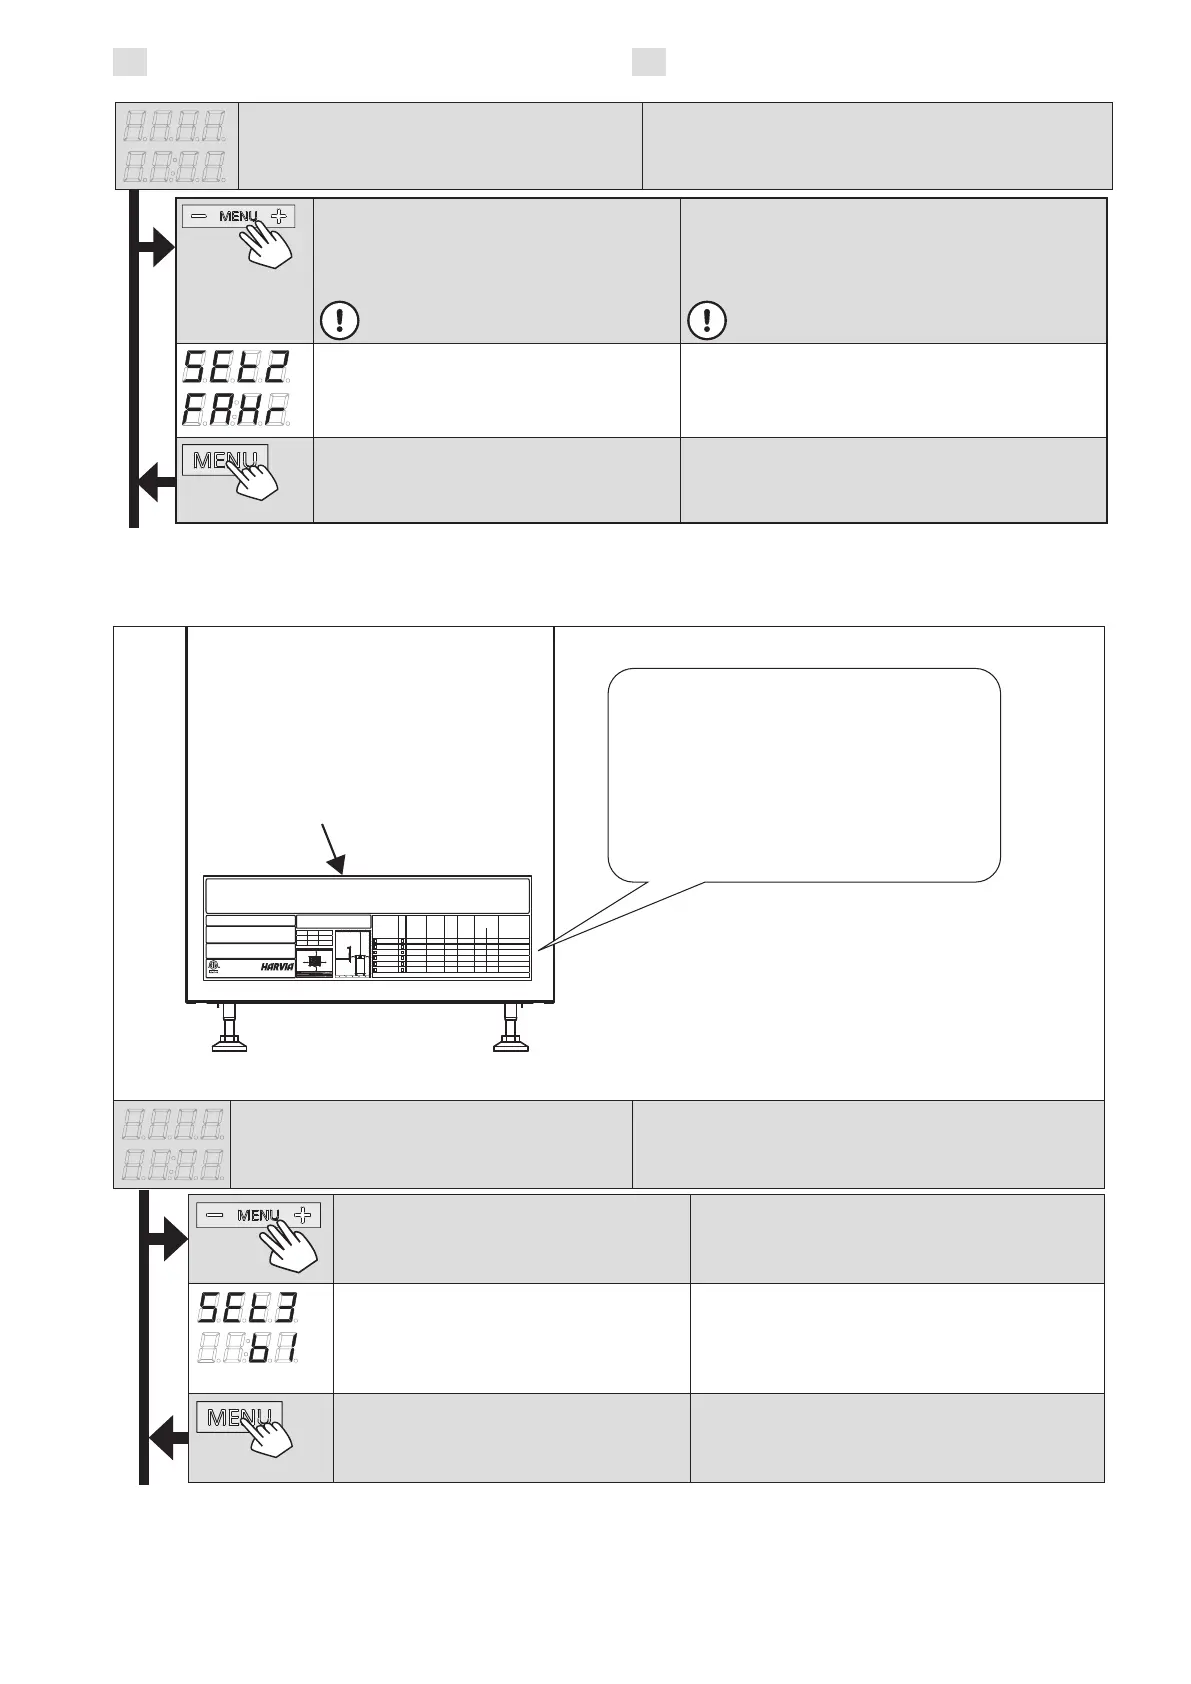
Open the settings menu by simultane-
ously pressing the control panel buttons
–, MENU and + (see gure 2). Press for
5 seconds. Press MENU button to scroll
down the settings menu.
The buttons do not glow when the
control unit is in standby mode.
Ouvrir le menu réglages en appuyant simultané-
ment sur les boutons du tableau de commande
–, MENU et + (voir gure 2). Appuyez pendant
5 secondes. Appuyez sur le bouton MENU pour
dérouler le menu réglages.
Les boutons ne s’allument pas lorsque l’unité
de contrôle se trouve en mode veille.
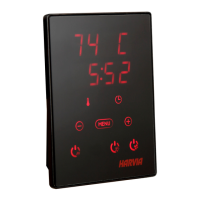
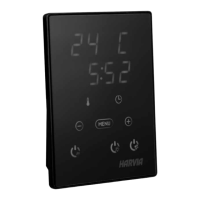
Change the temperature unit with the
– and + buttons. The options are
Fahrenheit (FAHR)* and Celsius (CELS).
Changez l'unité de température avec les boutons
– et +. Les options sont Fahrenheit (FAHR)* et
Celsius (CELS).
Press the MENU button to accept the set.
Press the MENU button again and the
next set will appear or the control unit
switches to standby mode.
Appuyez sur le bouton MENU pour accepter
le réglage. Appuyez à nouveau sur le bouton
MENU et le prochain réglage apparaîtra ou le
centre de contrôle passera en mode veille.
Figure 3a. Changing the temparerature unit
Figure 3a. Modification de l’unité de température
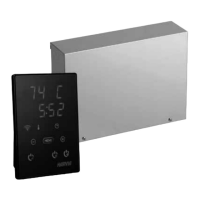
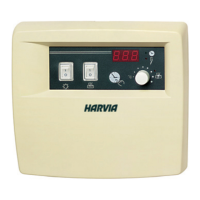
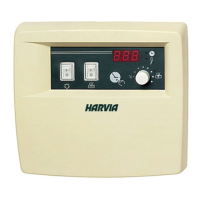
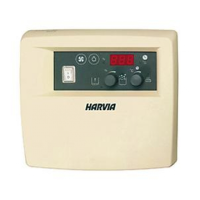
Control unit in standby mode
I/O button’s background light glows on the
control panel.
Centre de contrôle en mode veille.
La lumière de fond des boutons E/S s’allume dans le
tableau de commande.
Open the settings menu by simulta-
neously pressing the control panel
buttons –, MENU and +. Press for 5
seconds.
Ouvrir le menu réglages en appuyant simul-
tanément sur les boutons du tableau de
commande –, MENU et +. Appuyez pendant 5
secondes.
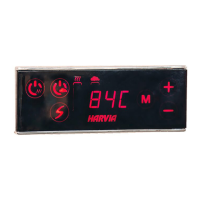
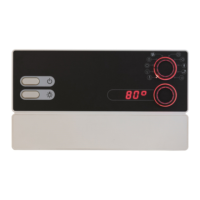
Heater grade
Heater grade can be changed with the -
and + buttons. See the right grade from
the heater’s type label, under “control
unit grade settings”.
Classe du poêle
La classe du poêle peut être modiée avec les
boutons - et +. Consulter la classe appropriée
sur l’étiquette signalétique du poêle, sous «
réglages de classe du centre de contrôle ».
Press the MENU button to accept the
set. Press the MENU button again and
the next set will appear or the control
unit switches to standby mode.
Appuyez sur le bouton MENU pour accepter
le réglage. Appuyez à nouveau sur le bouton
MENU et le prochain réglage apparaîtra ou le
centre de contrôle passera en mode veille.
Control unit in standby mode
I/O button’s background light glows on the
control panel.
Centre de contrôle en mode veille.
La lumière de fond des boutons E/S s’allume dans le
tableau de commande.
Figure 3b. Changing the heater grade (See section 2.1.)
Figure 3b. Changer la classe du poêle (Voir paragraphe 2.1.)
Look for the important additional instructions
in the manual! / Consultez les instructions
supplémentaires importantes dans le manuel!
B
A
A
A
A
A
A
inch mm
A 2 50
B 42 1060
*Q = includes built-in contactor / contient le contacteur integré
AN INADEQUATELY FILLED ROCK SPACE CAUSES FIRE RISK.
IL Y A UN RISQUE D'INCENDIE SI LE RÉCIPIENT À PIERRES N’EST PAS CORRECTEMENT REMPLI.
DO NOT PLACE ANY OBJECTS ON HEATER. COVERING CAUSES FIRE RISK.
NE PAS PLACER DES OBJETS AU-DESSUS DU POÊLE. IL Y A UN RISQUE D'INCENDIE SI LE POÊLE EST RECOUVERT.
WARNING! AVERTISSEMENT!
FOR SUPPLY CONNECTIONS USE COPPER
WIRE ONLY SUITABLE FOR AT LEAST 90 ºC
POUR LES CONNEXIONS ELECTRIQUES PREVOIR
UN CABLAGE RESISTANT AU MOINS A 90° C
For AC only /
Pour courant alternatif seulement (AC)
Control units / Centres de contrôle:
CX30-U1-U3 / CX45-U1-U3 / CX-170-U1 /
CX-170-U1-15 / CX-170-U3 / CX-170-U3-15
IPX4
HARVIA OY, FINLAND
3159549
ETL LISTED
CONFORMS TO
UL STD 875
CERTIFIED TO
CAN/CSA STD
E60335-2-53-05
MODEL
MODÈLE
*Q POWER
PUISSANCE
VOLTAGE
TENSION
PHASE SUPPLY
WIRES
TENSION
DE
SERVICE
FLOOR AREA
SURFACE DE
PLANCHER
CONTROL UNIT
GRADE SETTINGS
PARAMÈTRES
DE CONTRÔLE
DE QUALITÉ DE
L’UNITÉ
MIN.
SQ.FT
MAX.
SQ.FT
HL(S)7U1(Q)
6,8 kW 240 1 10 28 57
HL(S)9U1(Q)
9,0 kW 240 1 8 45 79
HL(S)11U1(Q)
10,5 kW 240 1 6 22 98
HL(S)7U3(Q)
6,8 kW 208 3 12 28 57
HL(S)9U3(Q)
9,0 kW 208 3 10 45 79
HL(S)11U3(Q)
10,5 kW 208 3 8 22 98
C2
C2
C1
C2
C2
C1
All heater grades/Toutes classes de poêles :
A1, A2, A3, A4, A5
B1 (default/défaut), B2, B3, B4, B5
C1, C2, C3, C4, C5
D1, D2, D3, D4, D5
E1, E2, E3, E4, E5, E6
TYPE LABEL
L’ÉTIQUETTE SIGNALÉTIQUE
CONTROL UNIT GRADE SETTINGS/
PARAMÈTRES DE CONTRÔLE DE
QUALITÉ DE L’UNITÉ:
C2
(FOR EXAMPLE/PAR EXEMPLE)
 Loading...