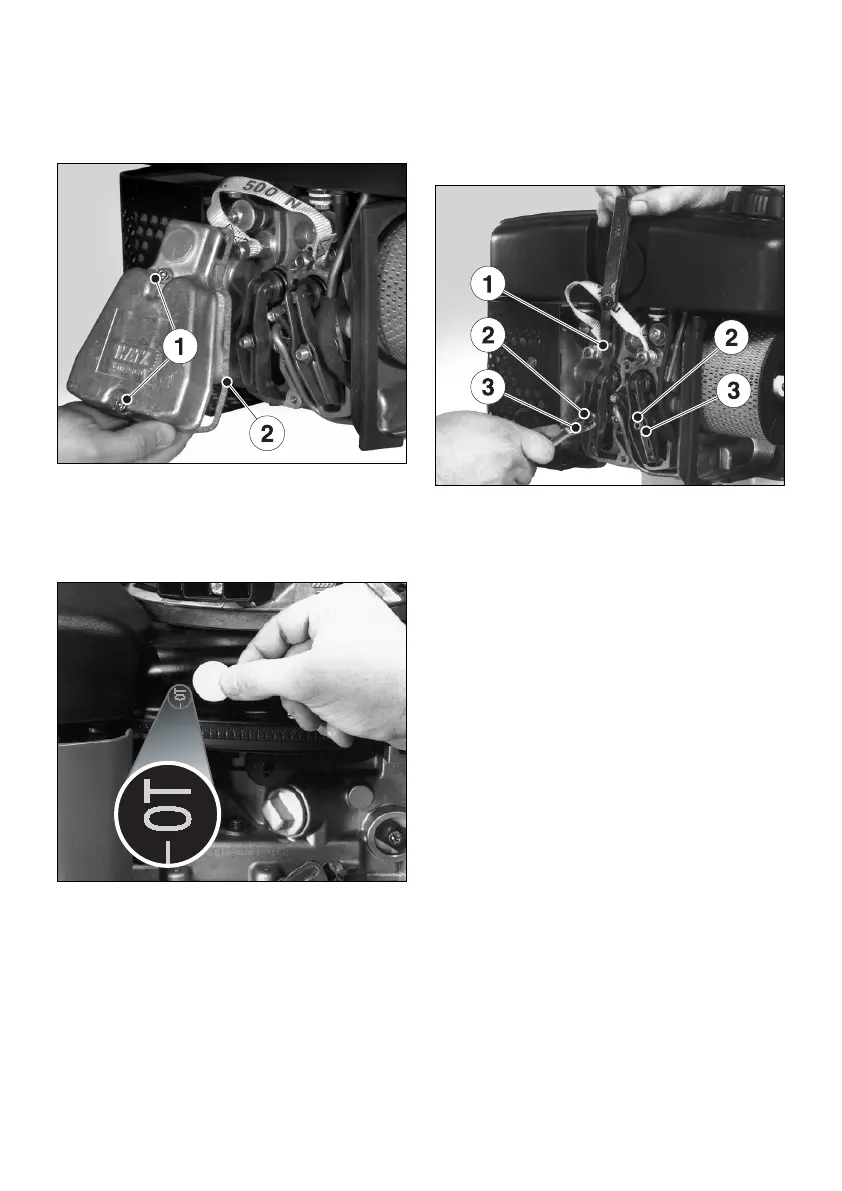
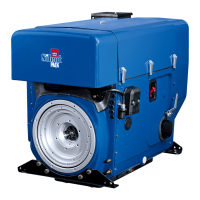
– Remove any contamination adhering to the
cover for the cylinder head.
25
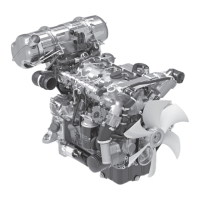
– Remove screws „1“ and take off the cylinder
head cover with gasket „2“.
26
– Remove rubber cap from the inspection hole
cover.
– Turn the engine over in the normal direction
of rotation until the valves are in the overlap
position (exhaust valve not yet closed, inlet
valve starts to open).
– Turn the crankshaft through 360° in the
normal direction of rotation and align exactly
to the OT-marking, Figure 26.
27
– Check valve clearances with feeler gauge „1“.
– If valve clearances require adjusting, slacken
off screw „2“ and turn hex nut „3“ until feeler
gauge „1“ can be pulled through with just
slight resistance when screw „2“ is retight-
ened.
– Fit cover for cylinder head and tighten evenly,
always using a new gasket.
– Re-attach parts previously removed from en-
gine.
Do not forget: replace the rubber cap at the
inspection hole cover.
– Carry out a brief test run, then check the cover
for leaks.
21