Turns and Corners:
Scroll saws are capable of producing 360
0
turns
while cutting. The kerf left after a turn is approximately
1/2 the width of the saw blade. When you want to
cut a point, simply turn the piece the desired amount
while maintaining downward pressure on it. It is not
necessary to cut past the point and then restart, like
the normal procedure for a band saw. When cutting
curves, slowly follow the pattern line, turning the piece
as you go so the teeth are following the line. It may
be necessary to install a smaller blade when trying
to saw an extremely tight corner or radius to prevent
the wood from jumping on the table and to prevent
blade breakage. (See Fig. 4)
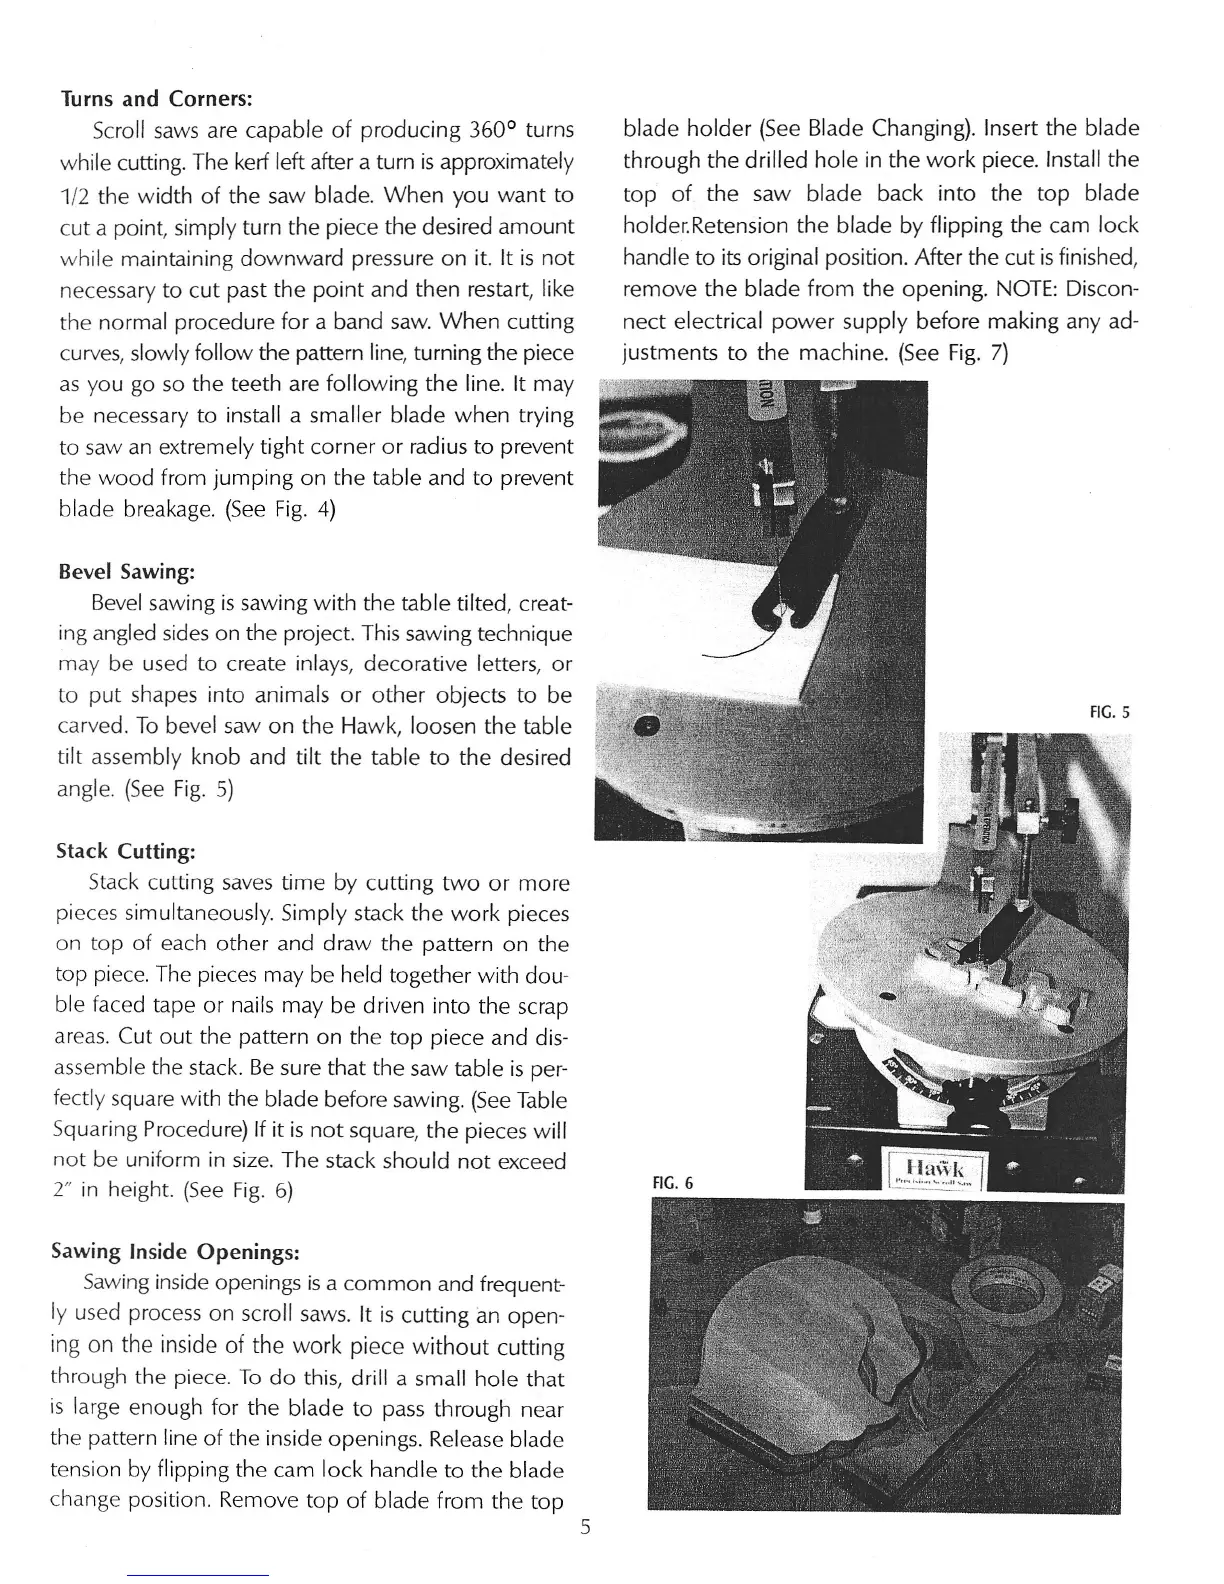
Bevel Sawing:
Bevel sawing is sawing with the table tilted, creat-
ing angled sides on the project. This sawing technique
may be used to create inlays, decorative letters, or
to put shapes into animals or other objects to be
carved. To bevel saw on the Hawk, loosen the table
tilt assembly knob and tilt the table to the desired
angle. (See Fig. 5)
Stack Cutting:
Stack cutting saves time by cutting two or more
pieces simultaneously. Simply stack the work pieces
on top of each other and draw the pattern on the
top piece. The pieces may be held together with dou-
ble faced tape or nails may be driven into the scrap
areas. Cut out the pattern on the top piece and dis-
assemble the stack. Be sure that the saw table is per-
fectly square with the blade before sawing. (See Table
Squaring Procedure)
If
it is not square, the pieces will
not be uniform in size. The stack should not exceed
2"
in height. (See Fig. 6)
Sawing Inside Openings:
Sawing inside openings is a common and frequent-
ly used process on scroll saws. It is cutting an open-
ing on the inside of the work piece without cutting
through the piece. To do this, drill a small hole that
is large enough for the blade to pass through near
the pattern line of the inside openings. Release blade
tension by flipping the cam lock handle to the blade
change position. Remove top of blade from the top
blade holder (See Blade Changing). Insert the blade
through the drilled hole in the work piece. Install the
top of the saw blade back into the top blade
holder.Retension the blade by flipping the cam lock
handle to its original position. After the cut is finished,
remove the blade from the opening. NOTE: Discon-
nect electrical power supply before making any ad-
justments to the machine. (See Fig. 7)
5
 Loading...