Compound Sawing:
The compound sawing process involves cutting on
two or more sides of the work piece. To do this, sim-
ply layout a pattern on two adjoining surfaces. These
patterns may be identical or different. After the pat-
terns are laid out, choose which surface to saw first.
It usually will not make any difference which surface
you choose, but consider the sequence before
choosing. The side that will give the least amount
of scrap pieces after it is cut should be first. After
the first side is cut, return the scrap pieces to their
original locations so that you have a prismatic shape
to cutout the second surface. It may be helpful to
nail, tape, or glue these scraps back on the piece.
(See Fig. 8)
Inlaying:
To create inlayed projects, select two pieces of
hardwood that contrast in color (walnut and oak
work well).The two must be exactly the same thick-
ness. It is recommended to use 1/4" thick material,
but any thickness up to
1
inch will work. Draw the
selected design on one of the pieces. Nail the two
pieces together with the pattern on the top face.
Be sure the nail s do not penetrate through the bot-
tom of the project as this will scratch the saw table
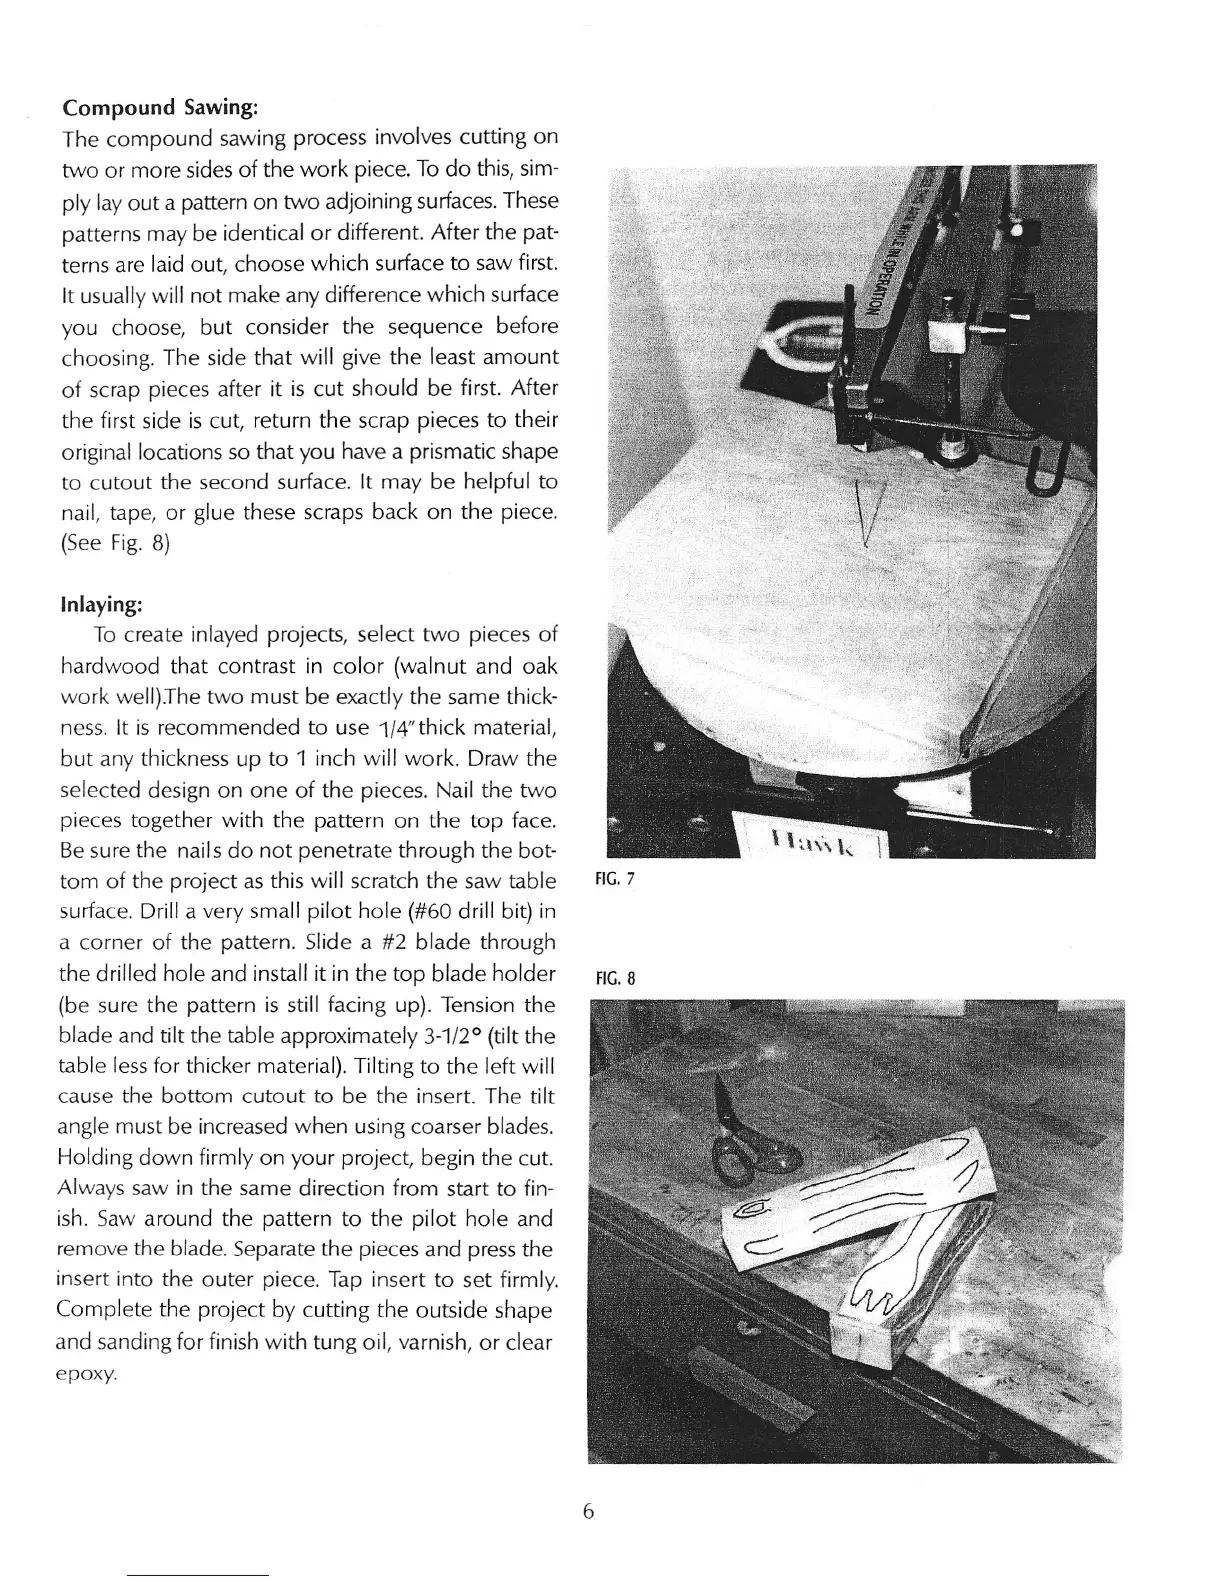
FIG. 7
surface. Drill a very small pilot hole (#60 drill bit) in
a corner of the pattern. Slide a #2 blade through
the drilled hole and install it in the top blade holder
FIG. 8
(be sure the pattern is still facing up). Tension the
blade and tilt the table approximately 3-1/2° (tilt the
table less for thicker material). Tilting to the left will
cause the bottom cutout to be the insert. The tilt
angle must be increased when using coarser blades.
Holding down firmly on your project, begin the cut.
Always saw in the same direction from start to fin-
ish. Saw around the pattern to the pilot hole and
remove the blade. Separate the pieces and press the
insert into the outer piece. Tap insert to set firmly.
Complete the project by cutting the outside shape
and sanding for finish with tung oil, varnish, or clear
epoxy.
6
 Loading...