28
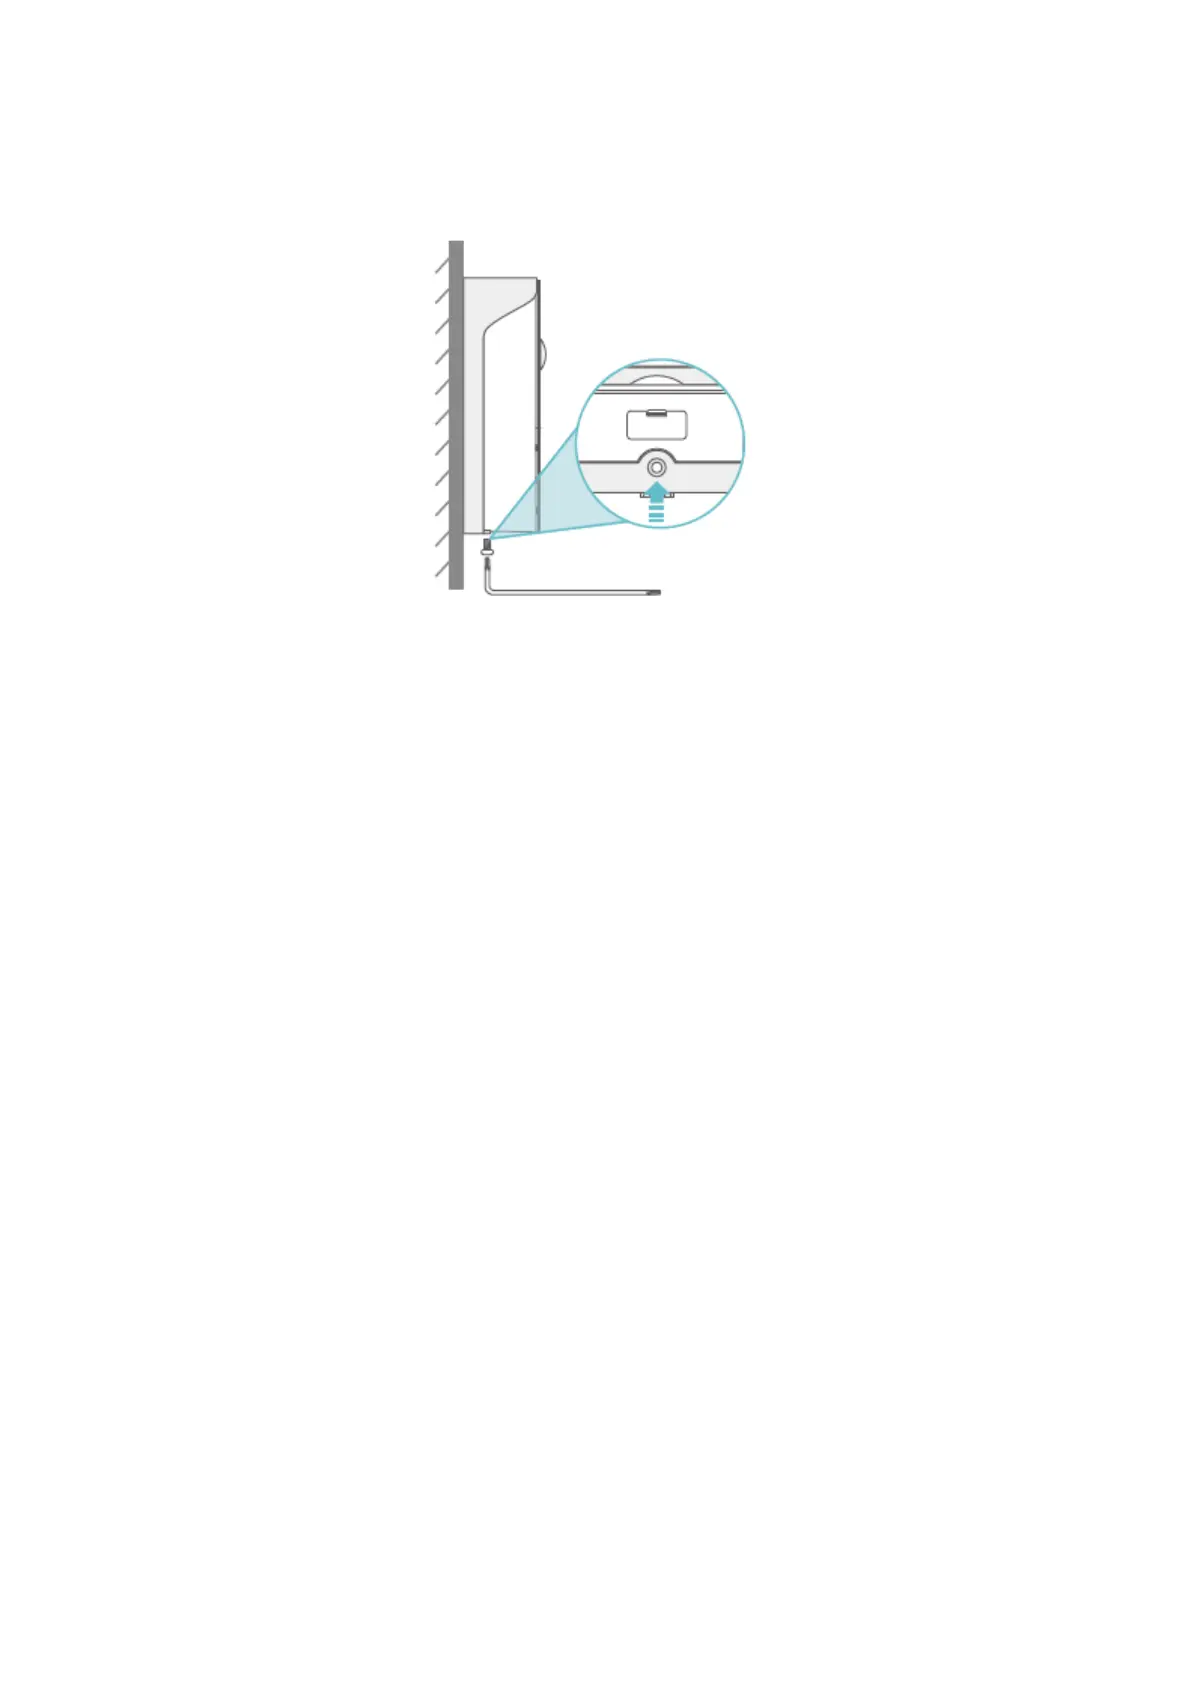
Step 3: Tighten the doorbell with the bracket through the M3x5 screw.
Tips:
• If the doorbell needs to be charged, please unscrew the M3x5 screw on the
bottom, then take out the doorbell from the bracket to charge it.
• You can install the Nameplate Holder on the top of the bracket to show your
room number or name.
• Please insert the Rubber Plug into the doorbell to prevent the connectors from
water when it’s used for outdoor.
Option 2: Wired Installation (Optional)
Important:
• Please switch off the circuit breaker at your hose first and we generally
recommend a professional to install the doorbell.
If you prefer to use the electrical wires to uninterruptedly supply power to the doorbell,
the copper wires in the package will be needed.