6
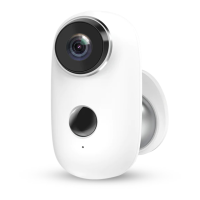
Connecting the Camera to the HeimLife App
IMPORTANT:
• Make sure the power of your camera is enough. You could use a 5V output power
adapter (not included) to charge it.
• The camera can only support a 2.4GHz Wifi.
• Avoid using special characters or symbols in your Wifi name and password, such
as @~!#$%^&* and so on.
• Ensure the camera and your mobile device are close to the router when
connecting.
• Press and hold the Power Button for 5 seconds to power on the camera, the LED
Indicator will be solid red during the startup process. Then it will change to flash
red slowly, which indicates the camera is ready to connect to Wifi.
• Insert the Reset Pin into the Reset hole and press for 5 second to reset the
camera if the connection failed or you need to connect the camera with another
HeimLife account.
There is a beeping sound from the camera after a successful reset.
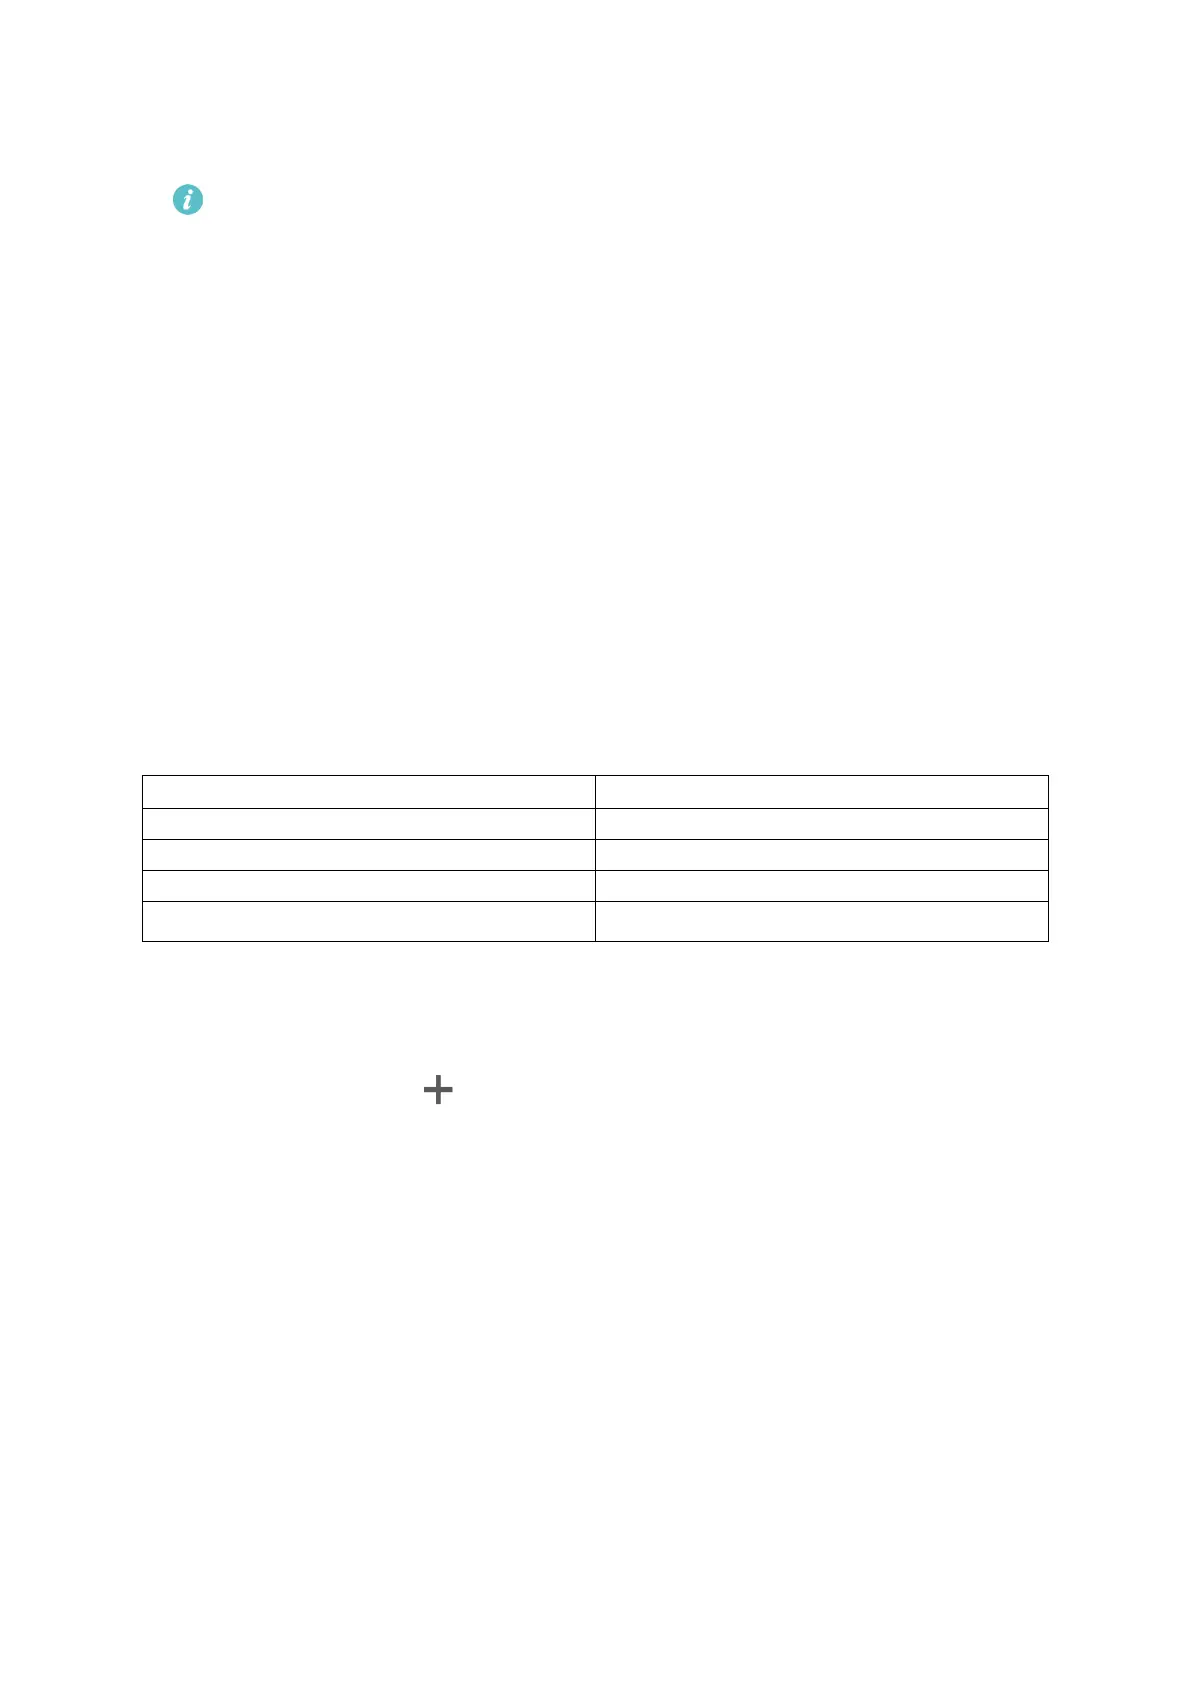
• The explanations of LED Indicator:
Connecting by Scanning the QR Code
Step 1:
Log in to HeimLife App, tap and Battery Camera.