BEFORE THE FIRST USE
The appliance may emit a little smoke and a characteristic smell when you turn it on
for the first time. This is normal and will soon stop. Make sure the appliance has
sufficient ventilation.
1. Unpack your appliance and check whether all parts and accessories are complete
and free of damage.
2. Clean all the parts according to the section“Cleaning and Maintenance”.
3. Set the bread maker on bake mode and bake empty for about 10 minutes. Then let it
cool down and clean all the detached parts again.
4. Dry all parts thoroughly and assemble them, the appliance is ready for use.
HOW TO MAKE BREAD
1. Place the bread pan in position, and then turn it clockwise until they click in correct
position. Fix the kneading blade onto the drive shaft. It is recommended to fill hole
with heat-resisting margarine prior to place the kneading blade to avoid the dough
sticking the kneading blade, also this would make the kneading blade be removed from
bread easily.
2. Place ingredients into the bread pan. Please keep to the order mentioned in the
recipe. Usually the water or liquid substance should be put firstly, then add sugar, salt
and flour, always add yeast or baking powder as the last ingredient.
Note: the quantities of flour and raising agent that may be used refer to the recipe.
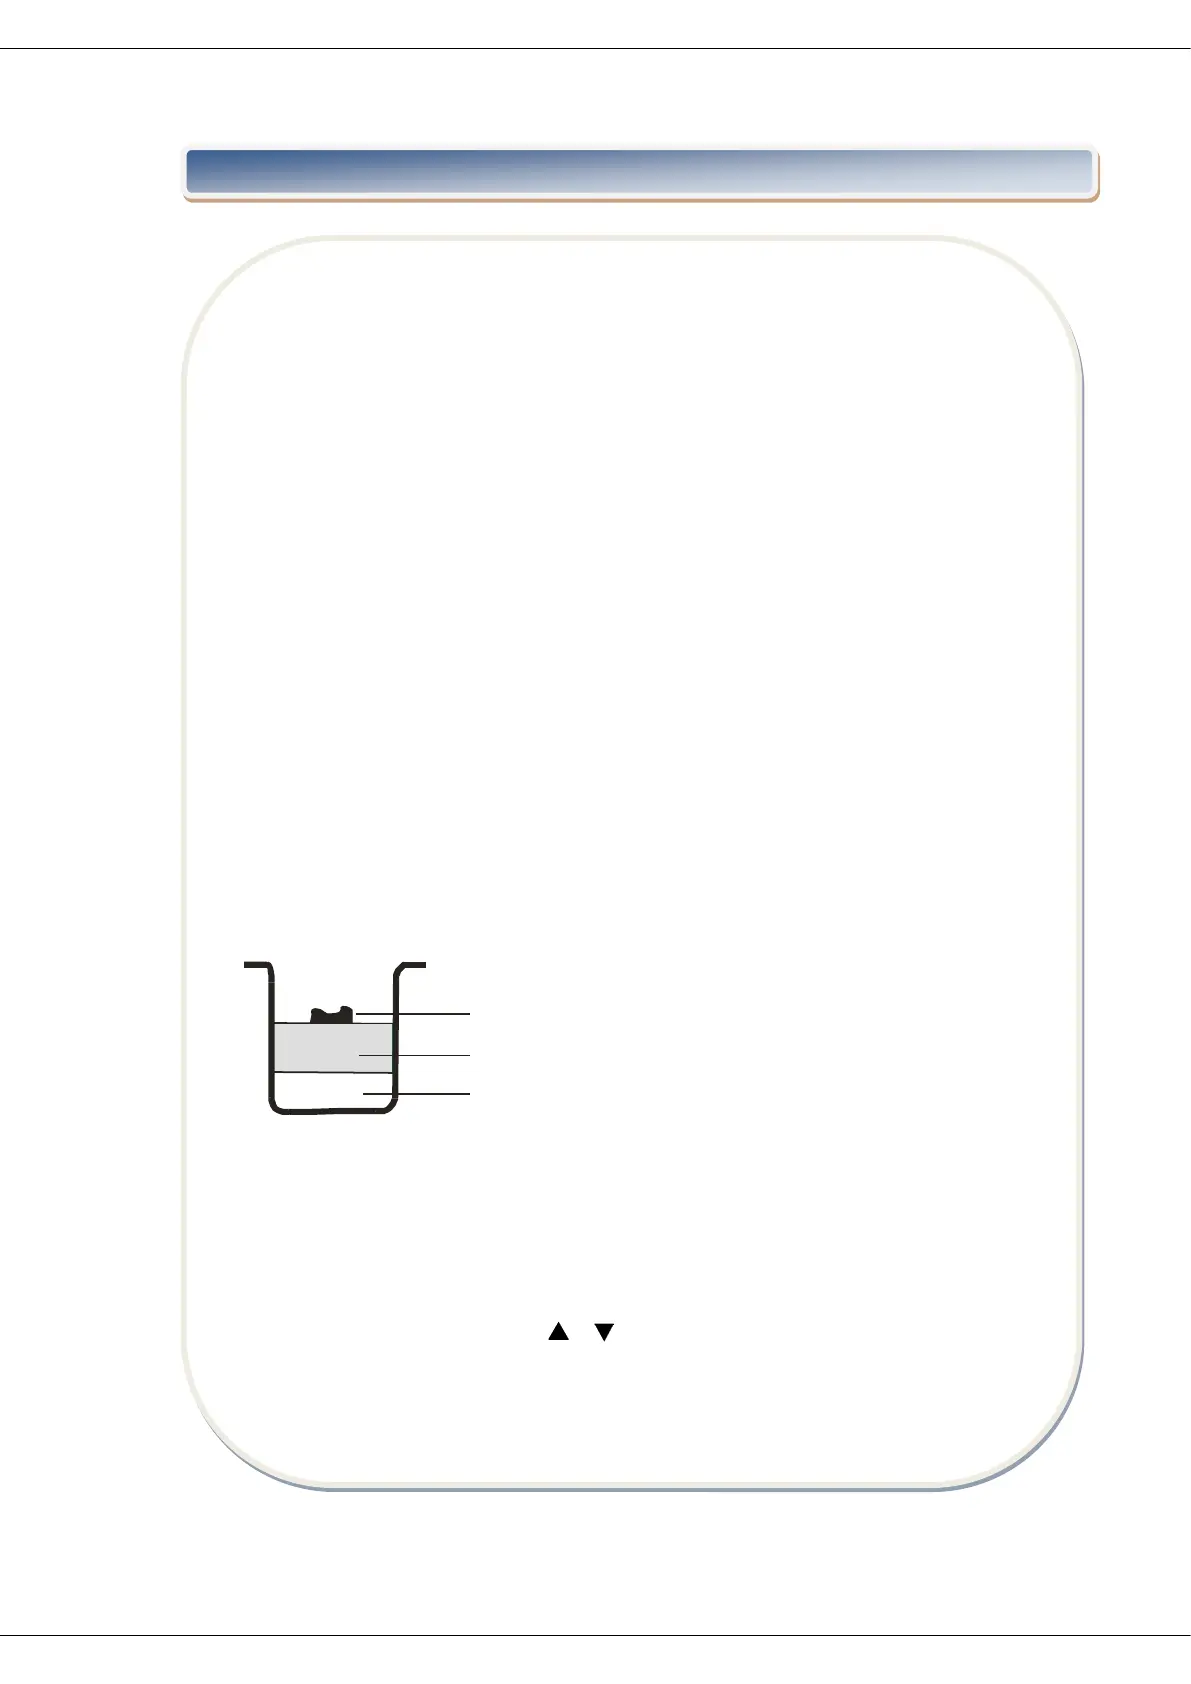
3. Make a small indentation on the top of flour with finger, add yeast into the
indentation, make sure it does not come into contact with the liquid or salt.
4. Close the lid gently and plug the power cord into a wall outlet.
5. Press the MENU button until your desired program is selected.
6. Press the COLOR button to select the desired crust color.
7. Press the LOAF SIZE button to select the desired size.
8. Set the delay time by pressing or button. This step may be skipped if you want
the bread maker to start working immediately.
9. Press the START/STOP button once to start working, and the indicator will light up.
 Loading...