Freestanding Installation
The heater must always be used in the upright position. When using as a freestanding, do not operate
without the feet in place.
1. Ensure the heater is unplugged and power is switch off.
2. Set the heater upside down.
3. Locate the two mounting holdes at each end of the heater base.
4. Align the mounting holes on the feet to the heater base and slide the feet-in so that the moulded
tabs on the feet are locked in with the heater body.
5. Secure each feet with two machine screws, supplied with the unit. The heater is now ready to
use.
Wall Mounting Installation
1. Ensure the heater is unplugged and power is switch off.
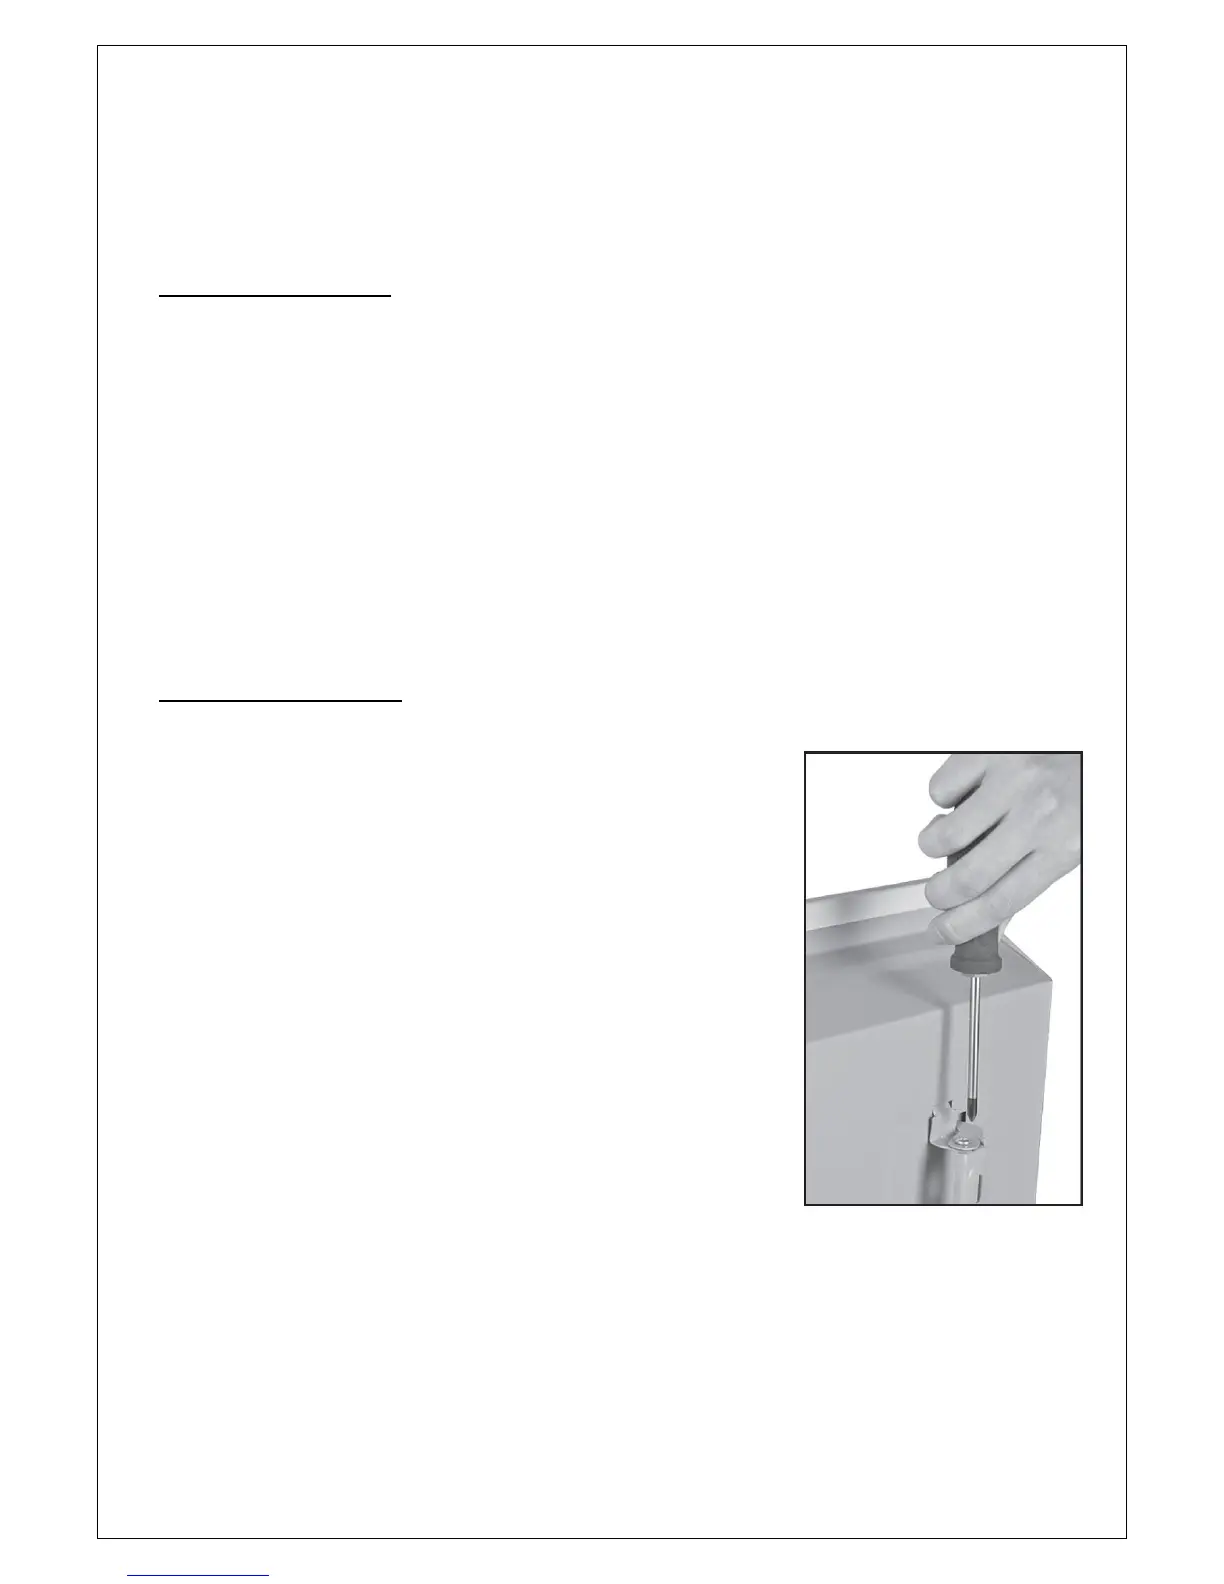
2. Detach the wall bracket from the back of the panel heater, by
unscrewing the locking bracket attached to the top right hand of
the wall mounting bracket. Slide the wall bracket down and
push it out from the heater body.
3. Postion the wall bracket on the wall and mark the hole positions
with a pencil. Check the assebly will be horizontal with a spirit
level.Ensure that the two bottom holes are at least 300mm from
the floor and drill holes are required.
4. Secure the wall bracket wall mounting screws supplied with the
unit. For mansory walls, use the plastic walls plug provided.
5. Slot back the heater, allign the bottom mounting hook first and
then the top hooks. Once all the four hooks are alligned, push
the heater body down to lock-in the wall bracket to the heater
body. Put the locking bracket back.
CAUTION: NEVER USE THE HEATER WITHOUT THE LOCKING BRACKET ASSEMBLED.
WITH THE LOCKING BRACKET NOT IN PLACE, THE ASSEMBLY WILL NOT BE SECURED.
When mounting the heater over the wall bracket, locate and allign slot ‘A’ with point ‘a’ first slot,
‘B’ with point ‘b’ and ppush the heater body down.