A
Adam WrightSep 18, 2025
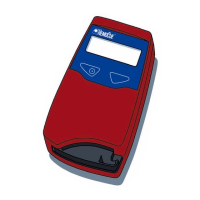
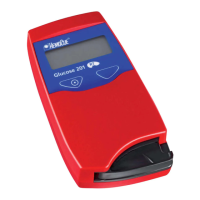
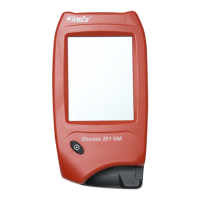
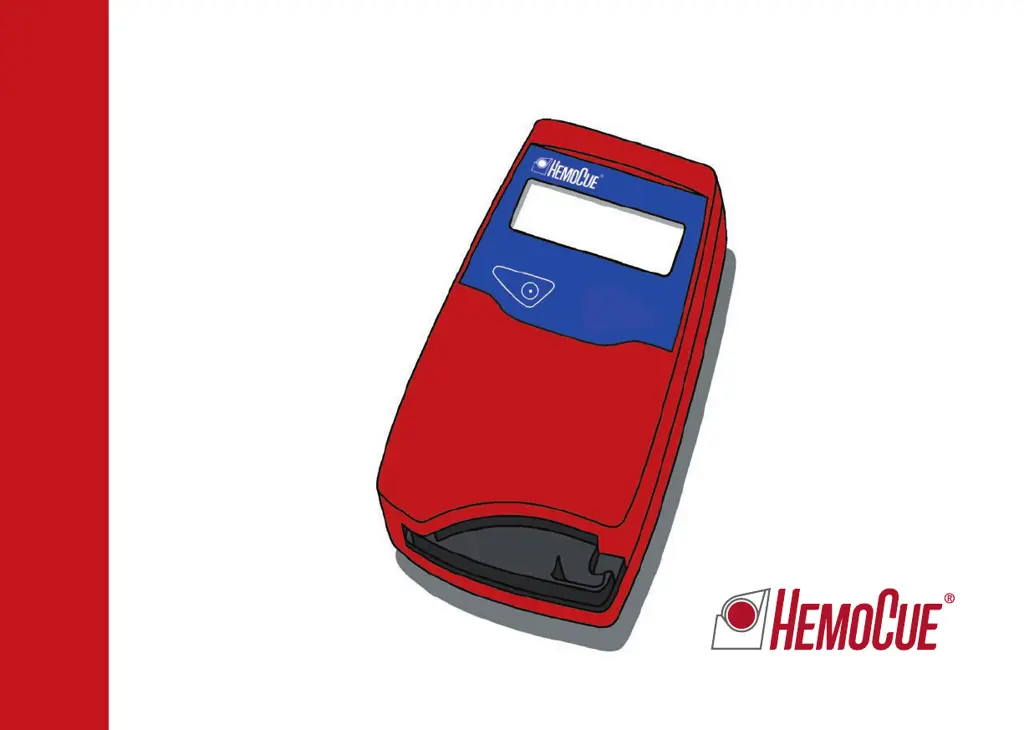
How to fix a HemoCue Medical Equipment with no display?
- EErin MorrisonSep 18, 2025
If your HemoCue Medical Equipment display is blank, it could be due to a lack of power, depleted batteries, or a faulty display. First, ensure the power adapter is correctly connected to both the power supply and the analyzer, checking for any cable damage. If using battery power, replace the batteries with four new AA 1.5 V batteries.