R
Ronald BrownSep 23, 2025
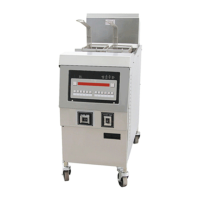
What does error code E-70B mean on Henny Penny OFG-341?
- MMiguel BensonSep 23, 2025
If your Henny Penny Fryer displays error “E-70B”, it indicates that the MV jumper is missing. Have the jumper wire checked on the connectors to the panel.