Page 7For technical questions, please call 1-888-866-5797.Item 70068
Bit Installation
CAUTION! Only use 1/4″ hex bits designed for impact
use. Verify bit fits the Hex Chuck precisely before use.
1. Insert an appropriate impact-rated accessory
(sold separately) into the hex drive Chuck.
Pull on bit to ensure it is secure.
2. To remove, pull Collar forward, remove bit
from Chuck and then release Collar.
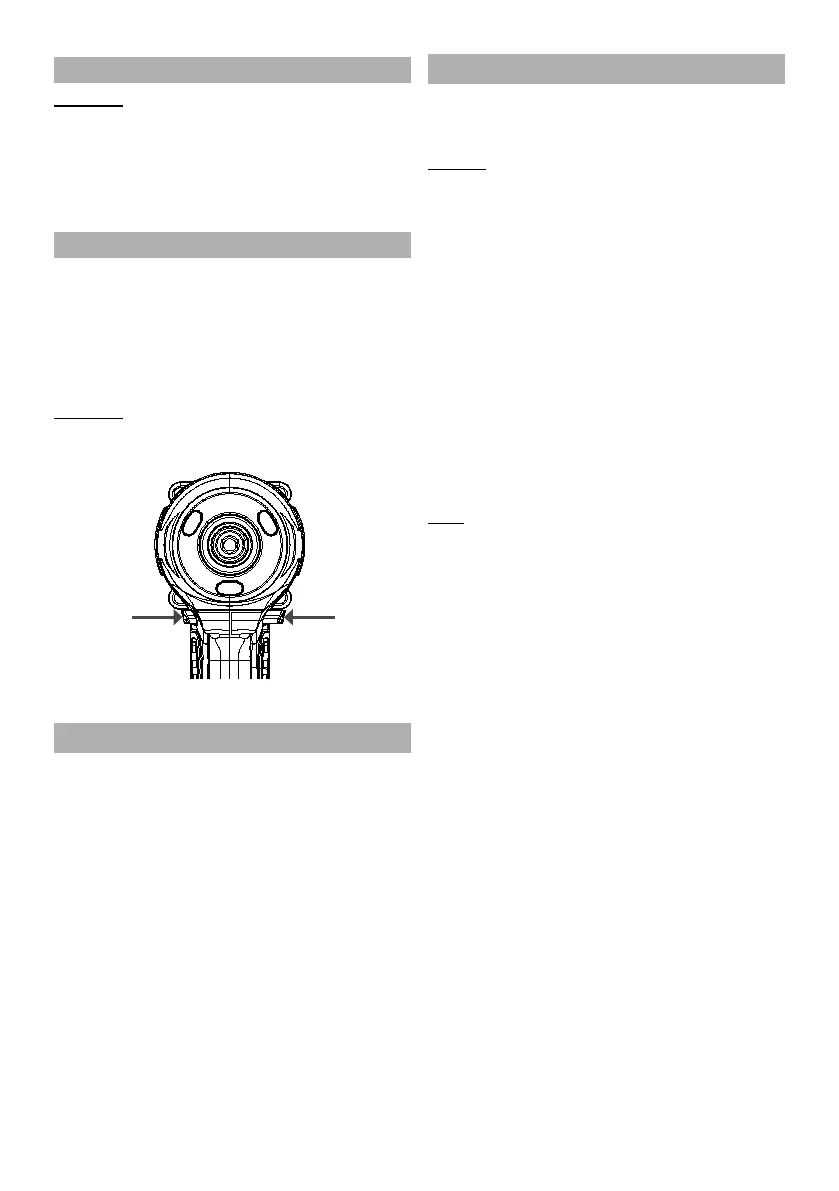
Direction Switch
Forward: Push Switch in on right side
(arrow pointing forward) for clockwise rotation.
Reverse: Push Switch in on left
side (arrow pointing backward) for
counter-clockwise rotation.
Trigger Lock: Push Switch to the
center to lock the Trigger.
CAUTION! Set Direction Switch to center
Trigger Lock position during set up, when
changing bits or when tool is idle.
Push
for
Forward
Push
for
Reverse
Push to Center to Push to Center to
LOCK TRIGGER
Workpiece and Work Area Set Up
1. Designate a work area that is clean and well lit.
The work area must not allow access by children
or pets to prevent distraction and injury.
2. Secure loose workpieces using a vise or clamps
(not included) to prevent movement while working.
3. There must not be objects, such as utility lines,
nearby that will present a hazard while working.
General Operation
1. Lock Trigger, then insert a fully charged Battery Pack,
making sure that it clicks into place securely.
2. Install Bit and set Direction Switch.
NOTICE: Do not change direction of rotation
while Chuck is rotating. Wait until Chuck has come
to a complete stop before changing direction.
3. Set Mode:
Push Speed Selection Button to
cycle through 4 modes.
I - 0-1800 RPM and 0-1200 IPM
II - 0-2700 RPM and 0-3400 IPM
III - 0-3600 RPM and 0-
4400 IPM
A - Forward: Tool stops within a few impacts
when driving small, self-tapping metal screws.
A - Reverse: Tool stops once impacting has stopped.
4. Press Trigger to start the tool. The Work
Lights will turn on when Trigger is pressed
and turn off when Trigger is released.
5. The tool has variable speed. To increase
speed, apply more pressure to Trigger. To
decrease speed, lessen pressure on Trigger.
Note: The amount of actual torque will vary depending
on the cleanness and condition of the threads and
other factors. If tightening critical components,
chase threads before assembling components and
check the actual torque applied to the fastener with
a mechanical torque wrench (not included).
6. When finished using the tool, release Trigger
and center Direction Switch to lock Trigger.
7. To prevent accidents, turn off the tool and
remove its Battery Pack after use. Clean, then
store the tool indoors out of children’s reach.
 Loading...