CARTRIDGE PUMP REPLACEMENT
When a cartridge pump needs to be replaced complete the following steps:
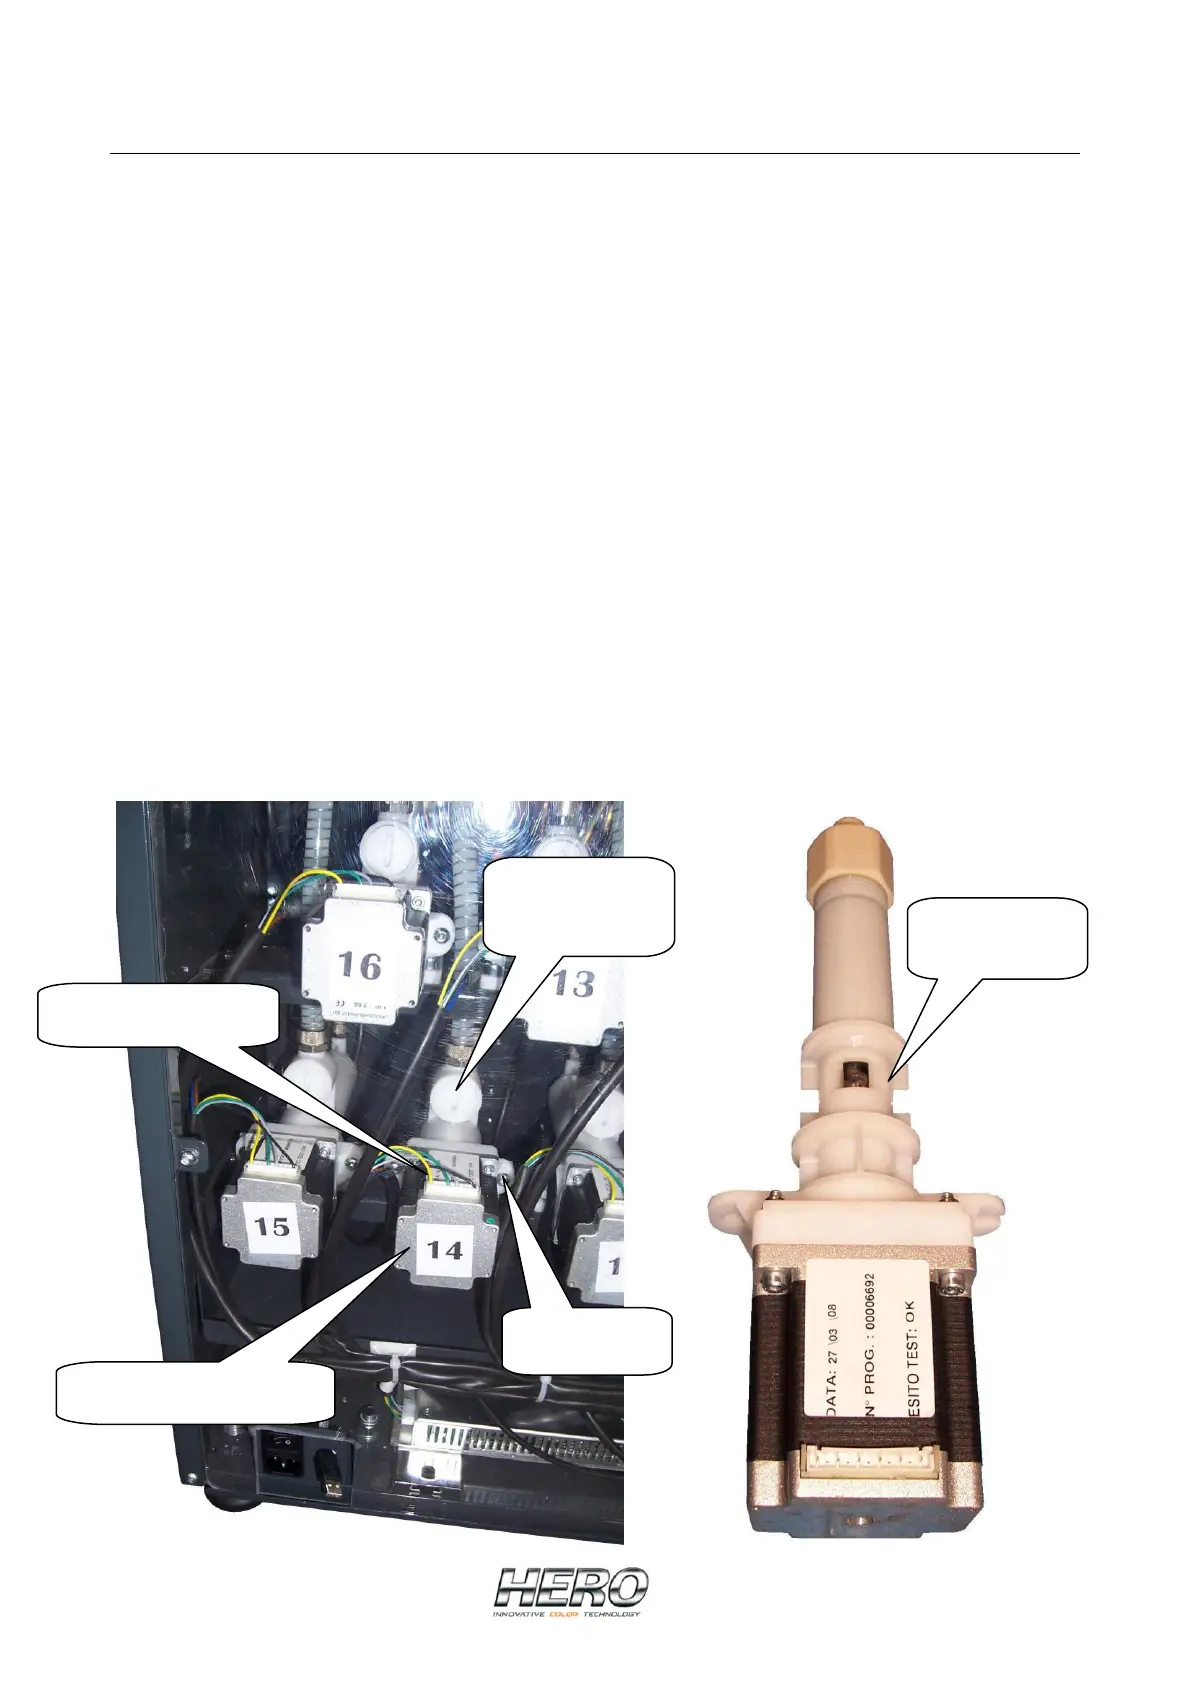
Disconnect the dispenser from its AC power source.
Remove the lower rear panel on the back of the dispenser.
Remove the wiring connector to the pump’s motor on the pump you want to change.
Use a large flat-tip screwdriver to close the shut-off valve above the pump cartridge.
Some units will have two shut-off valves per colorant. The second shut-off valve is
located in line with the tubing from the bottom of the colorant canister to the pump
housing. This will be a ball type shut-off valve that can be turned off by hand.
Remove the 2 screws that secure the pump cartridge to the pump housing. Do NOT lose
these screws.
(Although you have closed the shut-off valves, it is a good idea to have some towels or
rags ready as you pull the cartridge from its housing). Pull out the pump cartridge from
its housing. You may have to wiggle the cartridge to free it and insure that the
dispenser does not roll towards you as you pull on the cartridge.
Insert a new cartridge pump ensuring that the 2 large “O” rings on either side of the
pump opening and the small “O” ring on the tip of the pump are securely in place.
Secure the new pump cartridge to its housing by replacing the two screws removed earlier.
Reconnect the wiring connector to the pump’s stepper motor ensuring that it is all
the way down with no exposed pins on either side.
Pump shut-off
valve X2
Cartridge Pump
Motor connector
Pump stepper motor
Cartridge
screws X2
 Loading...