After completing the “Empty dispense tube” procedure, disconnect the
dispenser from its AC power source.
Remove the lower rear panel on the back of the dispenser.
Remove the plastic semi-circular cover with the HERO logo that covers the upper
dispense nozzle area.
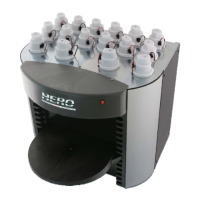
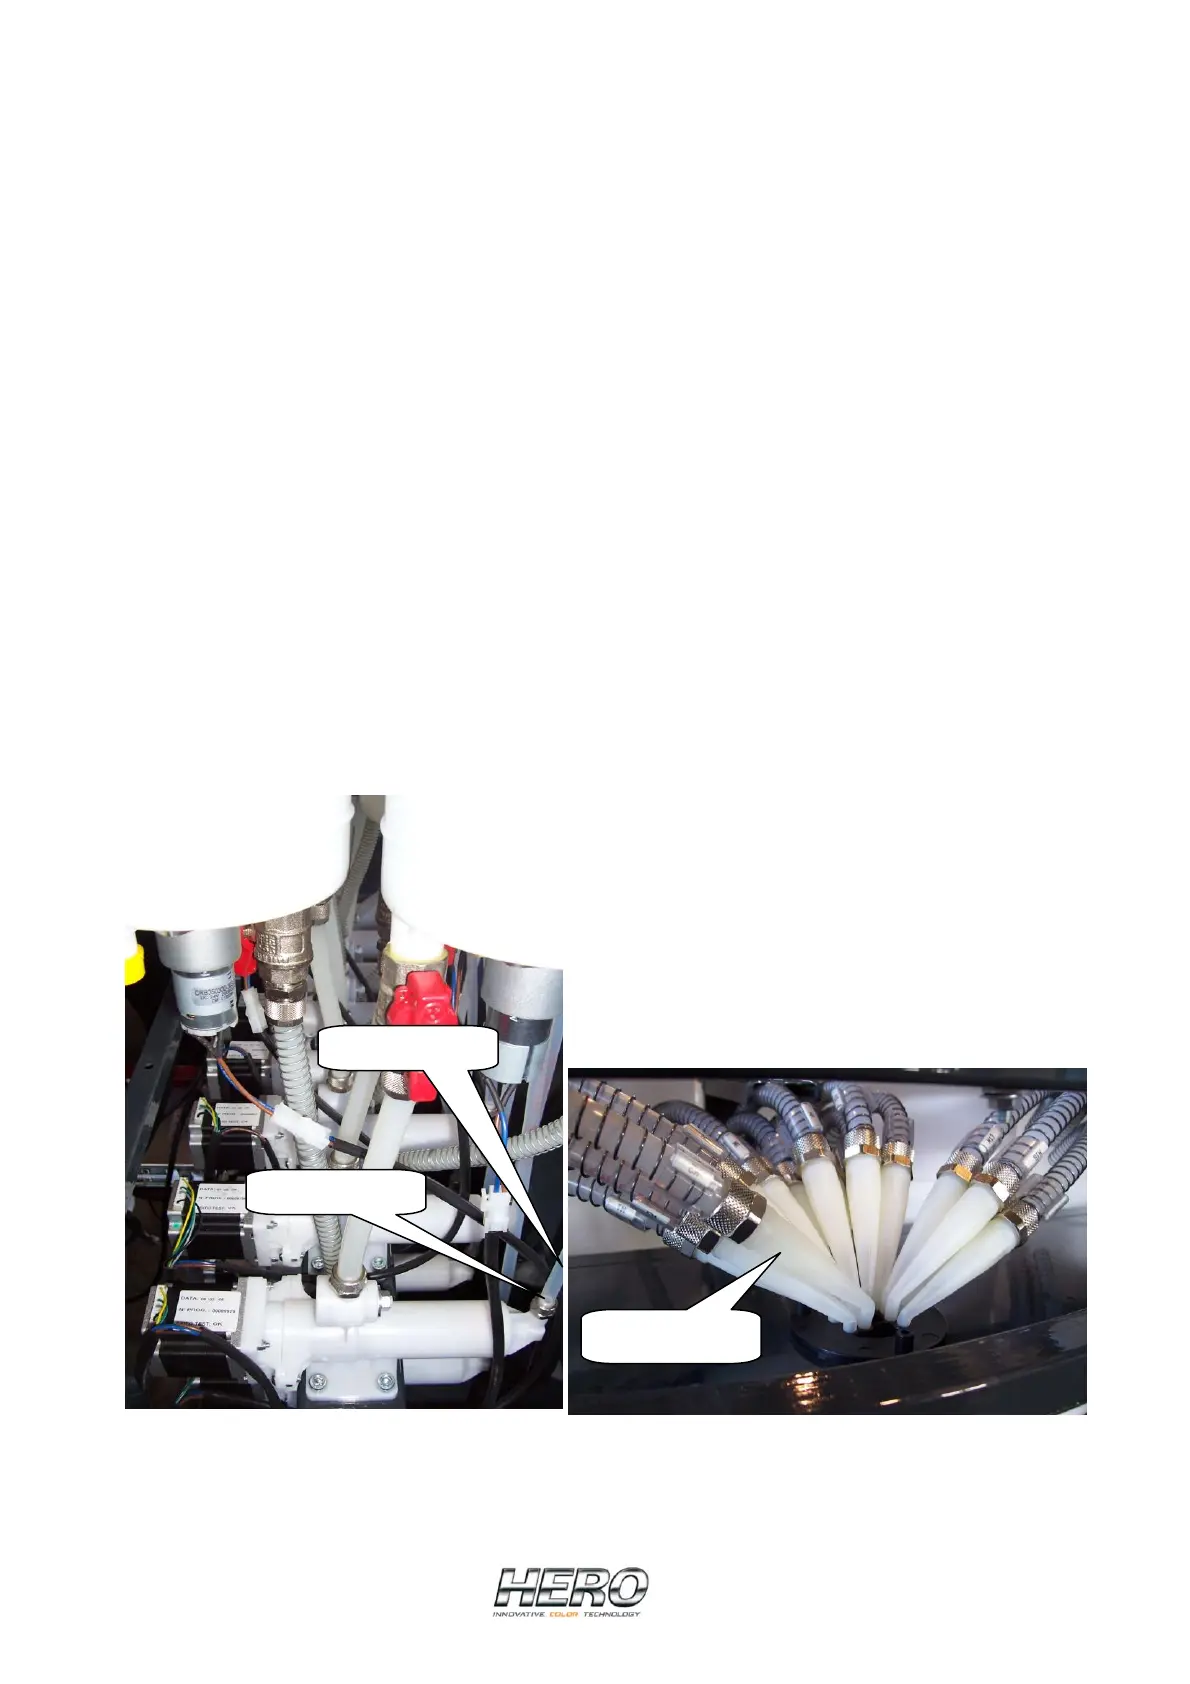
From behind the dispenser, remove the locking nut on the hose that connects to
the pump housing (Picture K). Pull the hose away from the pump housing
taking care to not drip colorant inside the machine or lose the locking nut.
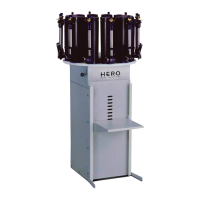
At the dispense head, carefully identify and lift the correct nozzle from the dispense
head and pull the hose assembly from the dispenser (Picture L). In some cases,
tie wraps will need to be removed from around the hose to be removed.
If the new dispense hose does not include a nozzle, the original nozzle needs to be
removed from the original hose (simply unscrew the nozzle from the hose) and
attached to the new hose.
Insert the new hose and carefully connect it to the output side of the pump using
the locking nut previously removed.
Insert the nozzle into its corresponding hole in the dispense head.
Restore power to the dispenser and access the “Fill up dispense tube” feature in
the software using the same procedure as outlined above and shown in Pictures G,
H, I and J.
Check both ends of the replaced hose for any leaks and if all is well, replace the
front nozzle shield and rear panel.
Ensure that the power cord and USB cable are not damaged or loose.
Dispense tube
Locking nut
Nozzles
Picture K Picture L
 Loading...