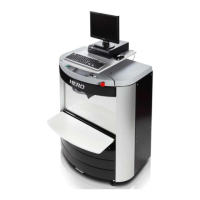
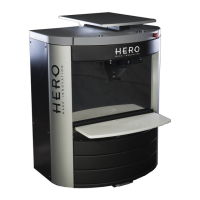
DISPENSER POSITIONING AND INSTALLATION
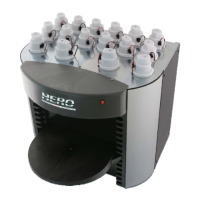
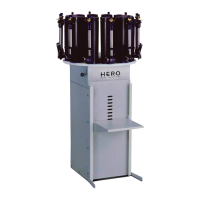
Unpacking the dispenser
Remove all shrink wrap from around the container and pallet.
Remove the fastening straps placed around the outside of the box(es).
If a PC is included, removed its boxes from atop the dispenser and place
them in a safe area.
Remove the box around the dispenser by lifting it straight up.
Carefully maneuver the dispenser backwards with two people behind and one
person in front of it, then slowly put the dispenser down on its rear wheels.
Without altering the position of each person, tilt the machine backwards until the
pallet is free and easily removed.
Once the pallet has been removed carefully place the machine down on its wheels.
Instructions for correct positioning
Adhere to the following guidelines when positioning the dispenser:
Place the dispenser on a steady, horizontal (level) surface.
The area must be well ventilated. To prevent colorants from drying, make sure the
dispenser is not exposed to the sun or near heating vents or any other source of
heat.
The ambient temperature should be kept as constant as possible, around 18°C
(always between 15÷40°C) in order to avoid variations in the specific weight and
viscosity of the colorants.
Machine positioning
The Eureka dispenser is fitted out with wheels and levelling feet. When the machine rests
on its wheels and is positioned on a hard and levelled floor it can be easily moved by
pushing it by hand.
Place the dispenser where it is intended to be put to use, then lower the feet and verify
that the dispenser is in a steady, well levelled position.