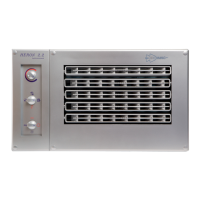
FITTING OF AIRHANDLER FACIA
With leak testing of the A/H flare nuts completed, the Facia may be fitted.
1. Feed the service lead into the cupboard and plug in to GPO but leave turned
off.
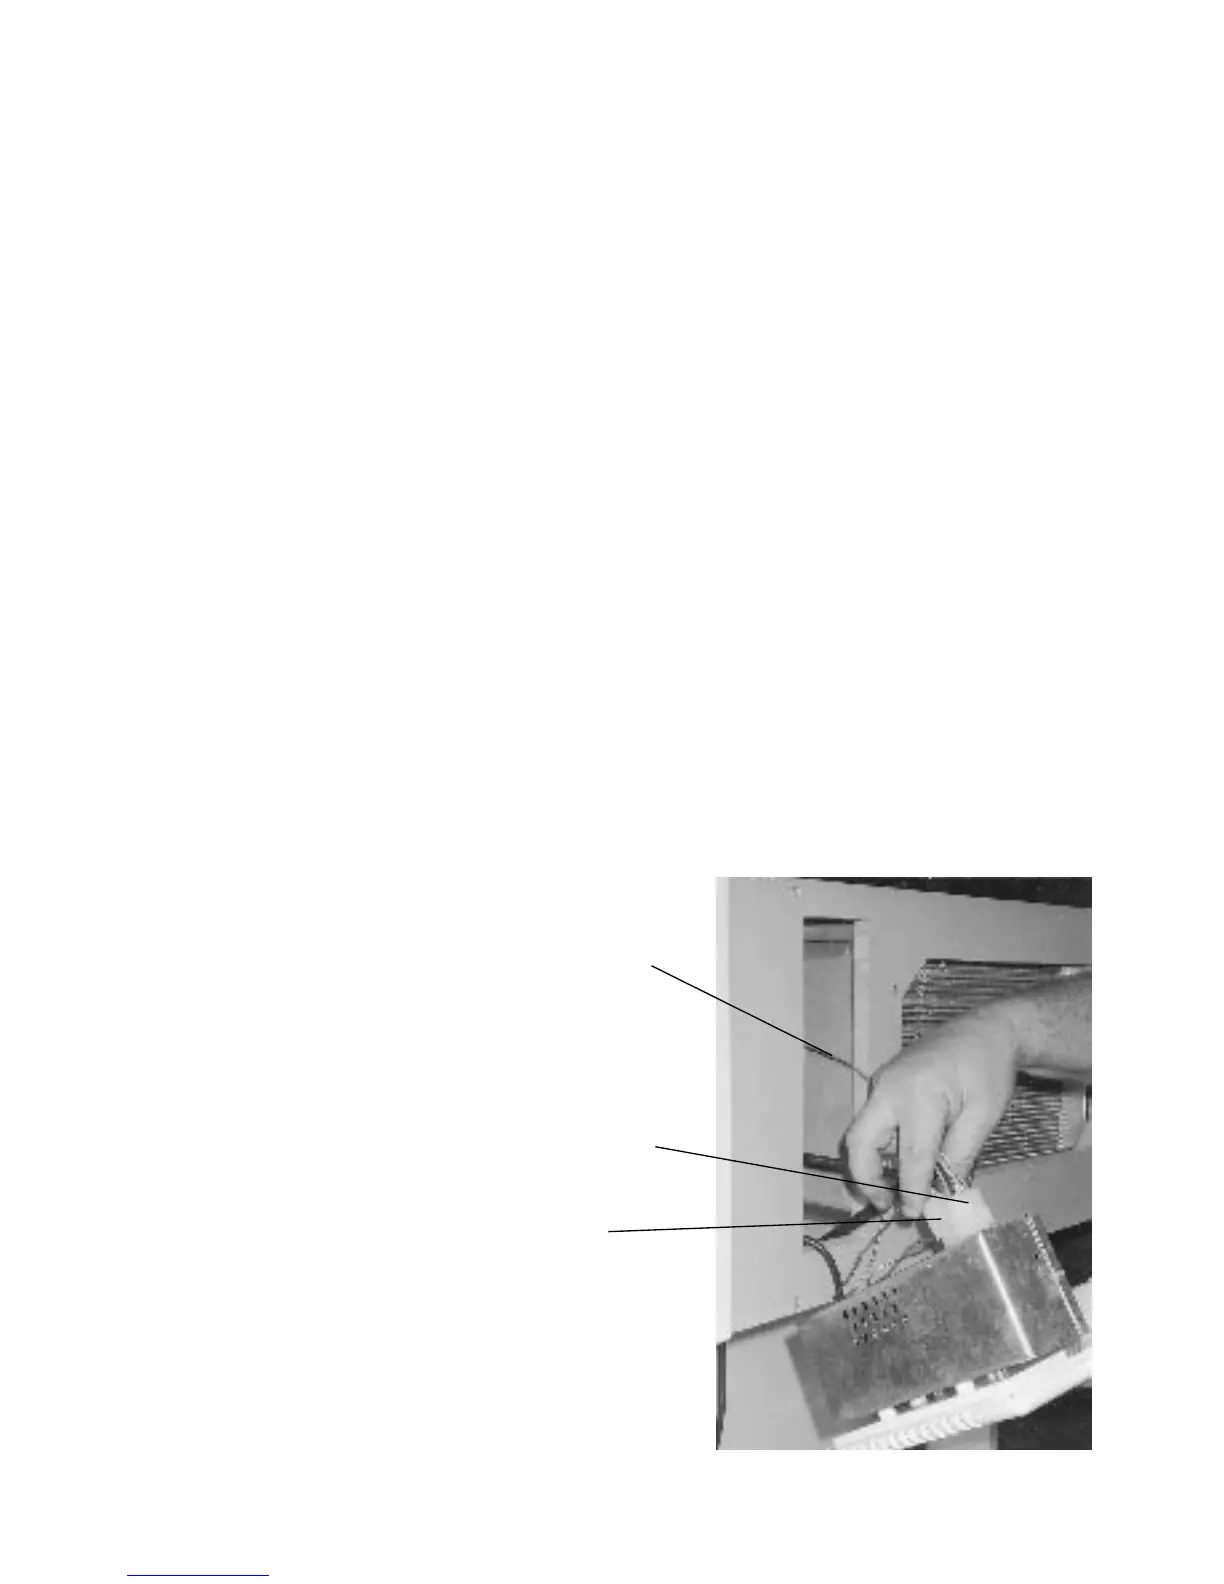
2. Now plug in the Con/set control cable to back of switch box (6 pin). Plug in the
A/H cable (9 pin). See fig. 17.
3. Take the thermostat bulb, stretch out the capillary approx 150mm and fit the
bulb into the “p” saddle on the side of the A/H. See fig. 12.
It may be more convenient to fit this after the facia is installed by reaching up
thru a return air frame.
4. Now push the facia fully into the cupboard frontpanel. Square up and using the
c/s chipboard screws (supplied) screw facia in 4 places. Use the white plastic
buttons provided to cover screw heads.
5. Check that turning vanes are free to rotate.
6. Turn on power to system.
7. Fit the 2 return air filters by springing them into their frames.
18
Figure 17
THERMOSTAT
CAPILLARY
9 PIN PLUG
6 PIN PLUG